DIY Window Replacement - ED3
 24-Nov-2006, 10:23 PM
#1
-- site donator --

Thread Starter
iTrader: (2)

Join Date: Aug 2002
Location: not Toronto
Posts: 27,687
DIY Window Replacement - ED3
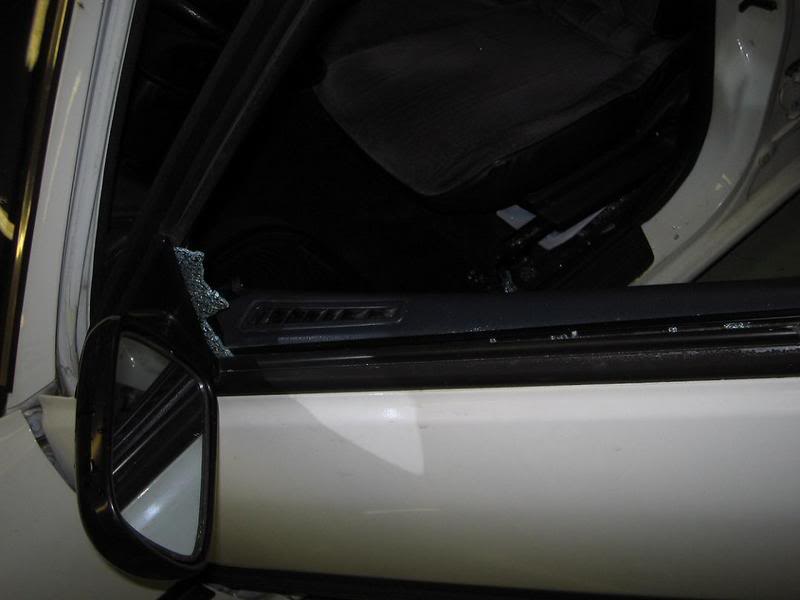
So my front and back driver side windows got smashed out by some vandals one night. So what a perfect time for a DIY 
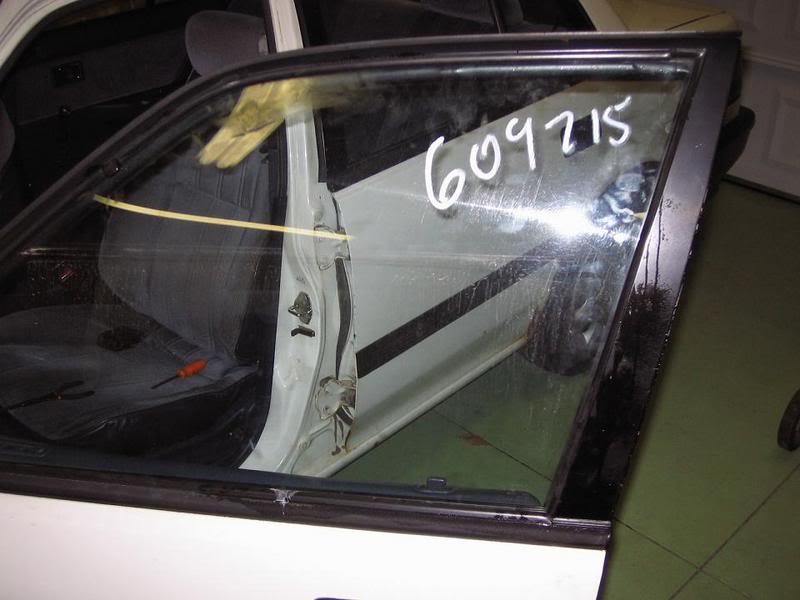
The subject of the story, my daily driver, an ED3 1990 Honda Civic sedan.
The subject of the story, my daily driver, an ED3 1990 Honda Civic sedan.
 24-Nov-2006, 10:23 PM
#2
-- site donator --
Thread Starter
iTrader: (2)
Join Date: Aug 2002
Location: not Toronto
Posts: 27,687
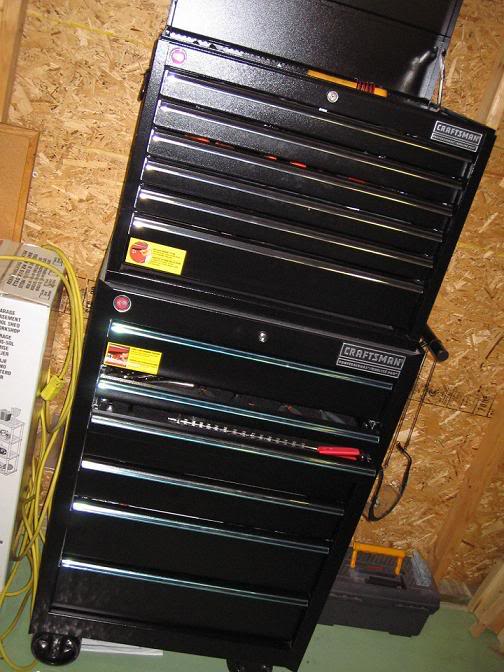
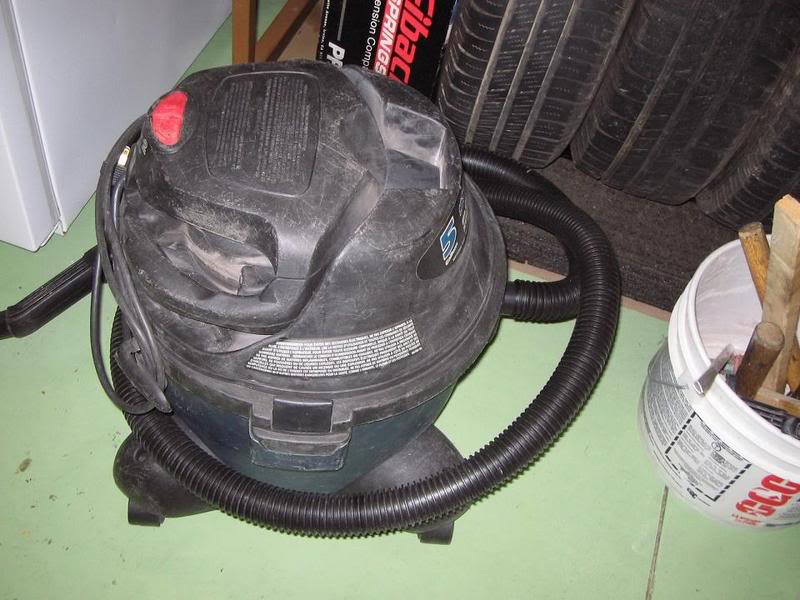
Tools needed include but are not limited to:
SHOP VAC!!!
10 mm socket
extension
rachet
phillips screwdriver #2
flat screwdrivers (for prying and whatnot)
long needle nose pliers
vise grips
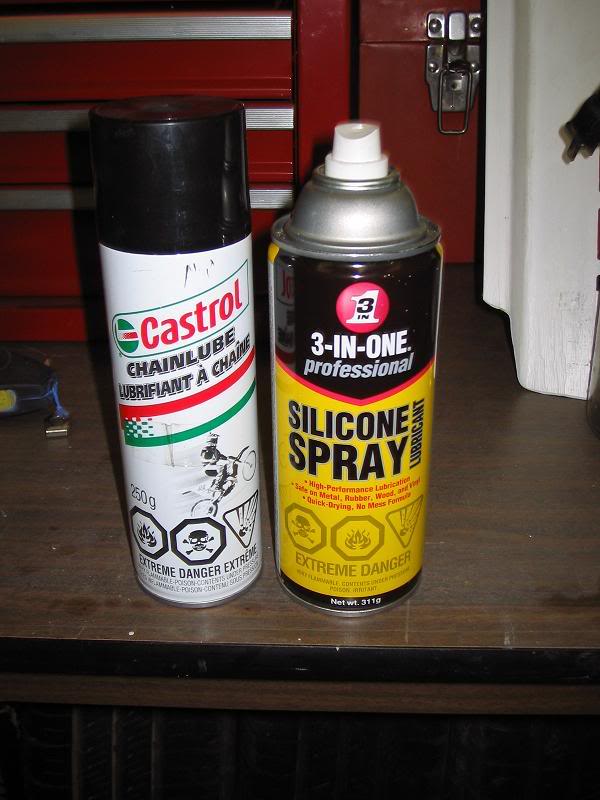
silicone lube in a spray
some sort of sprayable grease
and the most important tool of all.... bbarbulo


oh and you'll need some glass to replace the empty space with
 24-Nov-2006, 10:27 PM
#4
-- site donator --
Thread Starter
iTrader: (2)
Join Date: Aug 2002
Location: not Toronto
Posts: 27,687
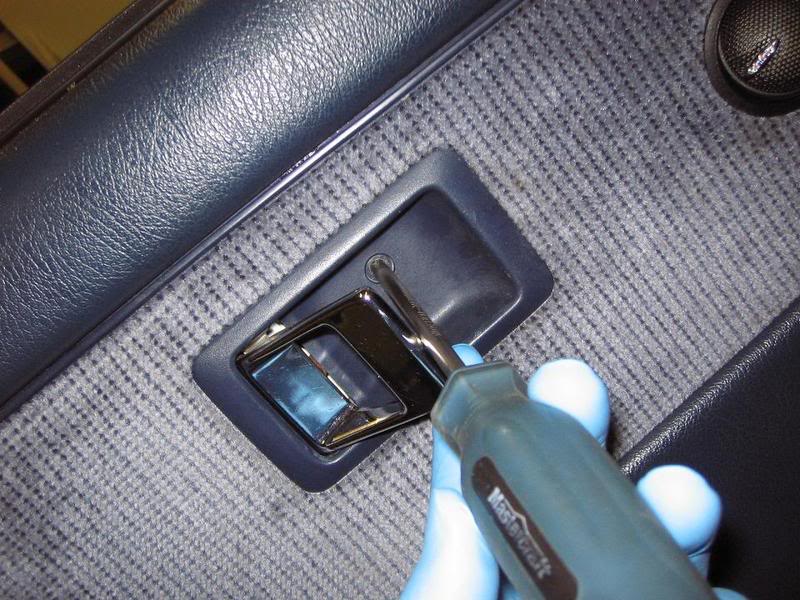
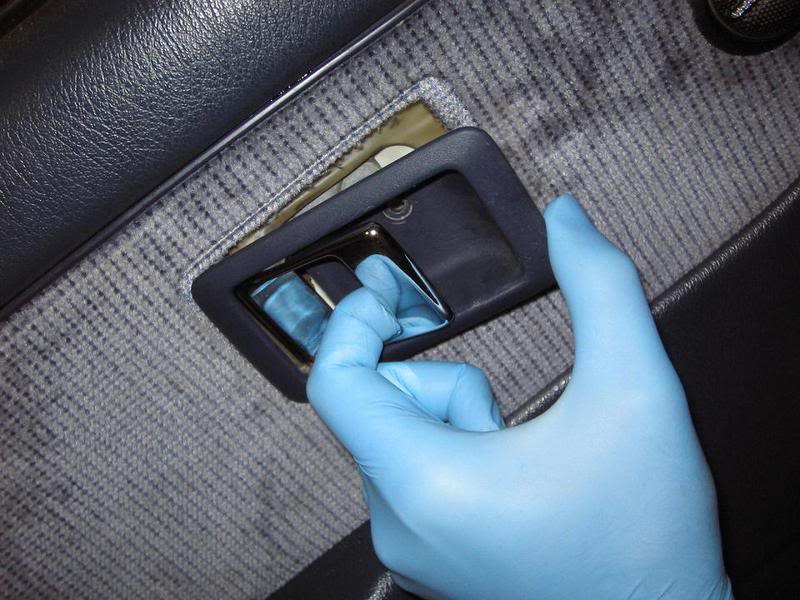
use your needlenose pliers to ****** that clip out... there are other methods like the rag method or using the special tool... but I like this method

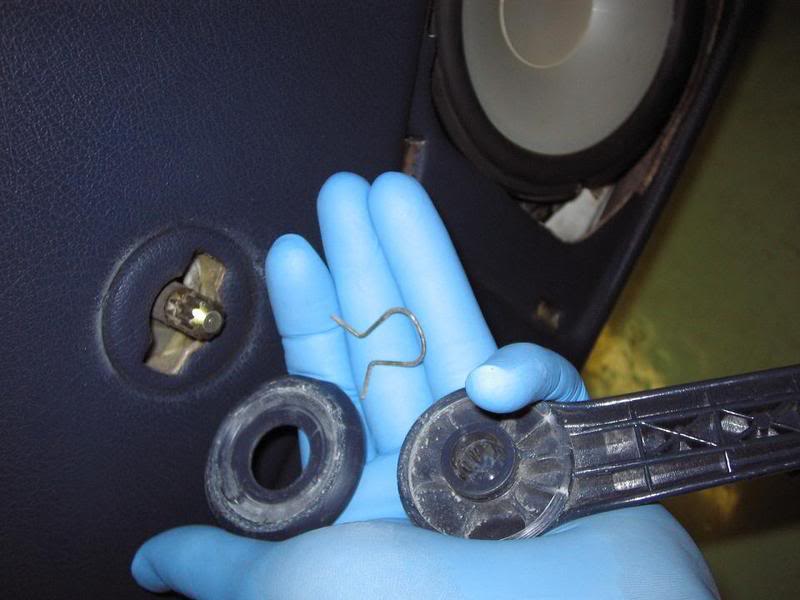
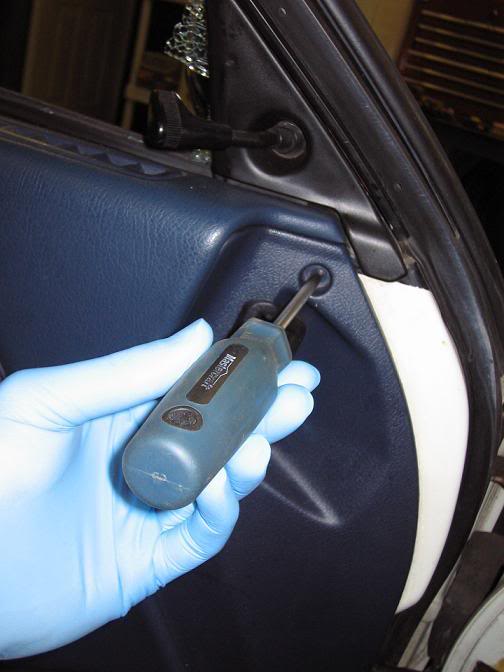
not start at the bottom and pull the panel away from the door... clips hold it on.... pry on it, and work your way around till you can freely lift the panel upwards (starting with the section farthest away from your rearview mirror) ... then you got it!! and you will see this
not start at the bottom and pull the panel away from the door... clips hold it on.... pry on it, and work your way around till you can freely lift the panel upwards (starting with the section farthest away from your rearview mirror) ... then you got it!! and you will see this
24-Nov-2006, 10:42 PM
#5
-- site donator --
Thread Starter
iTrader: (2)
Join Date: Aug 2002
Location: not Toronto
Posts: 27,687
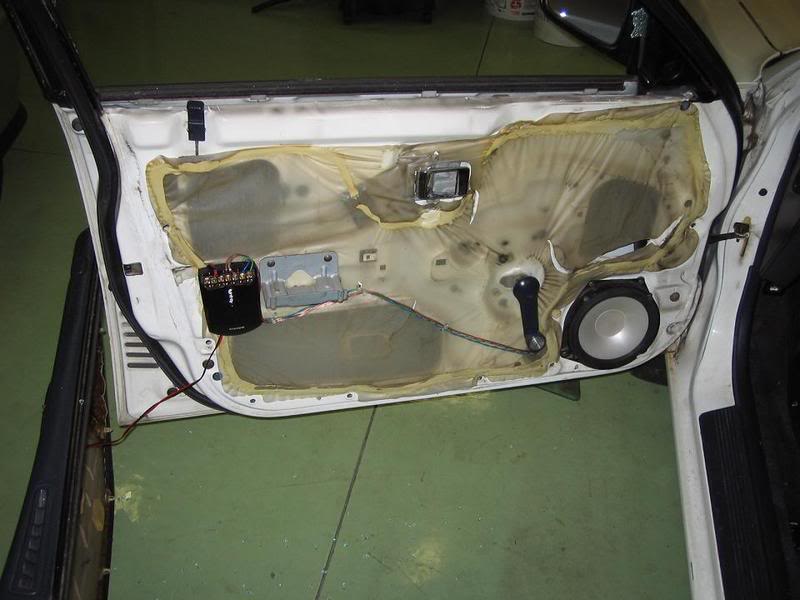
your broken window... looking from the top of the window opening
roll the window down and peel the plastic off
you'll see where the window mounts... there are two of those mounts
the first one is easy to access, the second one, use the hole next to the speaker

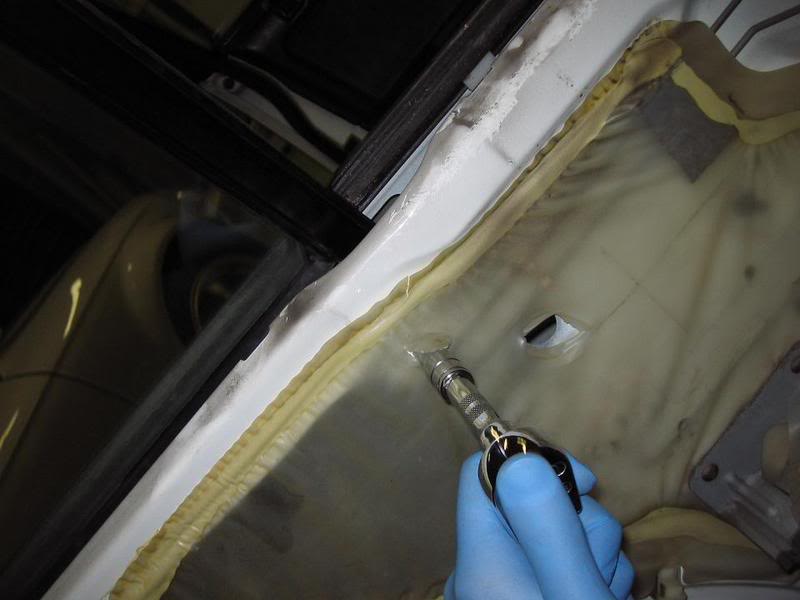
now, use the silicone lube and spray the window channels. also use the chain lube to lube your moving parts in the regulator assembly.
take the new window, start the two ten mm bolts that you just took out... and slide it into the channel... hold it with one hand, with the other hand work the window crank till you can see the reguator and window through the access hole. then slip the bolt heads through the regulator, and push the regulator backwards to lock the window to the regulator. then snug the bolts up a lil bit and work the window up and down once or twice to get it seated, then tighten the regulator all the way to the window. now you have this
roll the window down and peel the plastic off
you'll see where the window mounts... there are two of those mounts
the first one is easy to access, the second one, use the hole next to the speaker
now, use the silicone lube and spray the window channels. also use the chain lube to lube your moving parts in the regulator assembly.
take the new window, start the two ten mm bolts that you just took out... and slide it into the channel... hold it with one hand, with the other hand work the window crank till you can see the reguator and window through the access hole. then slip the bolt heads through the regulator, and push the regulator backwards to lock the window to the regulator. then snug the bolts up a lil bit and work the window up and down once or twice to get it seated, then tighten the regulator all the way to the window. now you have this
24-Nov-2006, 10:52 PM
#6
-- site donator --
Thread Starter
iTrader: (2)
Join Date: Aug 2002
Location: not Toronto
Posts: 27,687
for the rear.... well my camera batteries kinda died and I was too lazy to go inside and get my second battery...
but if you had a hard time with the front, don't even try the back.
I'll describe the procedure...
the door panel removal is the same as the front, except there are only three phillips screws holding it on, located in about the same locations as three on the front. the one missing is the one that is located under the mirror on the front door.
once you have the panel off, remove the plastic if you can
remove the broken window mounts, same as the front. if the bastard spins on you, get the vise grips and clamp it tight in order to get the bolt off.
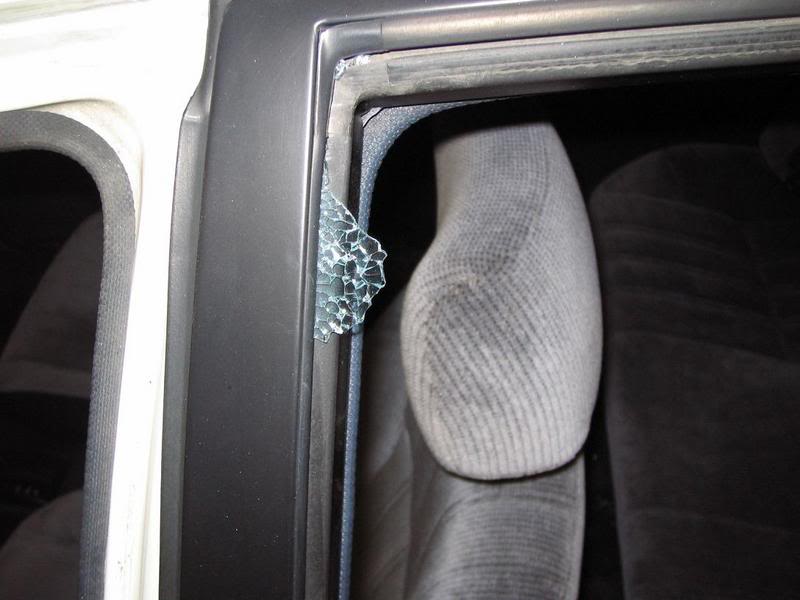
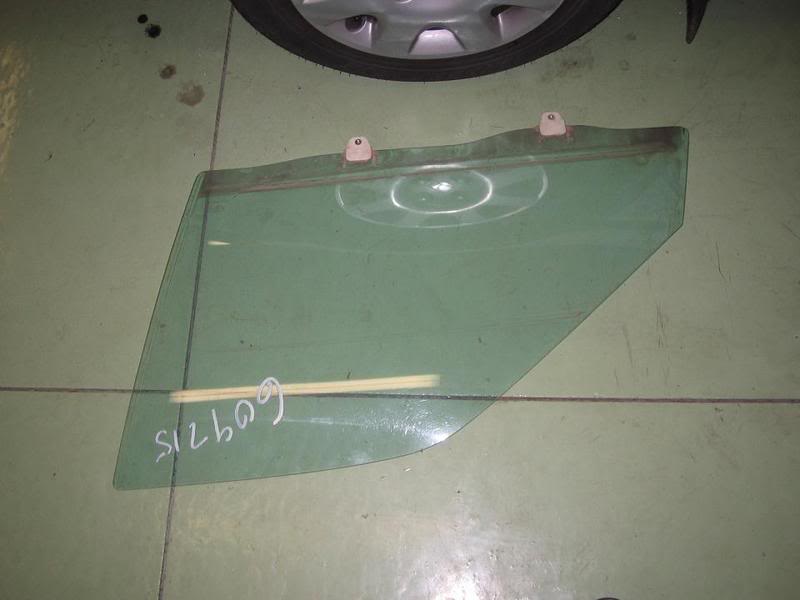
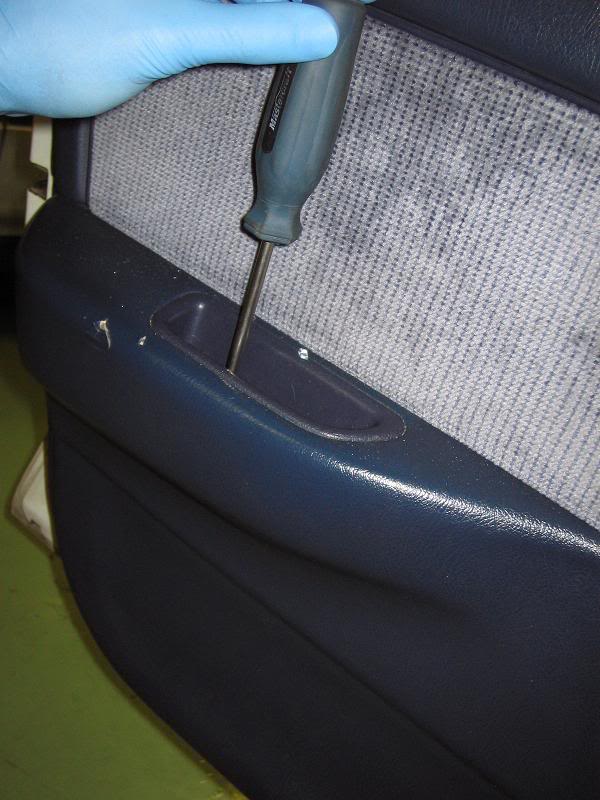
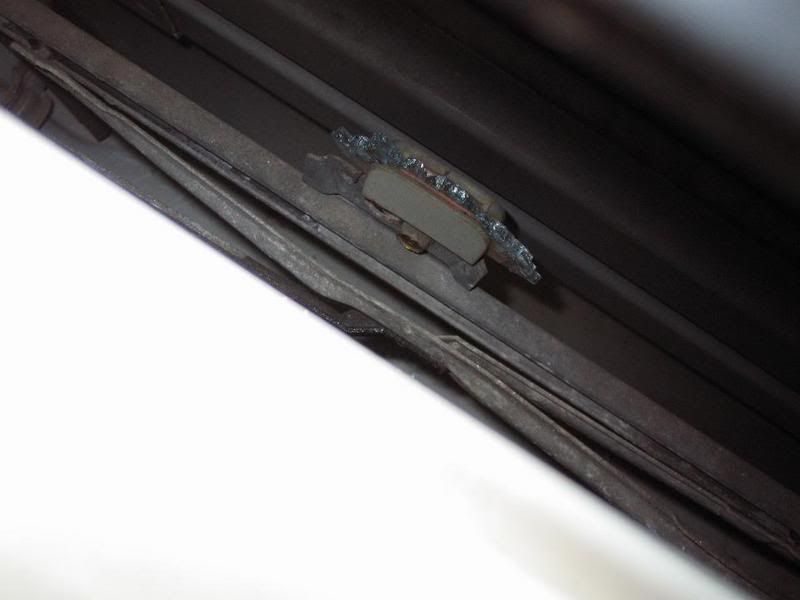
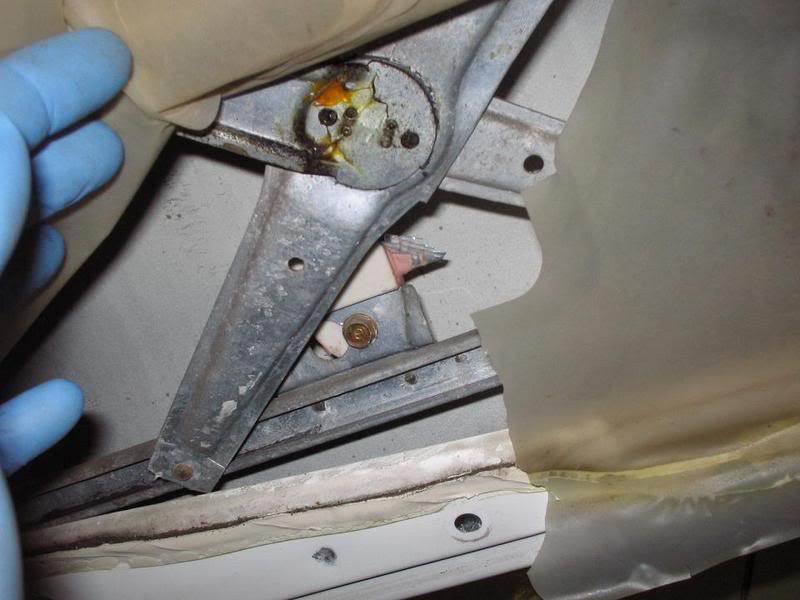
then peel the upper moulding back from around the area where the vertical splitter is for the fixed window (the part that doesn't roll down. you will see two phillips screws there, take those out. following the vertical splitter down to the door frame, you will see a 10 mm bolt right there... take that out too. here is one last pic
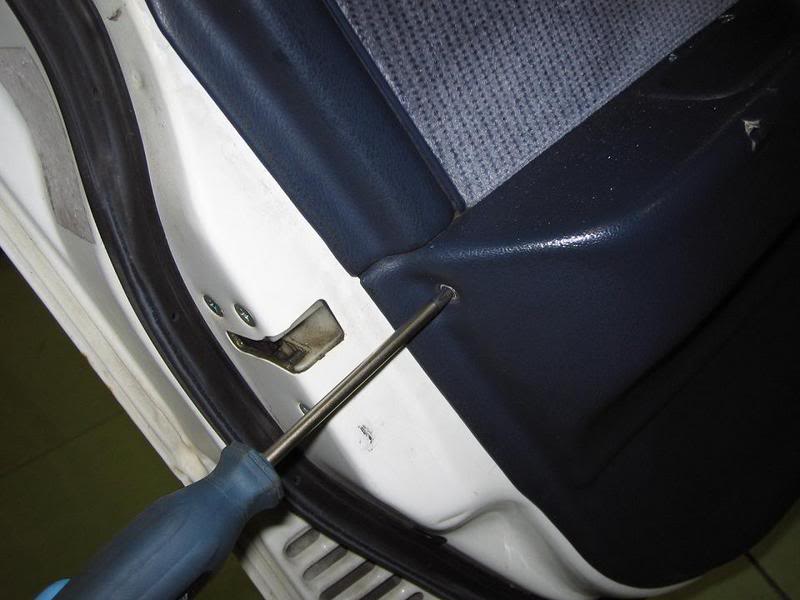
then, continue down to where the door pull normally sits... JUST under it... almost hidden out of view, is another 10 mm bolt. take it out too.
now, odds are, two brackets will have fallen out, and you prolly don't know which is which. the wierd lookin one made of two stamped peices is the lower spacer, the round one is the top spacer. put these, and the two bolts aside. pull the fixed quarter window out.
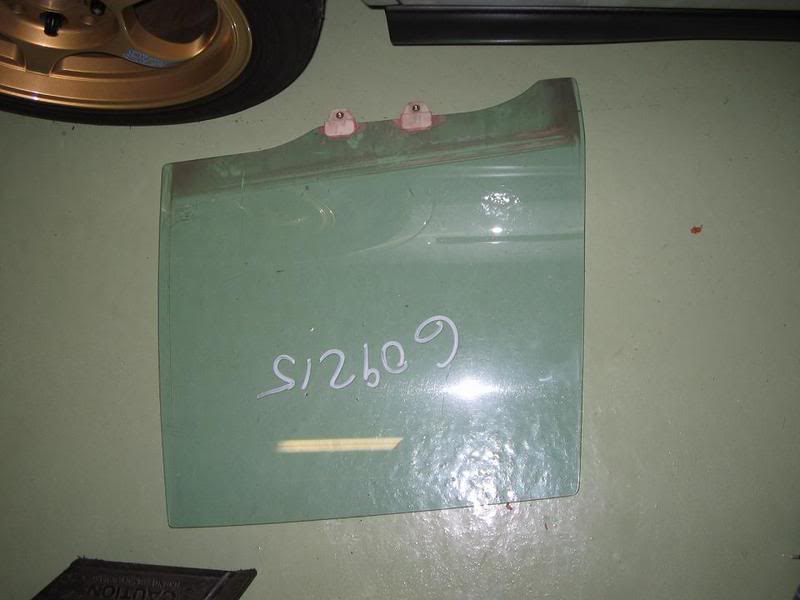
now, insert your new window into the opening and fix it to the regulator (that you of course lubed up nicely). then put the vertical splitter back into place as best as you can for the time being. jam the quarter window back into it's place (silicone lube helps greatly) and seat all the weatherstripping. this will take some patience, but remember... you don't wanna break the window.
put everything back together.
if your window has paint markings like mine, use a razor blade at an angle to scrape it off gently, and then windex the crap out of the windows to get them nice and shiny. then give yourself a and proceed with your day.
total time, about an hour and a half, maybe two hours.
but if you had a hard time with the front, don't even try the back.
I'll describe the procedure...
the door panel removal is the same as the front, except there are only three phillips screws holding it on, located in about the same locations as three on the front. the one missing is the one that is located under the mirror on the front door.
once you have the panel off, remove the plastic if you can
remove the broken window mounts, same as the front. if the bastard spins on you, get the vise grips and clamp it tight in order to get the bolt off.
then peel the upper moulding back from around the area where the vertical splitter is for the fixed window (the part that doesn't roll down. you will see two phillips screws there, take those out. following the vertical splitter down to the door frame, you will see a 10 mm bolt right there... take that out too. here is one last pic
then, continue down to where the door pull normally sits... JUST under it... almost hidden out of view, is another 10 mm bolt. take it out too.
now, odds are, two brackets will have fallen out, and you prolly don't know which is which. the wierd lookin one made of two stamped peices is the lower spacer, the round one is the top spacer. put these, and the two bolts aside. pull the fixed quarter window out.
now, insert your new window into the opening and fix it to the regulator (that you of course lubed up nicely). then put the vertical splitter back into place as best as you can for the time being. jam the quarter window back into it's place (silicone lube helps greatly) and seat all the weatherstripping. this will take some patience, but remember... you don't wanna break the window.
put everything back together.
if your window has paint markings like mine, use a razor blade at an angle to scrape it off gently, and then windex the crap out of the windows to get them nice and shiny. then give yourself a
and proceed with your day.total time, about an hour and a half, maybe two hours.


Thread
Thread Starter
Forum
Replies
Last Post
Azxster
Brakes - Wheels - Tires
4
16-Jan-2008 09:21 AM
imported_Torrey
Honda Civic Performance - JDM Discussion
8
18-Mar-2005 10:48 AM
imported_BoOsTd
Custom Honda Civic Exterior - Lighting
0
30-Apr-2004 11:15 AM
PersianPryd83
Interior - Audio - Security
7
05-Sep-2003 12:38 AM


