DIY Paint and Install Lip Kit EJ1
 16-Sep-2008, 06:03 PM
#1
Senior Member
Thread Starter
Join Date: Sep 2007
Location: Markham
Posts: 302
DIY Paint and Install Lip Kit EJ1
this is an old diy that i did with photos, thought ide repost it
copy and pasted some of my instructions and info from another one of my new diys, u may not need all the supplies, and some of the steps in the photos are not needed and have changed, but atleast u get an idea of how to do it, since then i have refined my paint techniques and steps but generally they are the same, i no longer use certain primers as ive had some bad batches, i have had best luck with some cheap paints often more then the custom stuff.
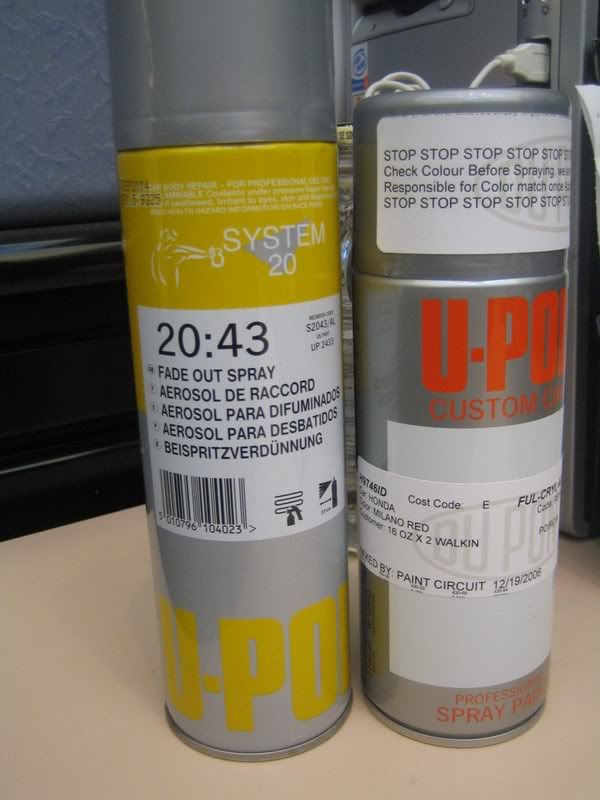
*best finish and color from ct small duplicolr cans, best clear flexcoat primer
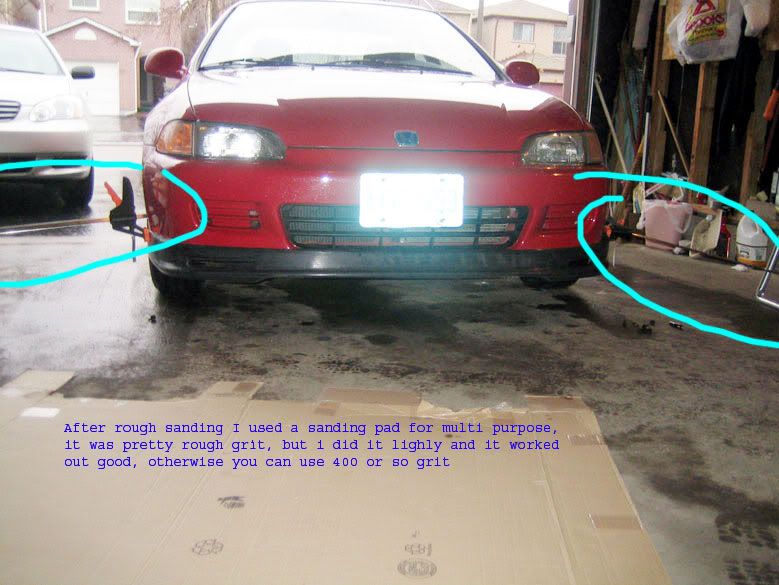
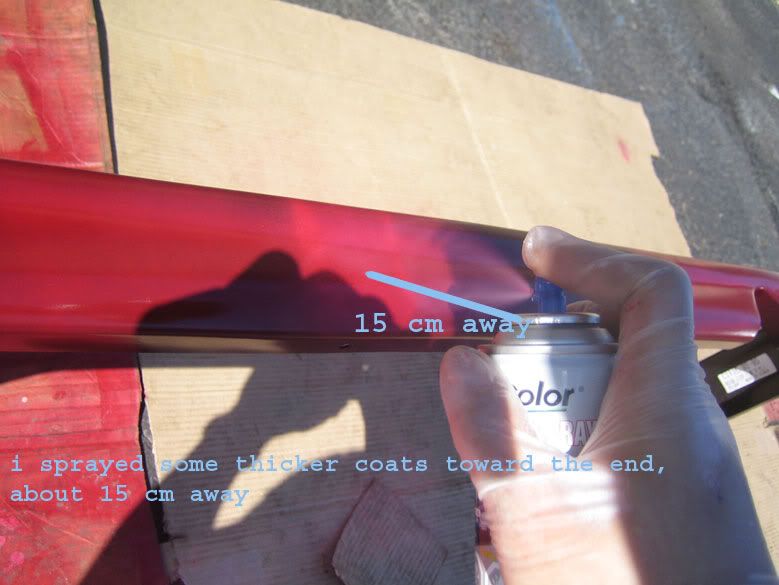
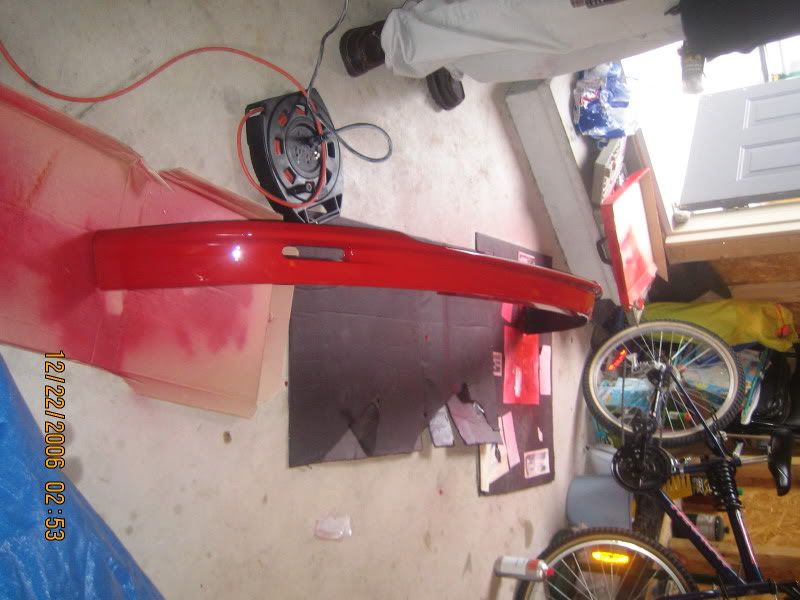
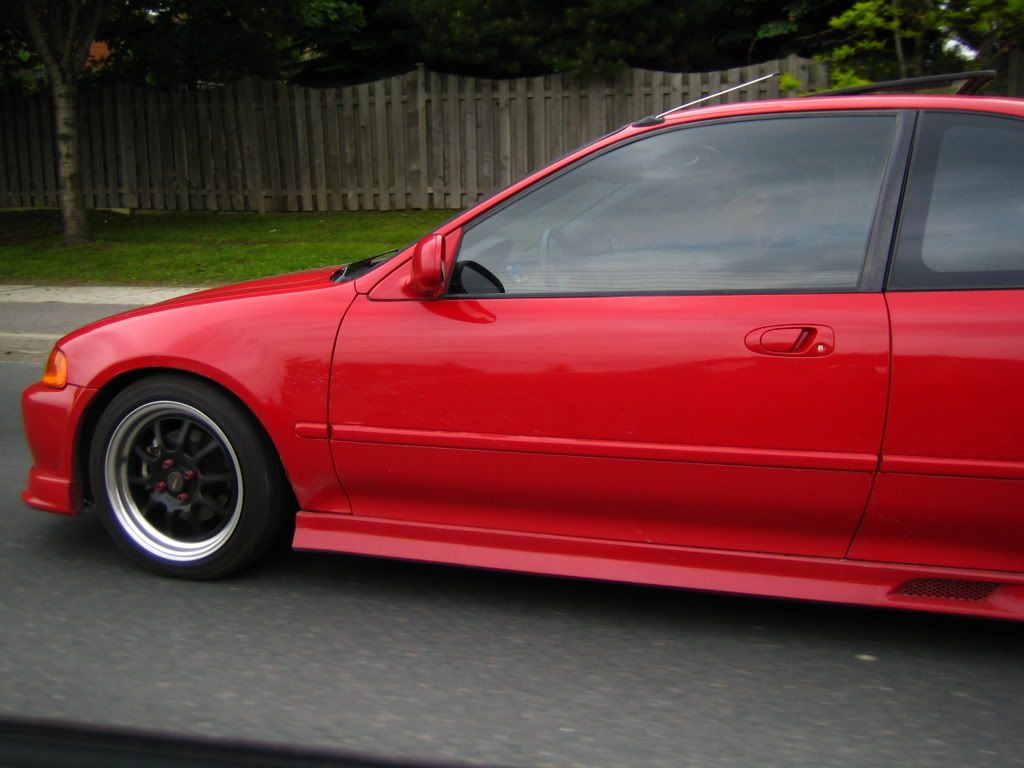
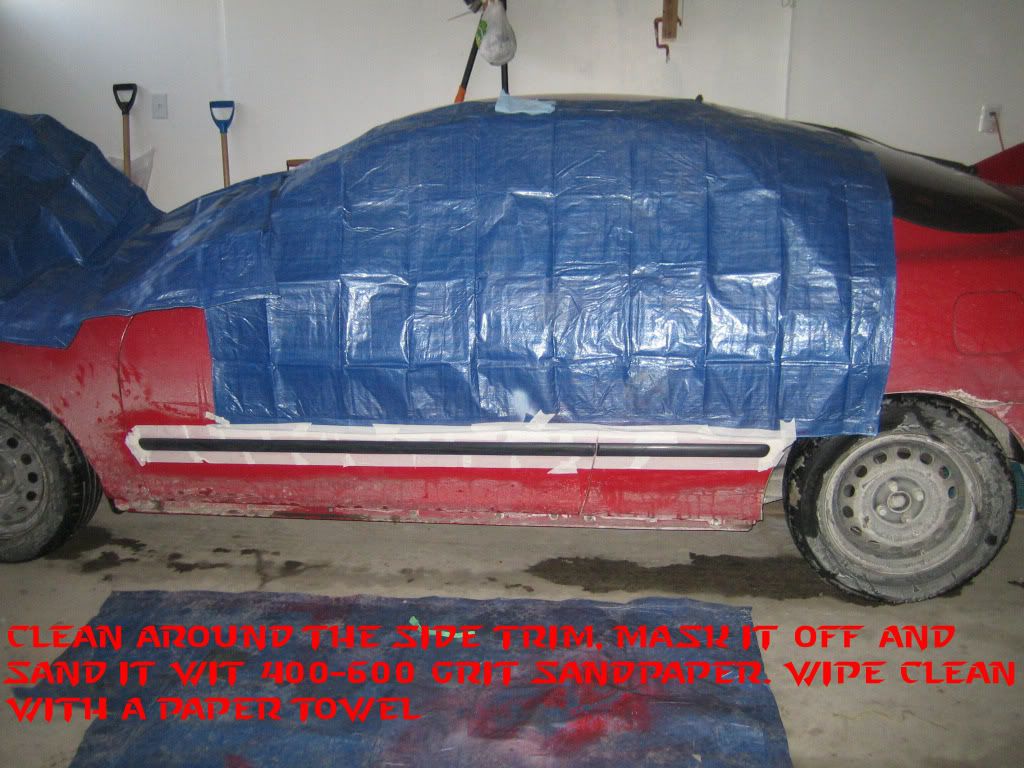
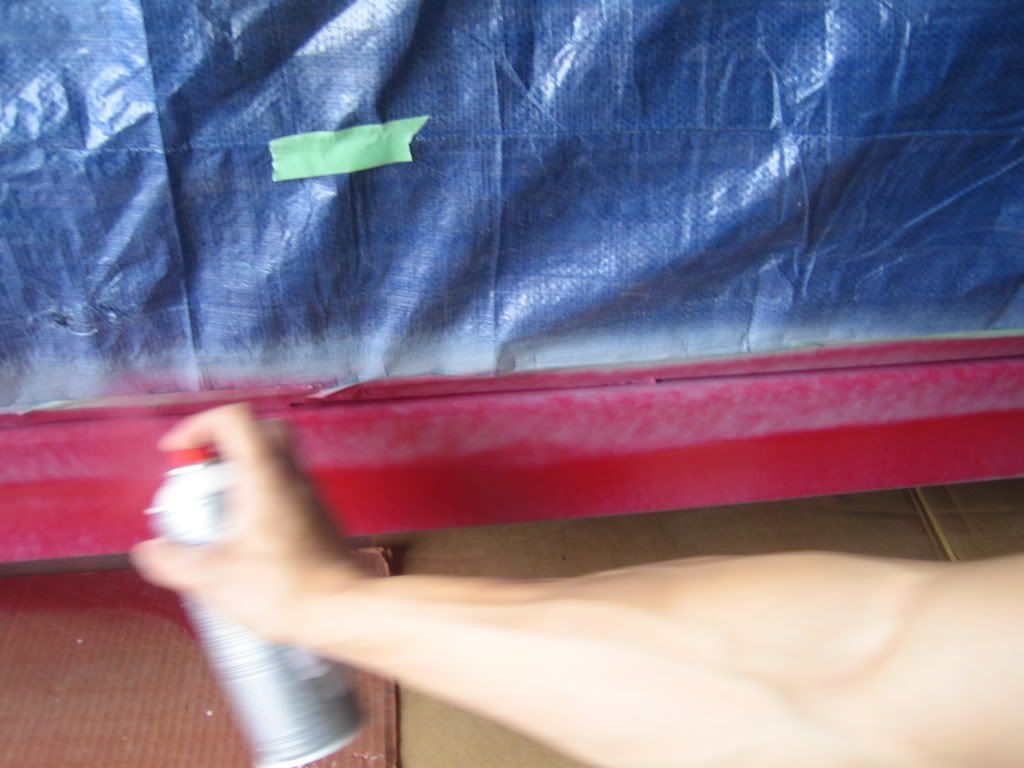
was helping a buddy paint his side moulding as its been a boring winter and we've been wanting to work on the cars. so here is a DIY on how to paint the mouldings that many people have.
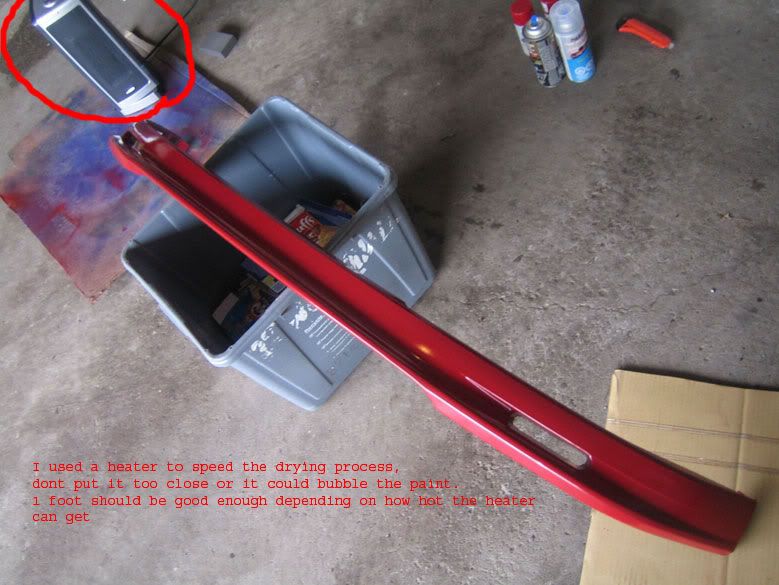
Note that many people may not be able to paint in colder temperatures and its not the best condition but Ive dont it many times and with a heat gun. If you do not have a buddy to work with you and a heat gun dont bother trying this as it will be very difficult alone and without a heat gun.
Supplies
Heat Gun
Masking tape -
4 Tarps
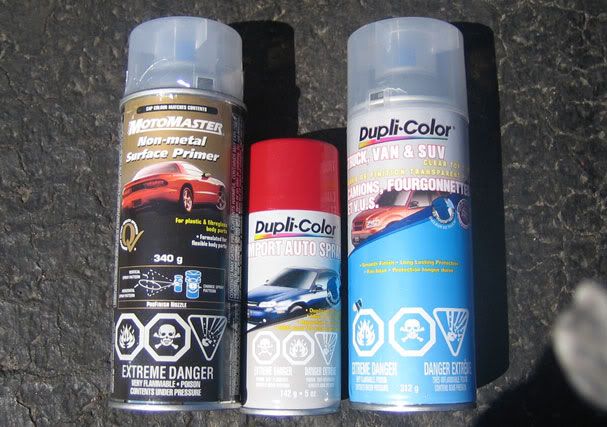
Primer
Base Coat ($25 1 can) or $10 1/3 can from CT duplicolor
Towels
400-600 grit sandpaper
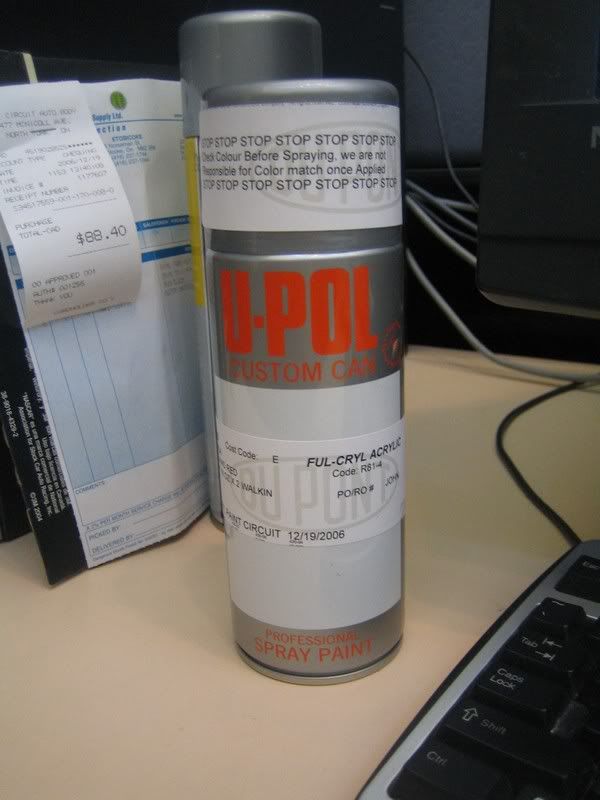
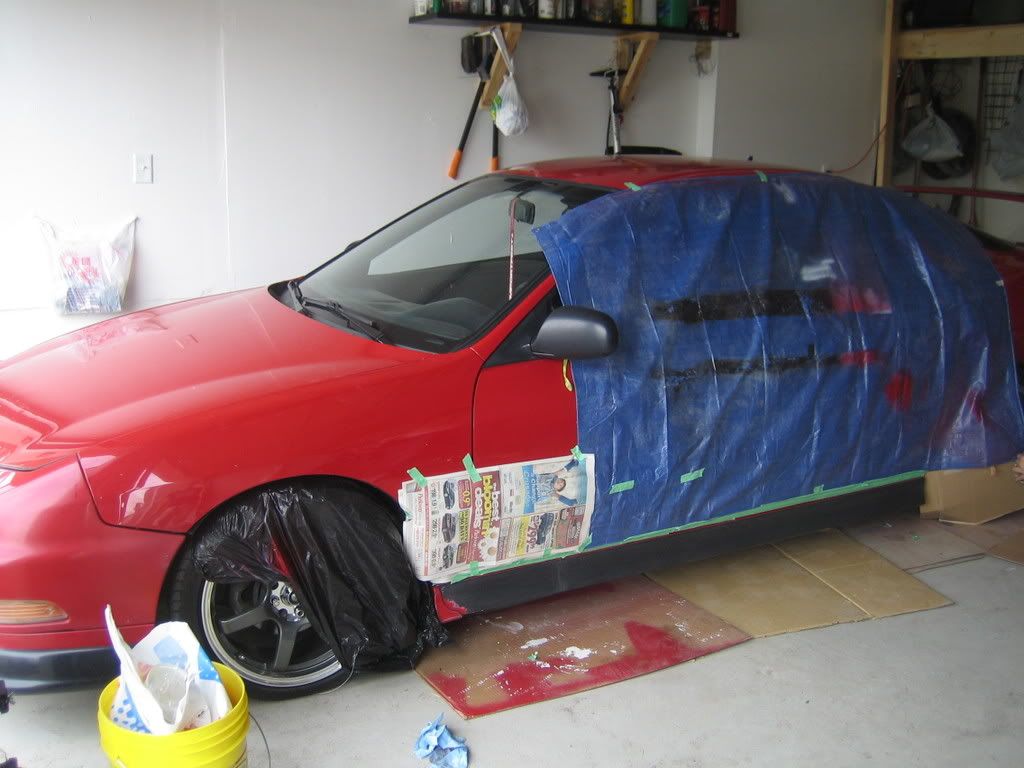
I purchased a thick 2" and a 1" masking tape and 4 tarps from the dollarstore. I hate using painters tape as it always tears on me. Primer and paint I get from Paintcircuit.com, theres one close to me around Mc Nicoll and Vic Park. You will need Towels to wipe and clean the mouldings after sanding. and Goo Gone to remove the tape residue after your dont painting. A heat gun is imperative in painting in colder temperatures and to help warm paint etc.
Where to get your paint?
http://www.paintcircuit.com
the one in scarborough is located at vic park and mc nicoll
http://maps.google.ca/maps?f=q&hl=en...wHss5D6BA&cd=2#
copy and pasted some of my instructions and info from another one of my new diys, u may not need all the supplies, and some of the steps in the photos are not needed and have changed, but atleast u get an idea of how to do it, since then i have refined my paint techniques and steps but generally they are the same, i no longer use certain primers as ive had some bad batches, i have had best luck with some cheap paints often more then the custom stuff.
*best finish and color from ct small duplicolr cans, best clear flexcoat primer
was helping a buddy paint his side moulding as its been a boring winter and we've been wanting to work on the cars. so here is a DIY on how to paint the mouldings that many people have.
Note that many people may not be able to paint in colder temperatures and its not the best condition but Ive dont it many times and with a heat gun. If you do not have a buddy to work with you and a heat gun dont bother trying this as it will be very difficult alone and without a heat gun.
Supplies
Heat Gun
Masking tape -
4 Tarps
Primer
Base Coat ($25 1 can) or $10 1/3 can from CT duplicolor
Towels
400-600 grit sandpaper
I purchased a thick 2" and a 1" masking tape and 4 tarps from the dollarstore. I hate using painters tape as it always tears on me. Primer and paint I get from Paintcircuit.com, theres one close to me around Mc Nicoll and Vic Park. You will need Towels to wipe and clean the mouldings after sanding. and Goo Gone to remove the tape residue after your dont painting. A heat gun is imperative in painting in colder temperatures and to help warm paint etc.
Where to get your paint?
http://www.paintcircuit.com
the one in scarborough is located at vic park and mc nicoll
http://maps.google.ca/maps?f=q&hl=en...wHss5D6BA&cd=2#
Last edited by Crazydragonclk; 16-Sep-2008 at 06:26 PM.


 16-Sep-2008, 06:11 PM
#9
Senior Member
Thread Starter
Join Date: Sep 2007
Location: Markham
Posts: 302
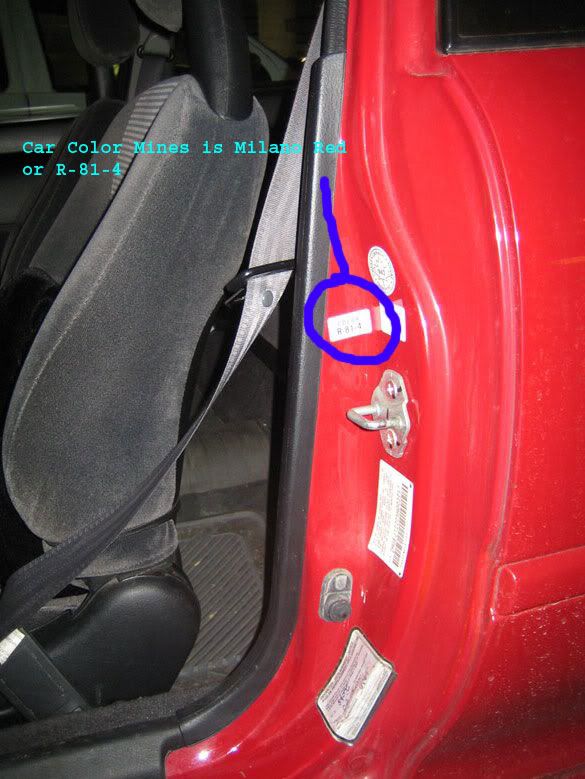
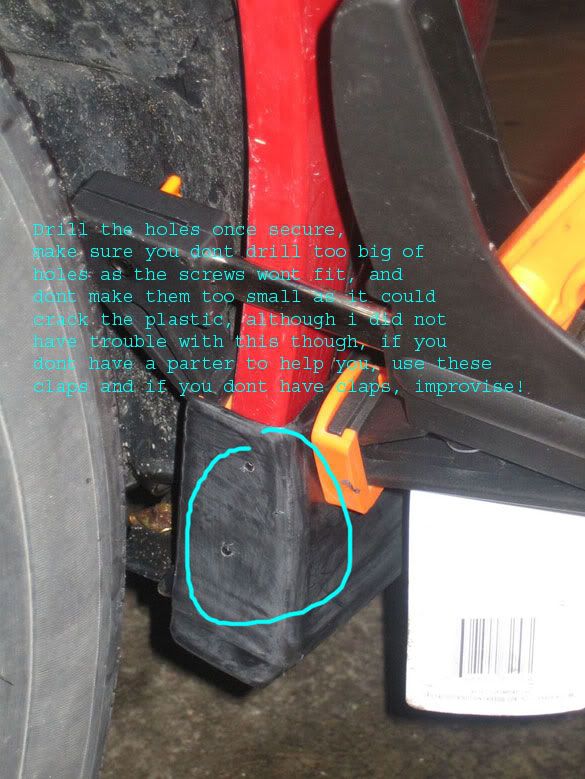
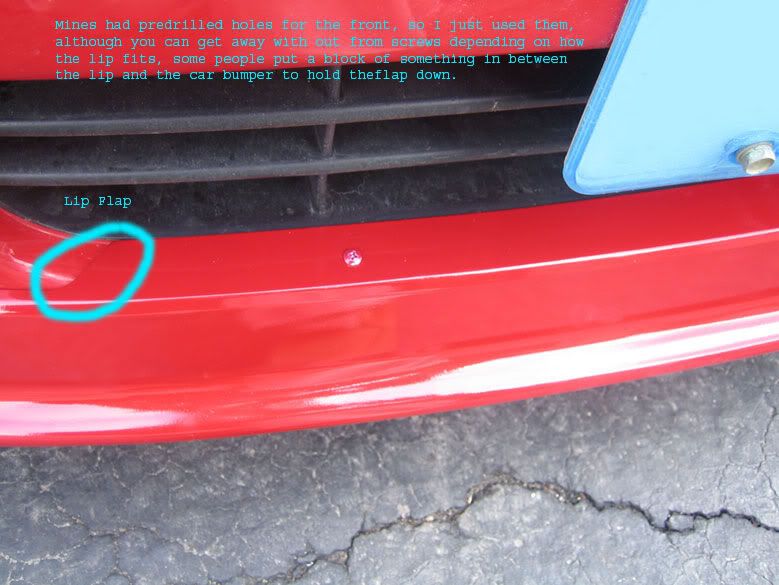
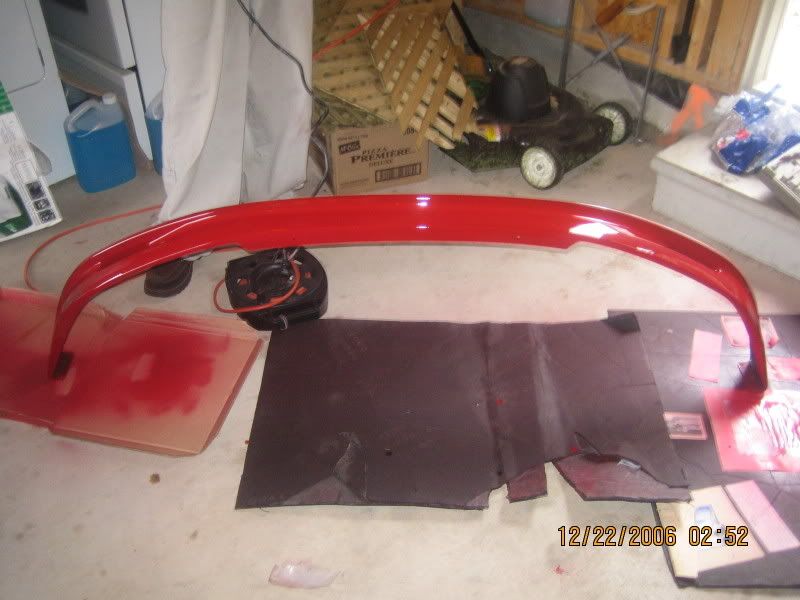
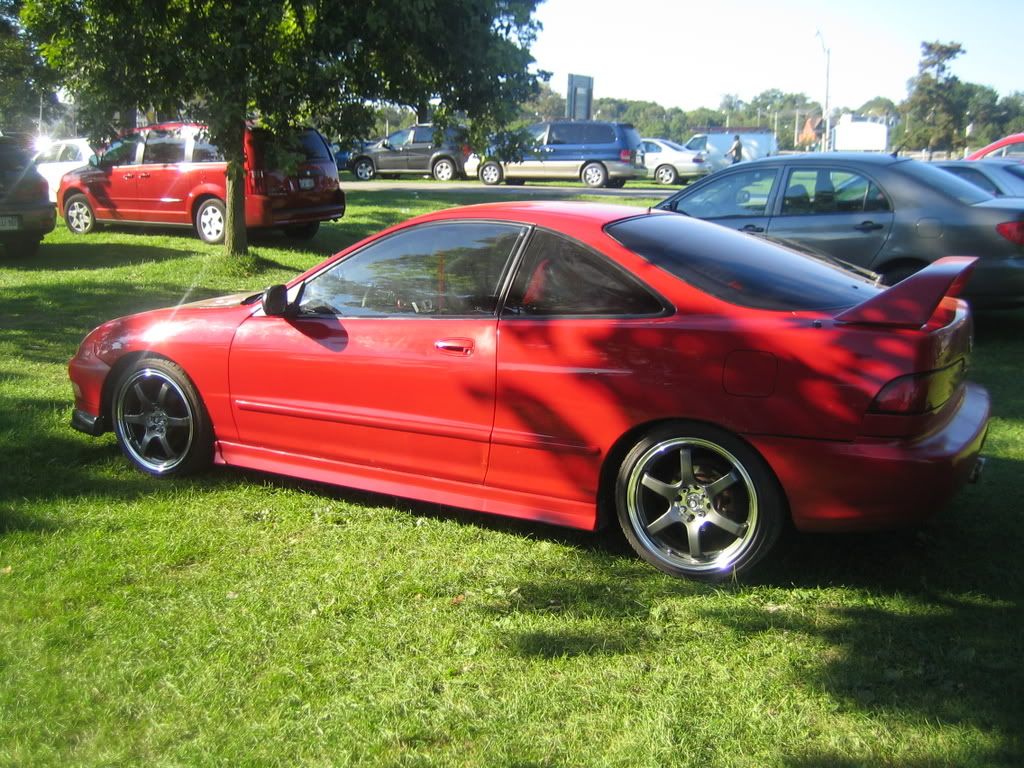
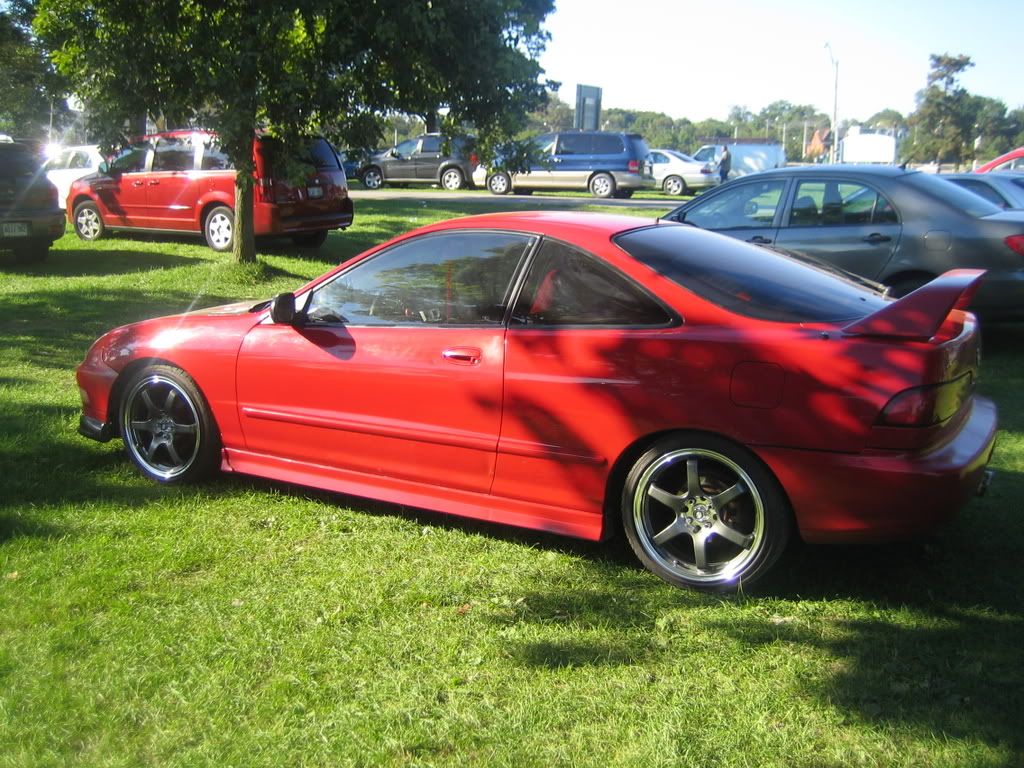
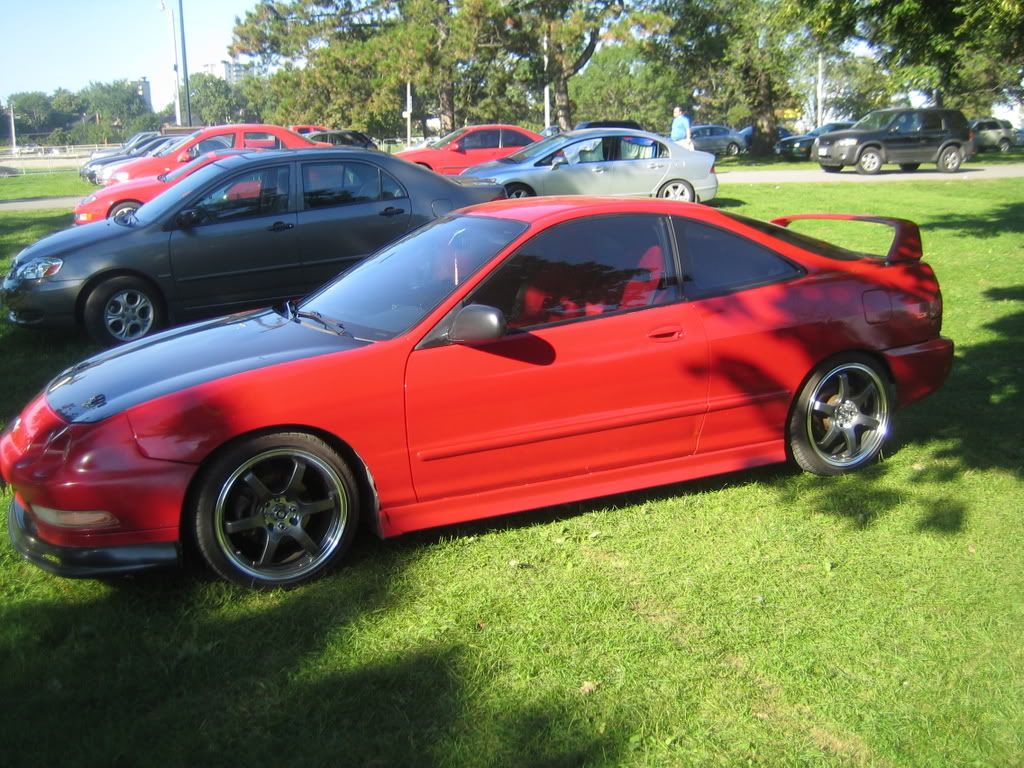
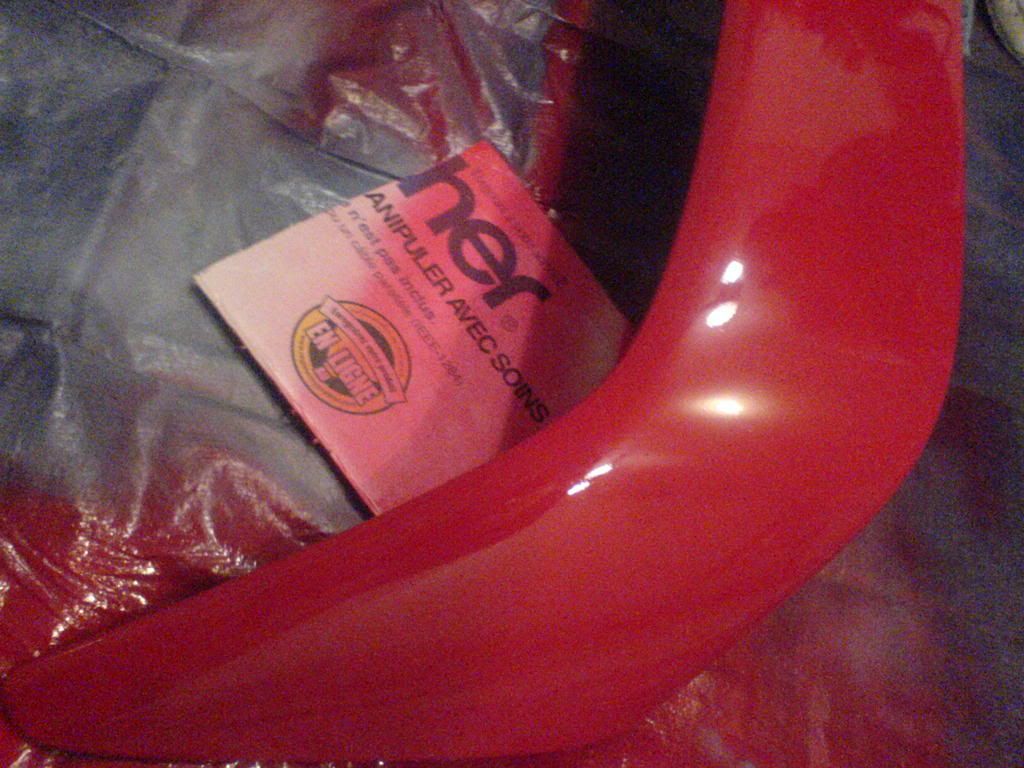
some parts after either a year or 2 years ago. paint match is generally pretty good, ive had best results with Canadian tire paint cans, although the spray pressure is not as nice as a full can

16-Sep-2008, 06:14 PM
#10
Senior Member
Thread Starter
Join Date: Sep 2007
Location: Markham
Posts: 302
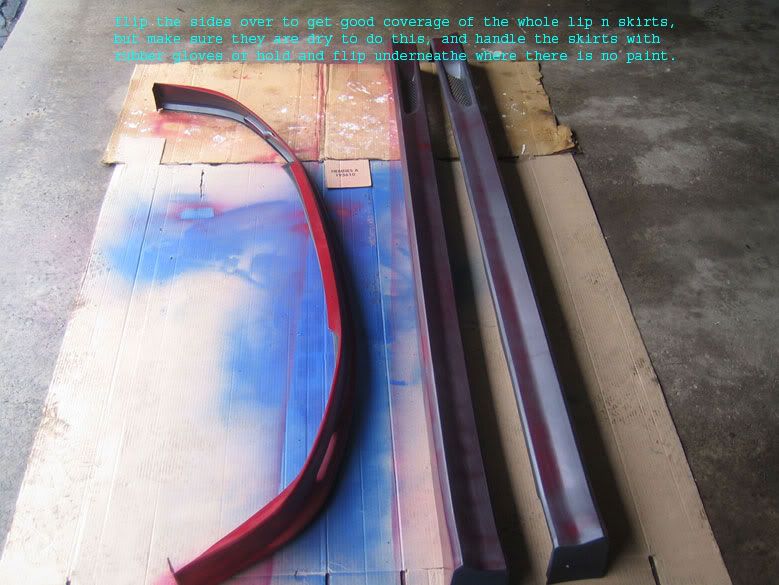
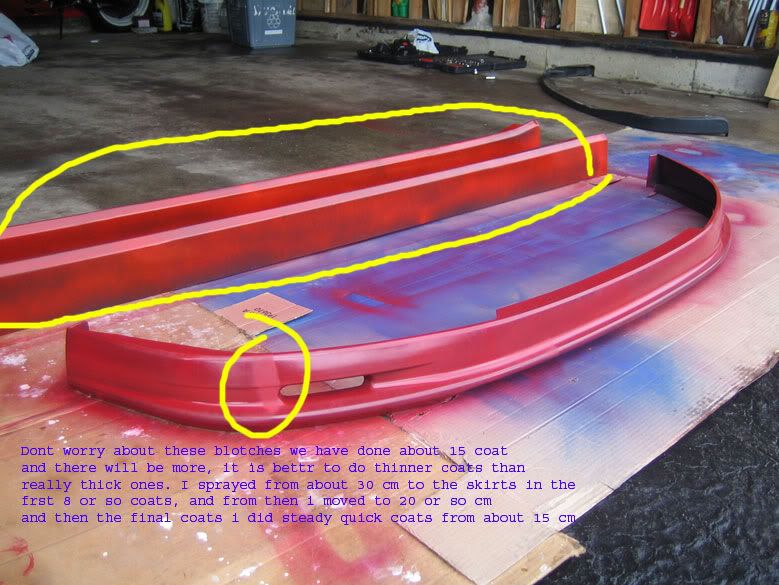
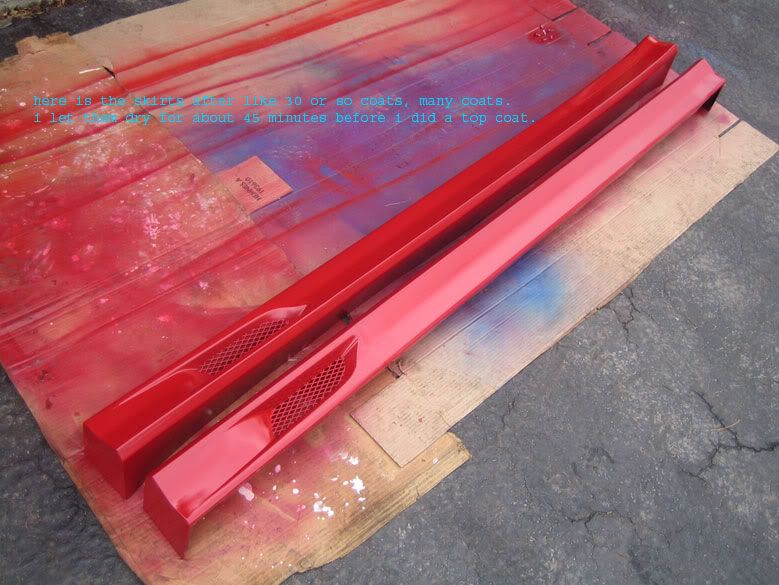
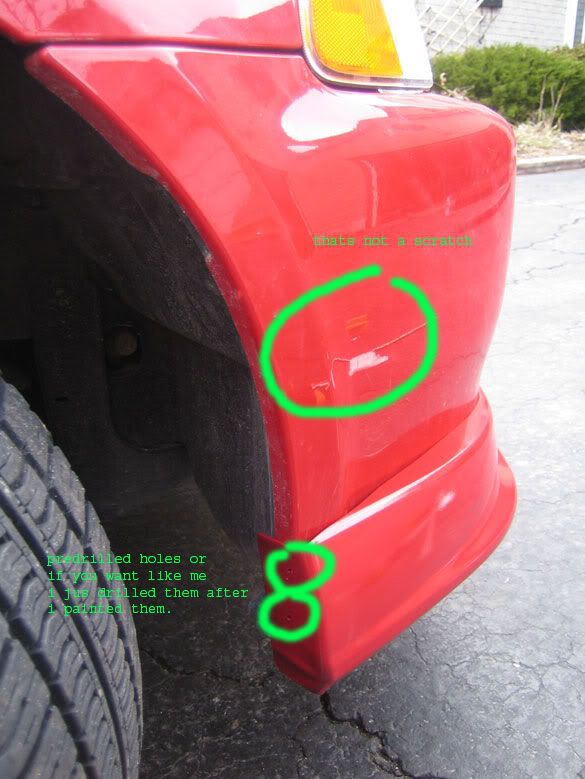
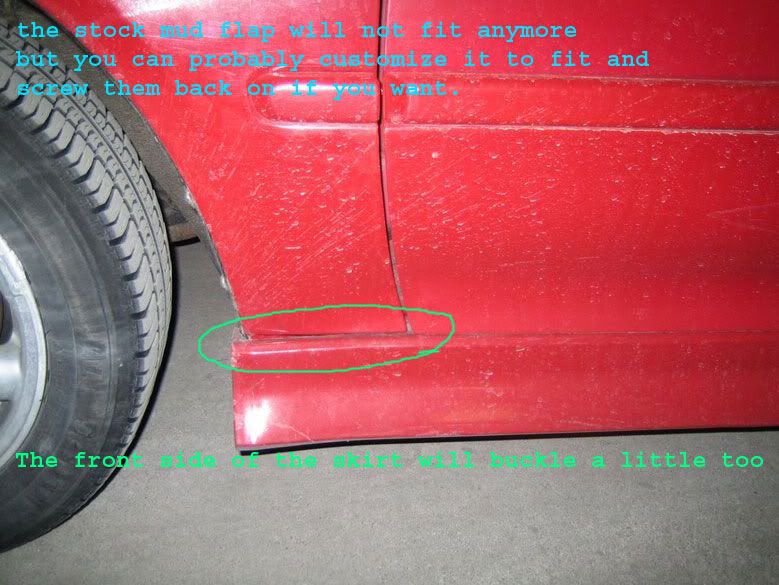
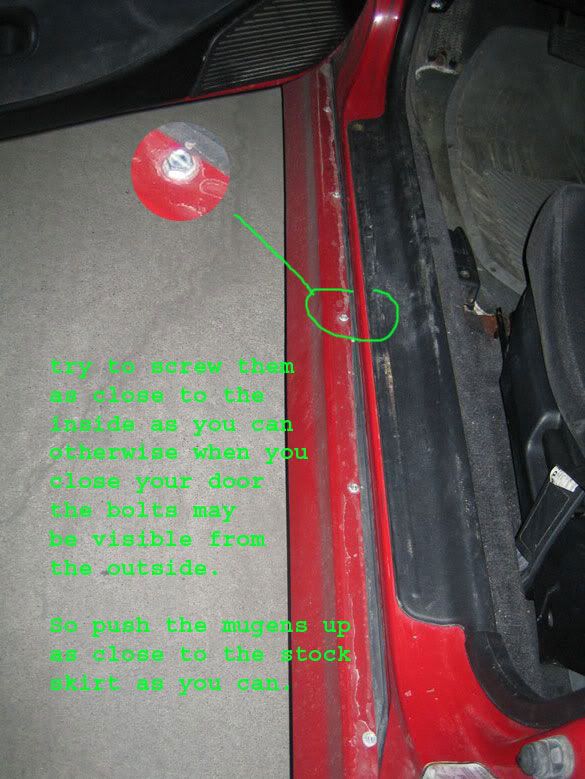
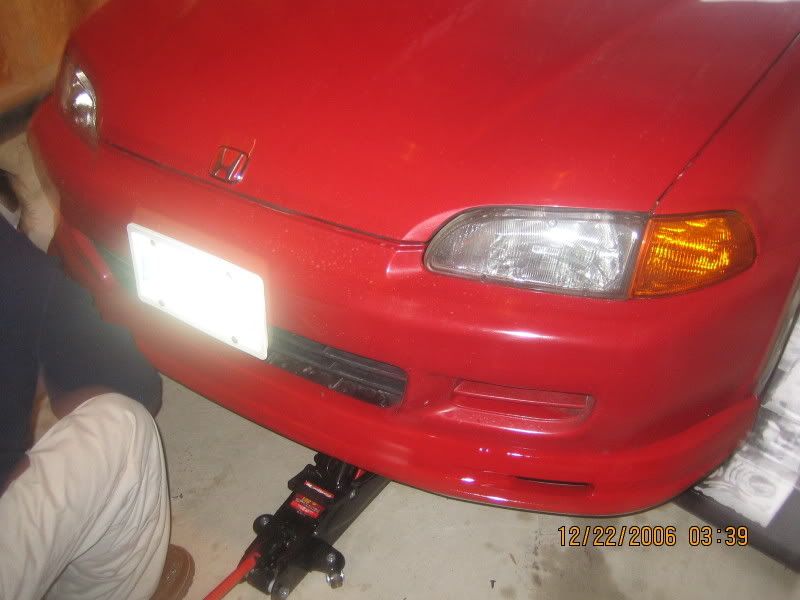
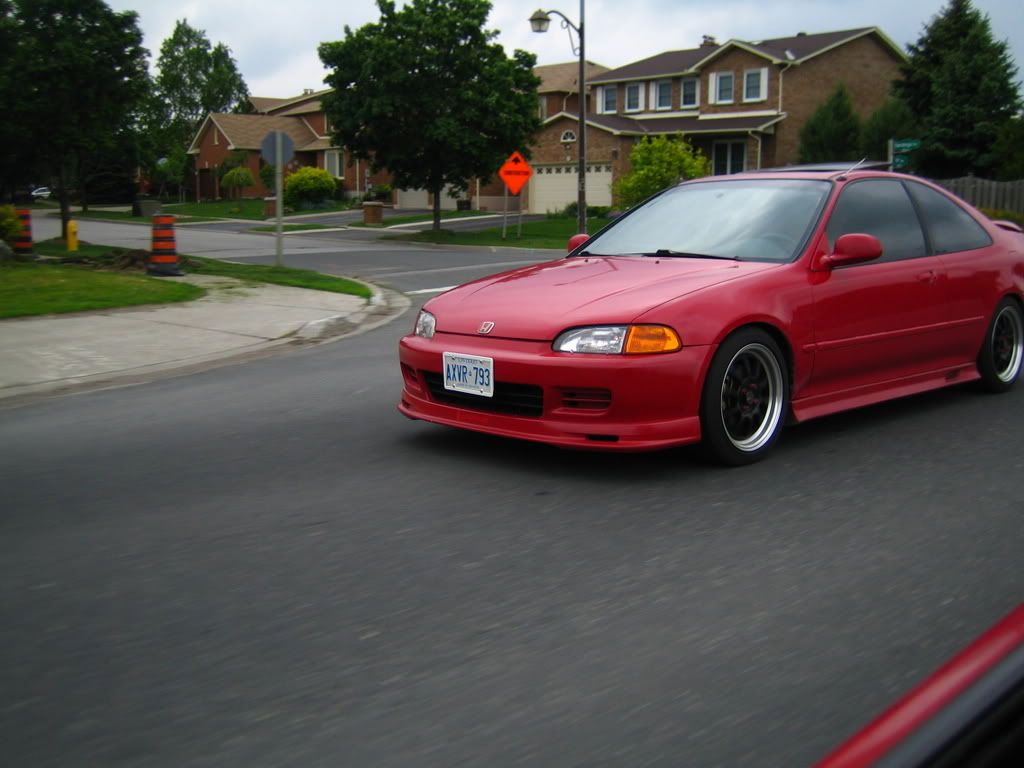
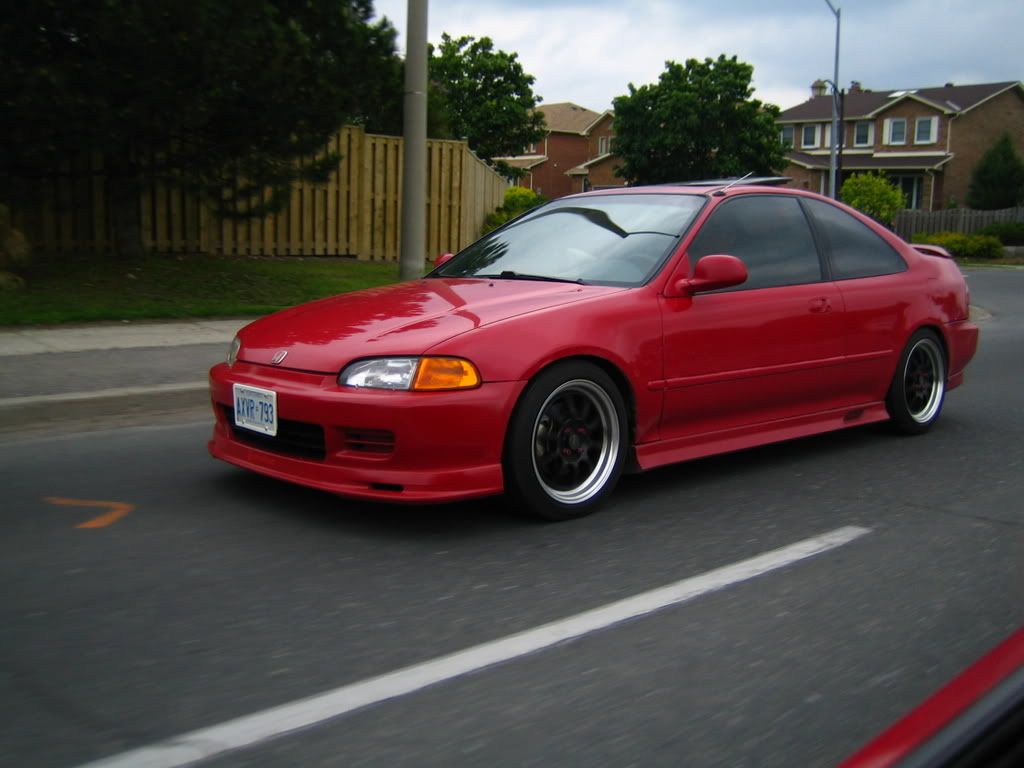
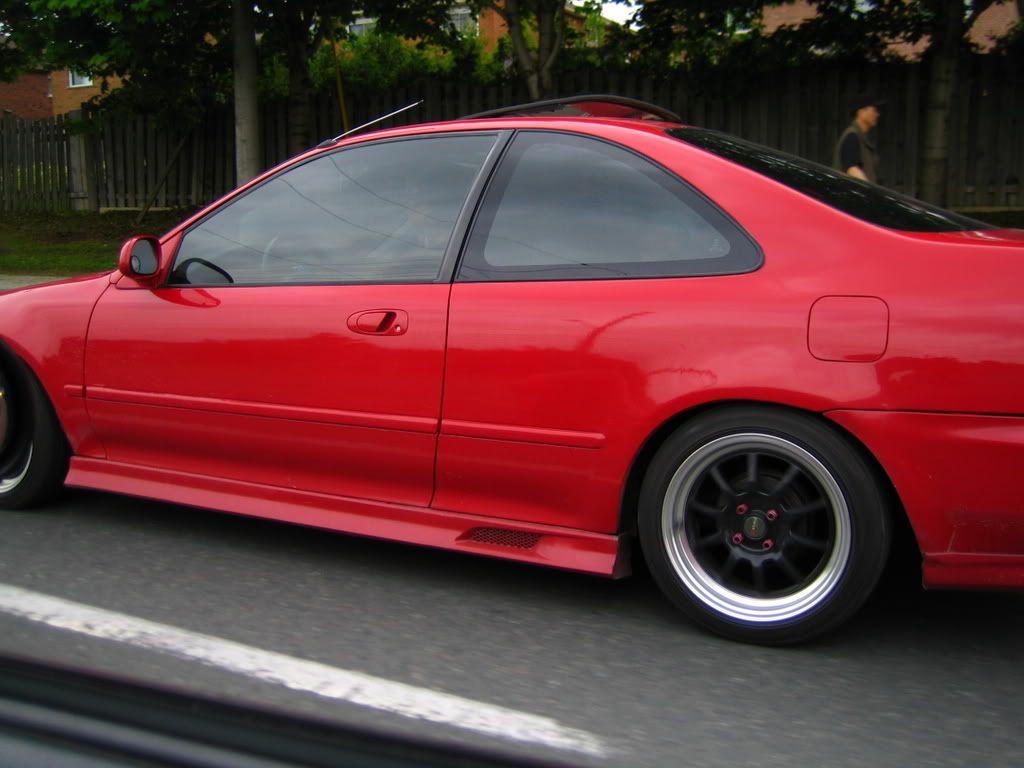
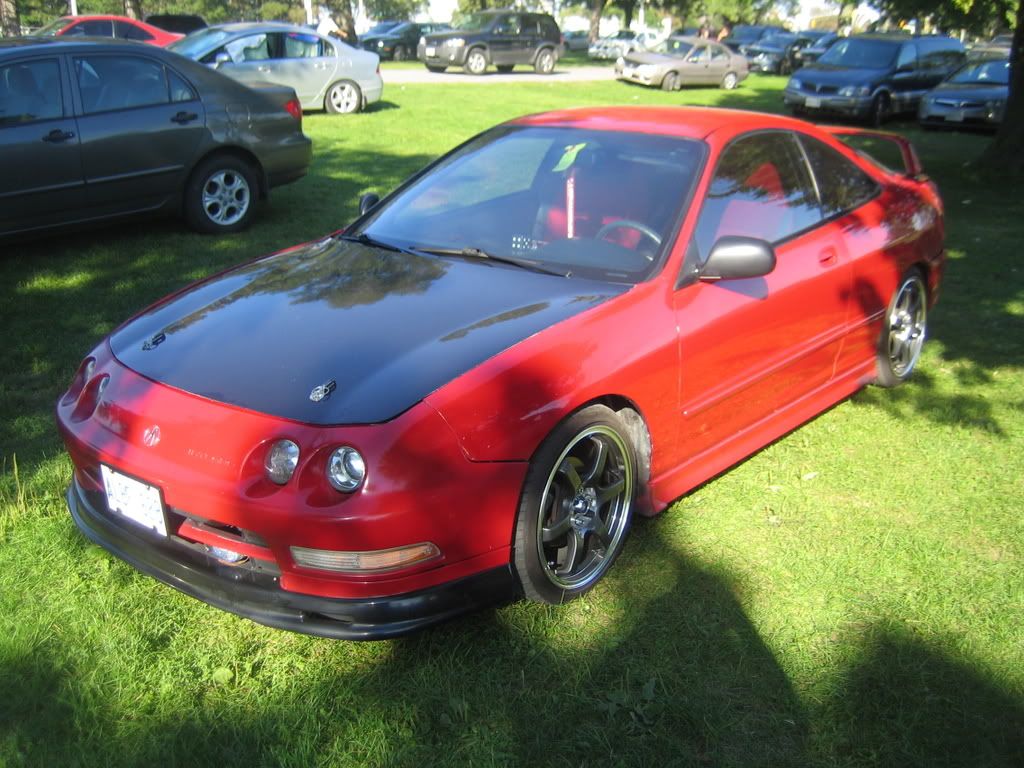
this is my friends car we painted the spoiler, side mouldings side skirts and touchup paint all around on fenders n bumpers. however one some parts we had a bad batch of primer which after a few days discolored the paint and destroyed the finish. other then that we repainted and all was perfect
Last edited by Crazydragonclk; 16-Sep-2008 at 06:16 PM.
 21-Mar-2009, 10:42 AM
#12
Senior Member
Thread Starter
Join Date: Sep 2007
Location: Markham
Posts: 302
also if your masking anything or tarping the car off, i would recomment to use electrical tape as the main layer of the paint of the car and then masking tape overlapping on top of the masking tape since masking tape can leave the glue resideue and electrical does not
16-Apr-2009, 01:11 AM
#13
Senior Member
Join Date: Jan 2008
Location: Mississauga
Posts: 564
Hey I just finished painting my rear and front lips with some paint i bought from Paint circuit and I got the clear coat mixed in this time.
Would you still put on a seperate clear coat afterwards? or a straight rubbing compound to finish it off?
or would you use rubbing compound than spray clear coat and than rubbing compound again?
Would you still put on a seperate clear coat afterwards? or a straight rubbing compound to finish it off?
or would you use rubbing compound than spray clear coat and than rubbing compound again?
 29-Apr-2009, 02:43 PM
#16
Senior Member
Thread Starter
Join Date: Sep 2007
Location: Markham
Posts: 302

Thread
Thread Starter
Forum
Replies
Last Post
honda1b6a
Custom Honda Civic Exterior - Lighting
0
15-Mar-2010 04:07 PM
R3dLine
Civic DIY Tutorials - Info
0
22-May-2009 05:14 PM
imported_peetap
Custom Honda Civic Exterior - Lighting
6
18-Dec-2006 02:03 PM
imported_crazydragonclk
Civic DIY Tutorials - Info
19
25-Mar-2006 02:02 PM


