How to : rear washer camber trick
 30-Aug-2007, 09:45 PM
#1
Senior Member
Thread Starter
Join Date: Aug 2007
Location: Hell
Posts: 202
How to : rear washer camber trick
Originally posted by *bbarbulo*
Well, I got this free with my Omnipower front camber kit... so this is how you install it
jack up car
remove wheel
... take a smoke break
then you'll be looking at this
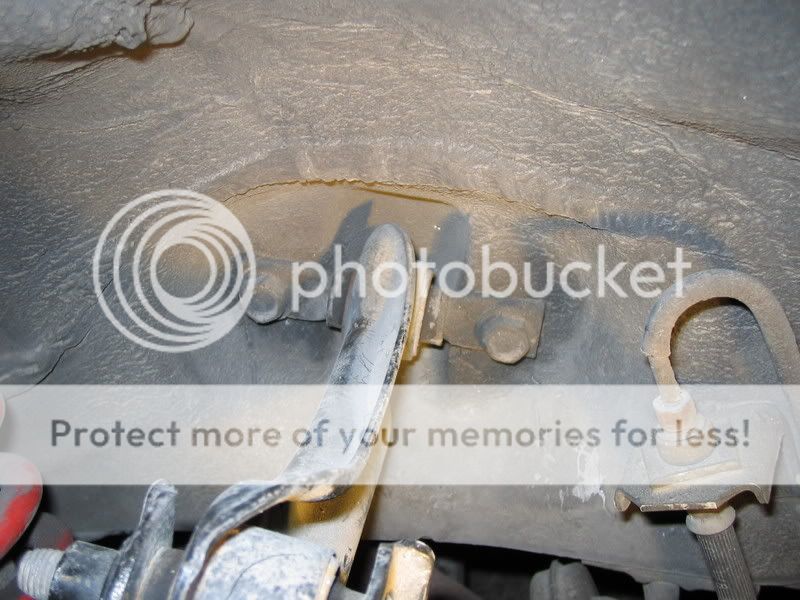
Take your 14 mm and a couple of extensions and bust those bad boys loose.
Take 2 washers per bolt and slide them between the body and the upper rear control arm. Install longer bolts as provided in the kit. Torque them to 29 lb-ft
 replace the wheel, and torque the wheel to ~80 lb-ft.
Repeat for the other side.
You are done. No more bunk camber.
Oh wait... one more step. Go to the front on ONE side... raise the car up as high as you safely can. Now check the rear opposite side, the wheel should have tucked into the wheelwell. By flexing the susp, you should make sure your newly corrected camber doesn't cause an issue with your wheelwell. Mine was ALLLLLRIIIIIGGGHT !!! OUUUGGH YEAHHH!!
Well, I got this free with my Omnipower front camber kit... so this is how you install it
jack up car
remove wheel
... take a smoke break
then you'll be looking at this
Take your 14 mm and a couple of extensions and bust those bad boys loose.
Take 2 washers per bolt and slide them between the body and the upper rear control arm. Install longer bolts as provided in the kit. Torque them to 29 lb-ft
replace the wheel, and torque the wheel to ~80 lb-ft.Repeat for the other side.
You are done. No more bunk camber.
Oh wait... one more step. Go to the front on ONE side... raise the car up as high as you safely can. Now check the rear opposite side, the wheel should have tucked into the wheelwell. By flexing the susp, you should make sure your newly corrected camber doesn't cause an issue with your wheelwell. Mine was ALLLLLRIIIIIGGGHT !!! OUUUGGH YEAHHH!!

 10-Oct-2007, 02:32 PM
#4
Senior Member
Join Date: Aug 2002
Location: Mississauga
Posts: 13,184
yeah makes a huge difference... I had pics somewhere I put up too but I donno where they are lemme look...
Make sure you don't put too many on either, i think it was one washer for every inch you're dropped as a rule of thumb...
Make sure you don't put too many on either, i think it was one washer for every inch you're dropped as a rule of thumb...
10-Oct-2007, 06:30 PM
#6


no pics. yes it makes that much of a difference. it's simple geometry. little change close to the center of the wheel, extrapolate that change to 11 inches away from the center of the wheel and you'll see why...
 08-Nov-2007, 05:14 PM
#9
Senior Member
Join Date: Aug 2002
Location: Mississauga
Posts: 13,184
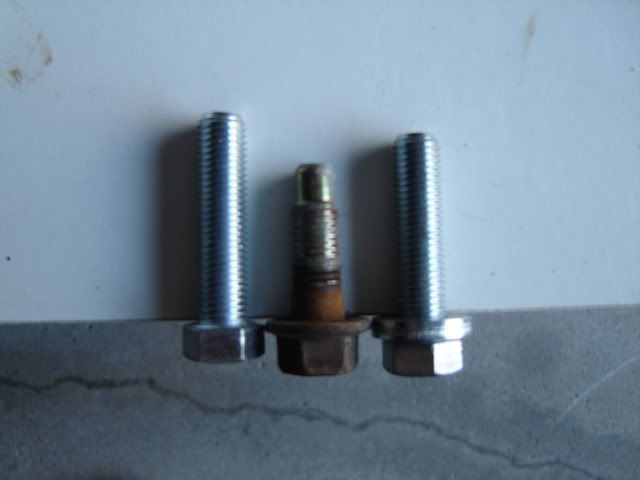
that's the pic I took when I did mind... not that much longer but they need to be threaded all the way to the end to grab unlike the stockies...
btw left is the new bolt, middle is stock, right is new bolt with the washers...
 11-Dec-2007, 04:20 PM
#13
Member
Join Date: Oct 2007
Location: Peterborough, ON
Posts: 53
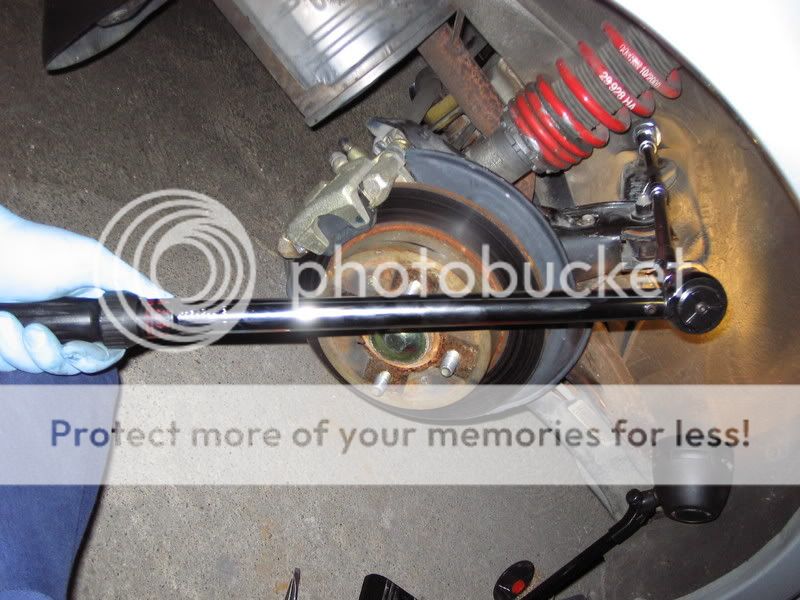
i did this same thing to my accord...had mad camber on the left rear..used an odessy rear shim kit and spaced the arm that much further out from the body...makes a huge difference..if your not sure how much of a shim to use take it to an alignment shop and they can space it accordingly. great write up above...only thing i noticed is with your torque wrench you have about 2 extensions on there and a flex so your torque of 29lb/ft actually only made it to about aprox 20 lb/ft at the nut due to the flex in all the extensions....nothing wrong with using the extensions just bump your torque up accordingly(Y) and try to refrain from using a flex as it throws it way off
12-Dec-2007, 02:12 PM
#14
ya I know, the extensions were used so I could get the torque wrench outside the wheelwell for maximum comfort  haha but not to worry, the extensions don't flex under 20 lb/ft of torque... maybe if I was applying like 100 or more, then I'd be concerned about flex - chrome vanadium is pretty rigid.
haha but not to worry, the extensions don't flex under 20 lb/ft of torque... maybe if I was applying like 100 or more, then I'd be concerned about flex - chrome vanadium is pretty rigid.
12-Dec-2007, 07:09 PM
#15
Member
Join Date: Oct 2007
Location: Peterborough, ON
Posts: 53
Ya with something in that area you wouldnt need to be retartedly tight anyway. its not like its a high stress area that would cause the bolts to back off unless they arent tight to begin with. Good write up!

 04-Jan-2008, 08:16 AM
#19
Senior Member
Join Date: Aug 2002
Location: Mississauga
Posts: 13,184
05-Jan-2008, 03:32 PM
#20
Senior Member

Join Date: Sep 2007
Posts: 2,570
i got some really really bad camber wear on the rear driver side wheel; the rear passenger was not as bad....I think when I installed my suspension i didnt adjust the height of both the konis...so will this trick fix the camber wear?


