DIY Bodywork and Paint Repair
 01-May-2009, 03:21 PM
#1
Senior Member
Thread Starter
Join Date: Sep 2007
Location: Markham
Posts: 302
DIY Bodywork and Paint Repair
I have within 48 hours repaired most of the damages on my wifes car, my following price list on repairs and photo process.
Bodyshop Quote $850
My Work, Total about $150(Junkyard, and self bodywork and painting)
-Used Front Bumper - $45
-Used Drivers Side Headlight - $26
-FiberGlass short stranded filler - $18
-Base Coat, Duplicolor mini spray can - $10
-Primer Full can - $5
-Clear Coat - $10
-Spare Black Hood - $30(off a friend)
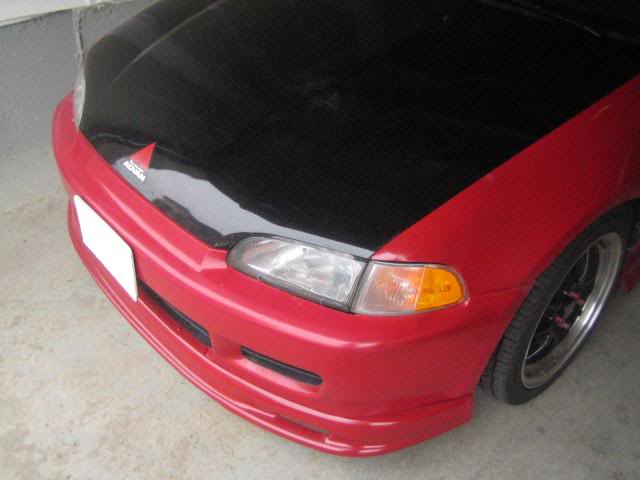
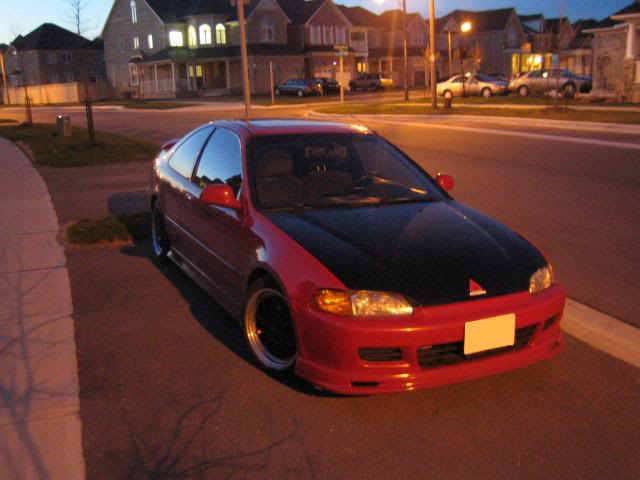
The only thing still needing repair which is optional and not noticeable generally is that the bumper its still slightly misaligned about a cm or 2. You can see the crack where the hood and the bumper meets is uneven. I am very picky so I may decide to get that fixed later but for now its up to my standards.
light sand and removal of loose paint chips
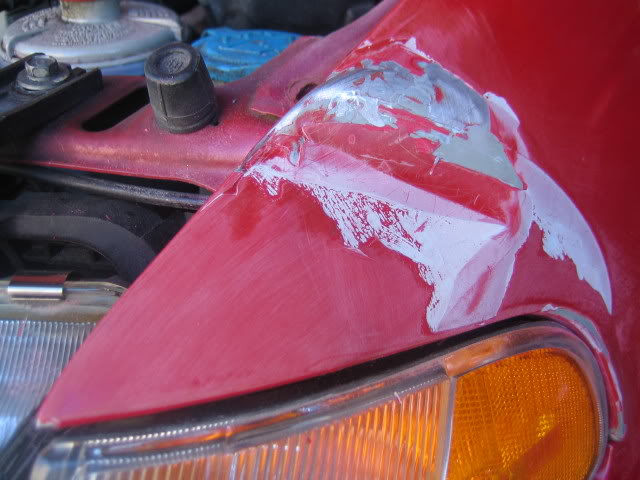
Attempted to pull and push out the dent to no success and then masked off lights before more sanding and filler being added
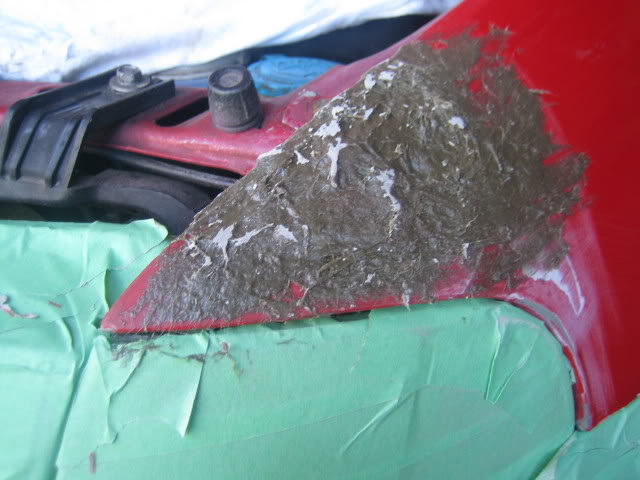
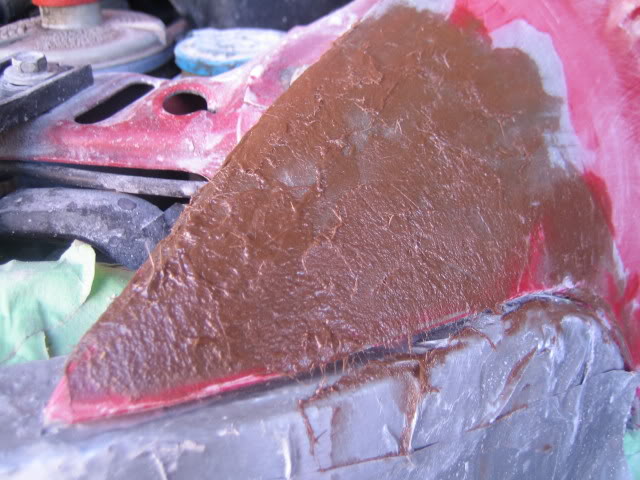
First layer of fiberglass filler to start to build valleys of dent
Sanding using 100 grit, 1 paper lasts about 1 minute of sanding then needs to be changed, if you have an extra $40-$50 do get a good palm sander, this will cut the time in half.

Sanded to rough shape
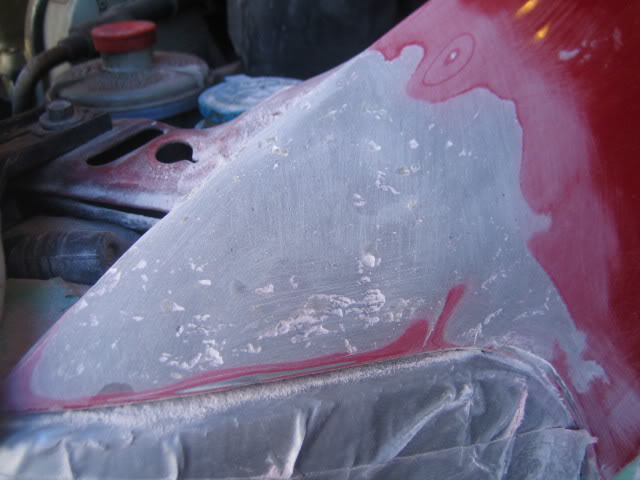
Thin layer to even out airpocket holes in filler
Sanded again to smoother finish, notice more of the holes have been filled.
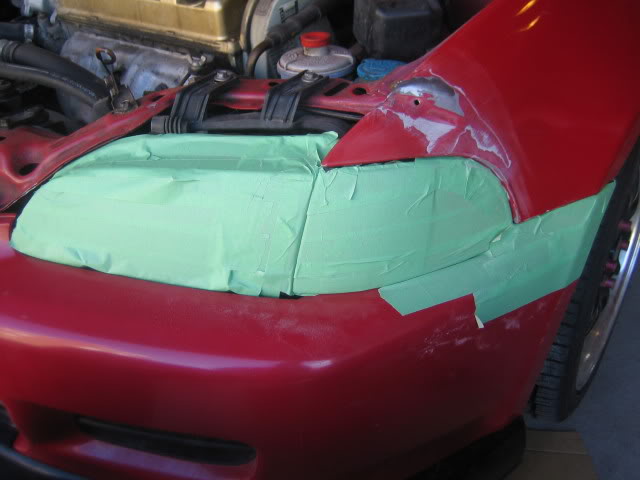
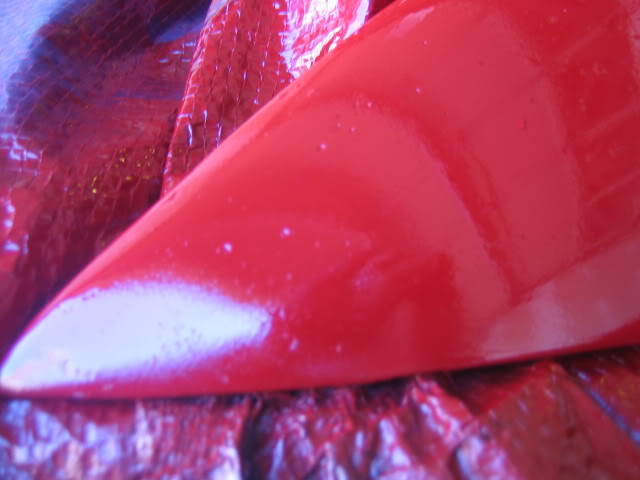
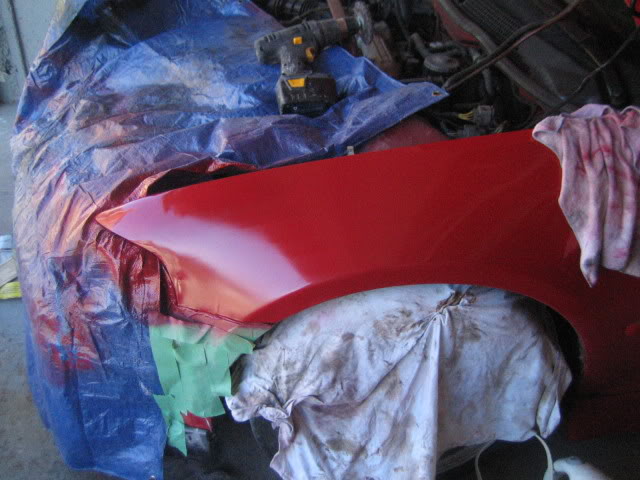
I did not have any pinhold filler, but didnt care so I painted. Just remember to clean the whole area around the painted panel and mask off using tarp. surface will probably feel a little dusty after youve wiped clean but I didnt care. Use your common sense when painting and make sure you wear a mask to filter out toxic fumes. Pinhole filler will be extremely easy in filling those small holes. Primed over filler so no white was visible and painted first few layers of Milano Red Basecoat.
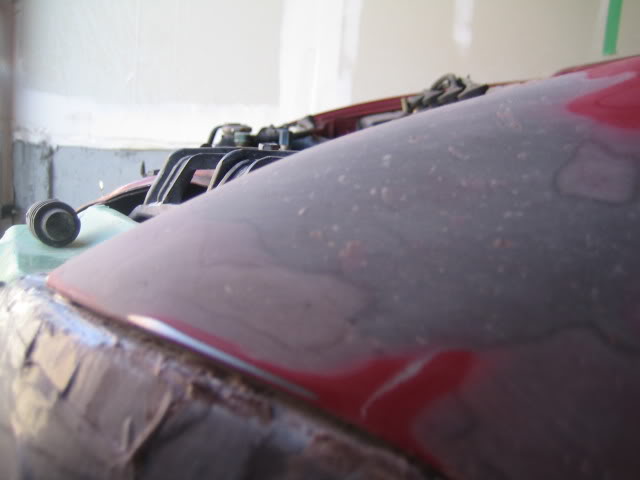
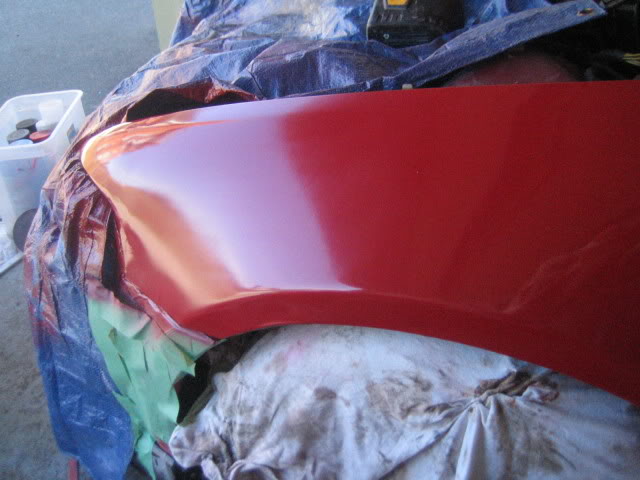
Clearcoat added and faded about half way over fender, do not mask area of painting, fade out your spray. In other words grandually pull ur spray can away from the surface while passing.
If there is any dust or residue on the fresh paint do not attempt to remove it or you will destroy the paint job, if you do you will need it to fully dry and then wetsand it with 400-600 grit and redo the whole paintjob.
Allow to dry for 30 minutes or more, you can go lightly with a heatgun being careful not to burn the new paintjob.
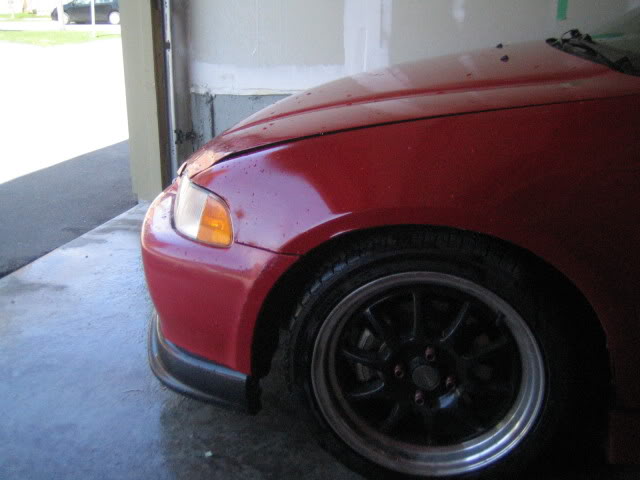
lightly washed and rinsed off dust from sanding

Cleaned up and placed the new hood on
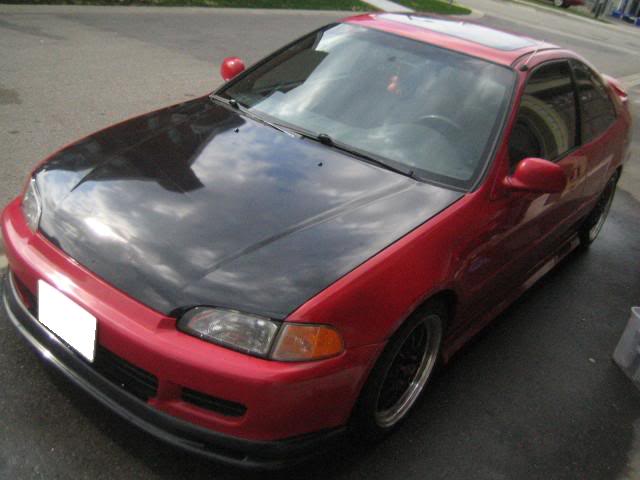
also painted lip black as it was no longer desirable to me.
the end.
Bodyshop Quote $850
My Work, Total about $150(Junkyard, and self bodywork and painting)
-Used Front Bumper - $45
-Used Drivers Side Headlight - $26
-FiberGlass short stranded filler - $18
-Base Coat, Duplicolor mini spray can - $10
-Primer Full can - $5
-Clear Coat - $10
-Spare Black Hood - $30(off a friend)
The only thing still needing repair which is optional and not noticeable generally is that the bumper its still slightly misaligned about a cm or 2. You can see the crack where the hood and the bumper meets is uneven. I am very picky so I may decide to get that fixed later but for now its up to my standards.
light sand and removal of loose paint chips
Attempted to pull and push out the dent to no success and then masked off lights before more sanding and filler being added
First layer of fiberglass filler to start to build valleys of dent
Sanding using 100 grit, 1 paper lasts about 1 minute of sanding then needs to be changed, if you have an extra $40-$50 do get a good palm sander, this will cut the time in half.
Sanded to rough shape
Thin layer to even out airpocket holes in filler
Sanded again to smoother finish, notice more of the holes have been filled.
I did not have any pinhold filler, but didnt care so I painted. Just remember to clean the whole area around the painted panel and mask off using tarp. surface will probably feel a little dusty after youve wiped clean but I didnt care. Use your common sense when painting and make sure you wear a mask to filter out toxic fumes. Pinhole filler will be extremely easy in filling those small holes. Primed over filler so no white was visible and painted first few layers of Milano Red Basecoat.
Clearcoat added and faded about half way over fender, do not mask area of painting, fade out your spray. In other words grandually pull ur spray can away from the surface while passing.
If there is any dust or residue on the fresh paint do not attempt to remove it or you will destroy the paint job, if you do you will need it to fully dry and then wetsand it with 400-600 grit and redo the whole paintjob.
Allow to dry for 30 minutes or more, you can go lightly with a heatgun being careful not to burn the new paintjob.
lightly washed and rinsed off dust from sanding
Cleaned up and placed the new hood on
also painted lip black as it was no longer desirable to me.
the end.


Thread
Thread Starter
Forum
Replies
Last Post
Crazydragonclk
Civic DIY Tutorials - Info
33
07-May-2009 02:14 PM


