DIY: HID Retrofit in an EK
 22-Aug-2008, 08:51 AM
#1
Senior Member
Thread Starter
Join Date: Oct 2007
Location: Toronto
Posts: 131
DIY: HID Retrofit in an EK
Hello all,
I decided to do a HID retrofit because besides the cool look I also do a lot of backroad driving and I hate my ****ty aftermarket headlights. I had bought them because I wanted projectors (stock output blows). The output on those headlights were OK, but the housing was way too flashy. Anyways, hope you guys find this helpful.
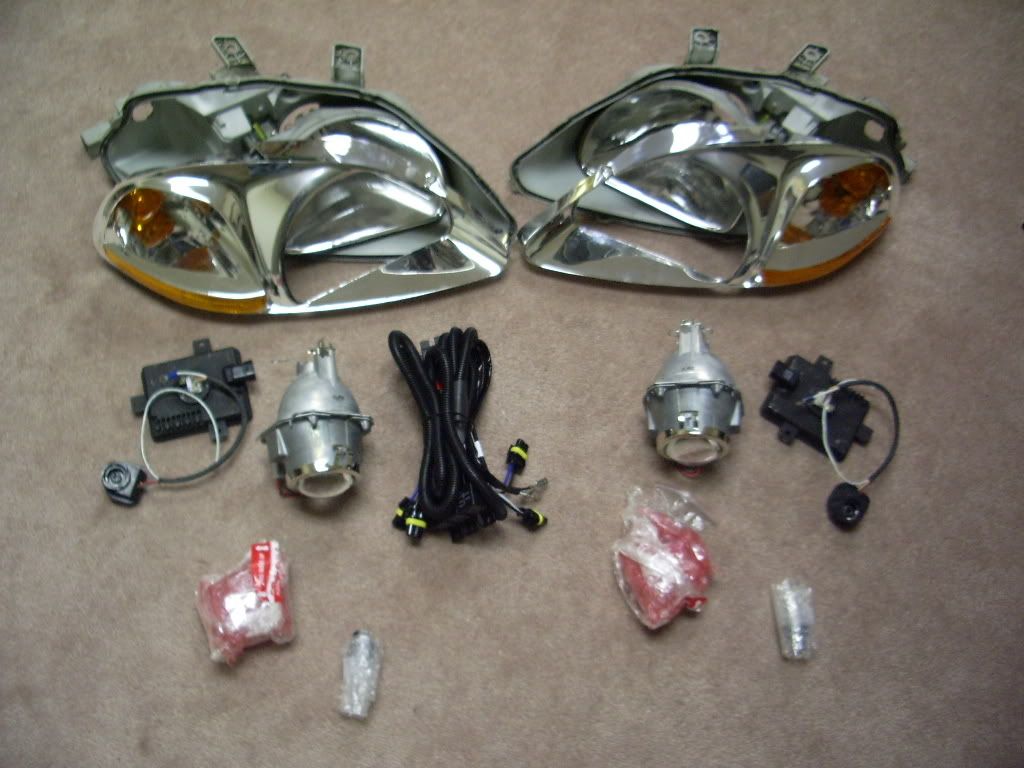
What you'll need:
- D2S bulbs
- D2S projectors (I used a pair from a TL)
- Wiring harness
- Shrouds (or you can make your own)
- Ballasts (I used a pair from a TL)
- LED rings (optional)
- Flat head and philips screwdrivers and 10mm socket wrench
- Primer and paint (optional)
- Adhesive/glue
- About 7 hours
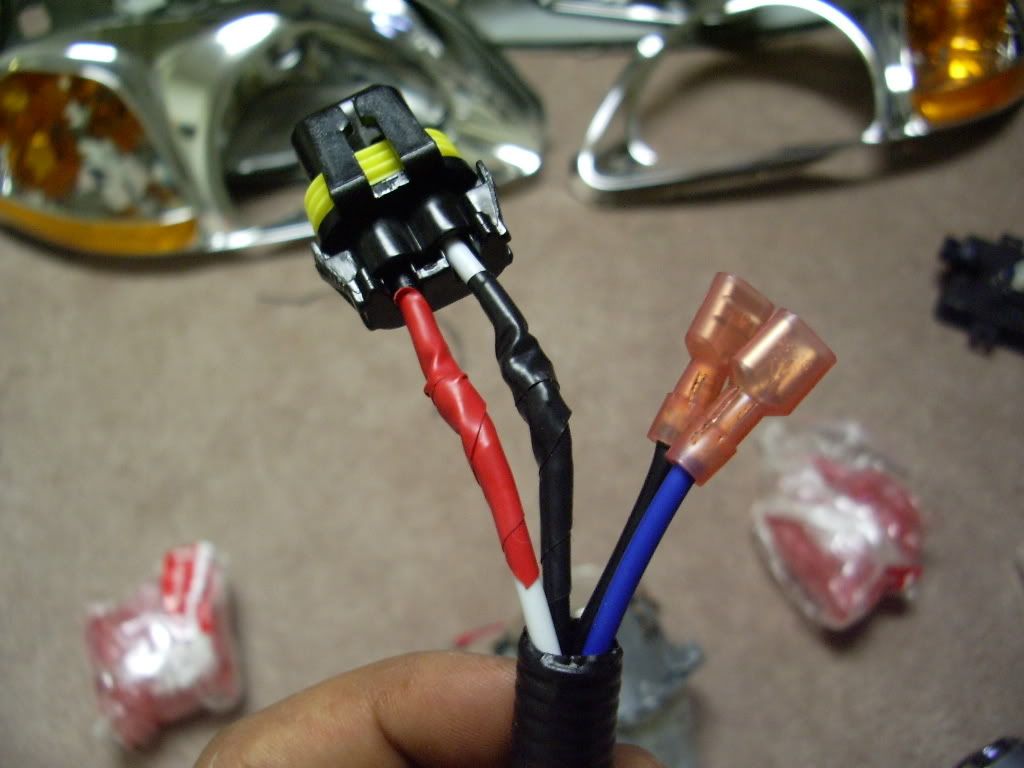
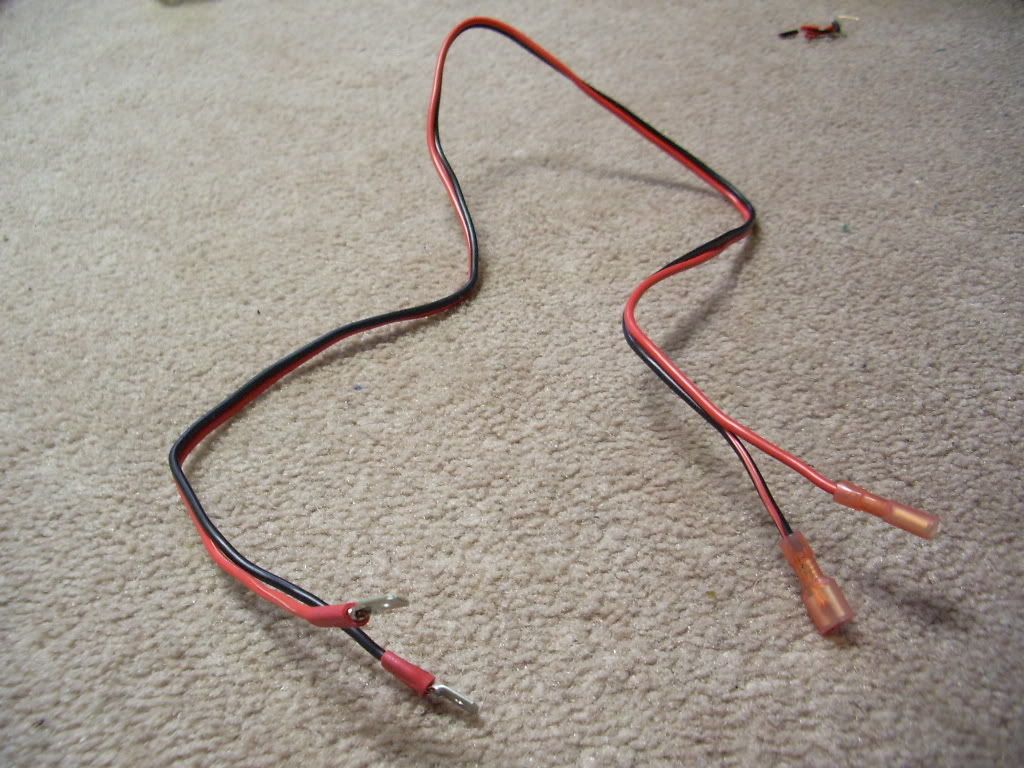
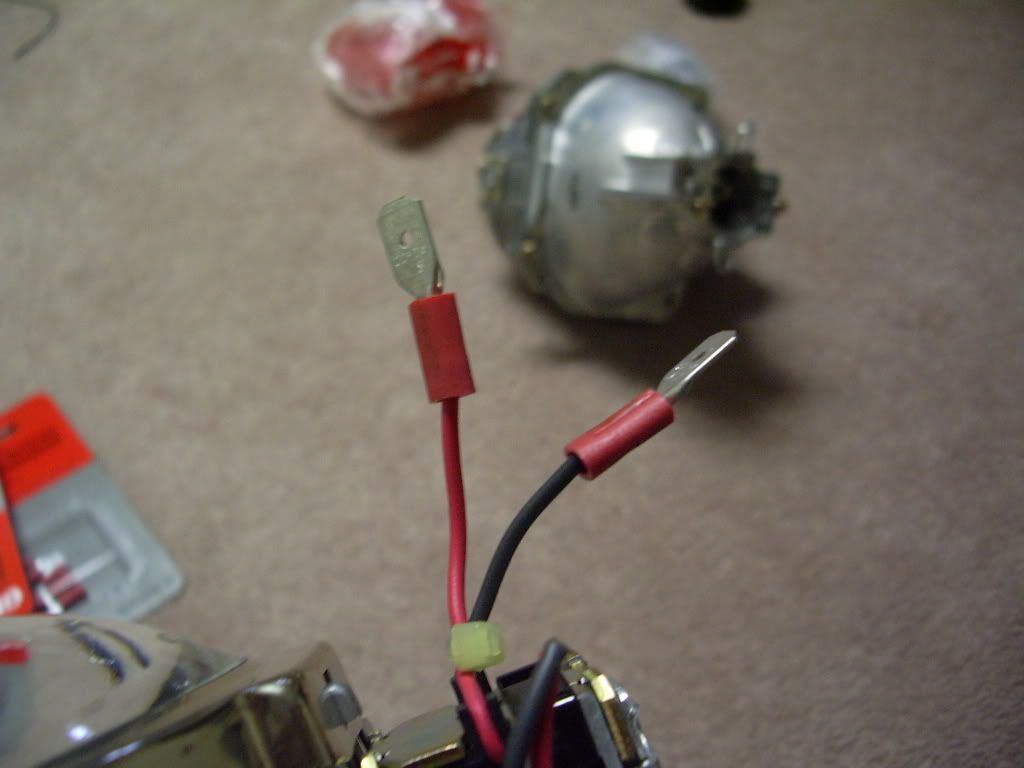
1) I had to start off with some splicing so my TL projectors can plug into the ballasts without any trouble.
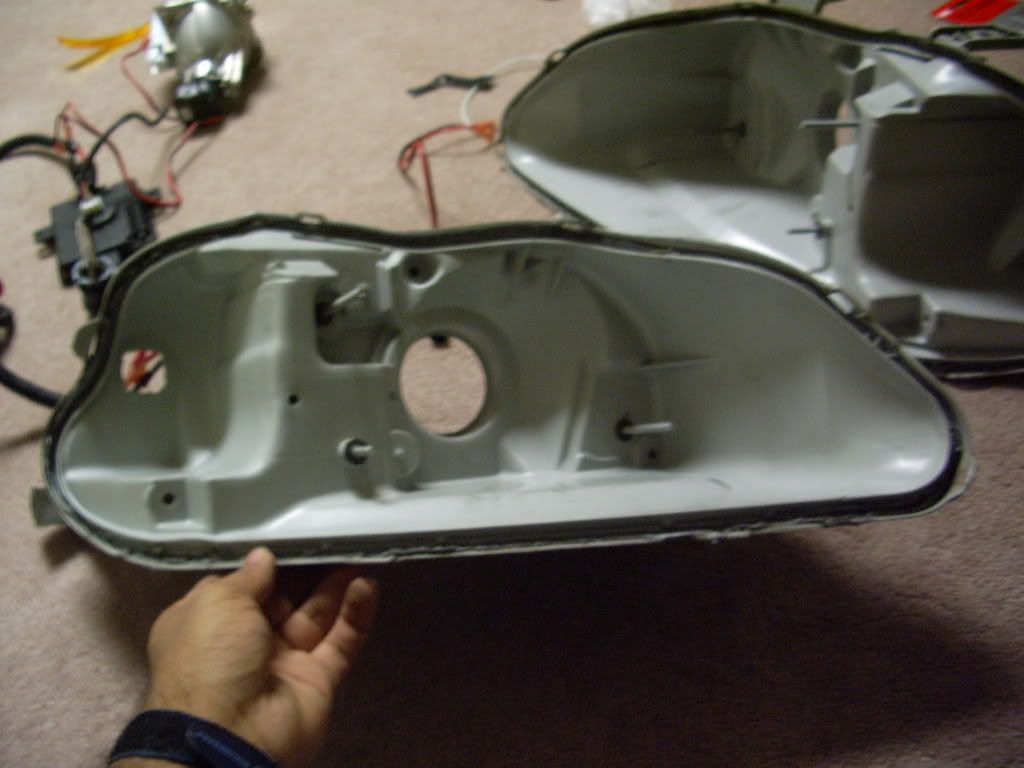
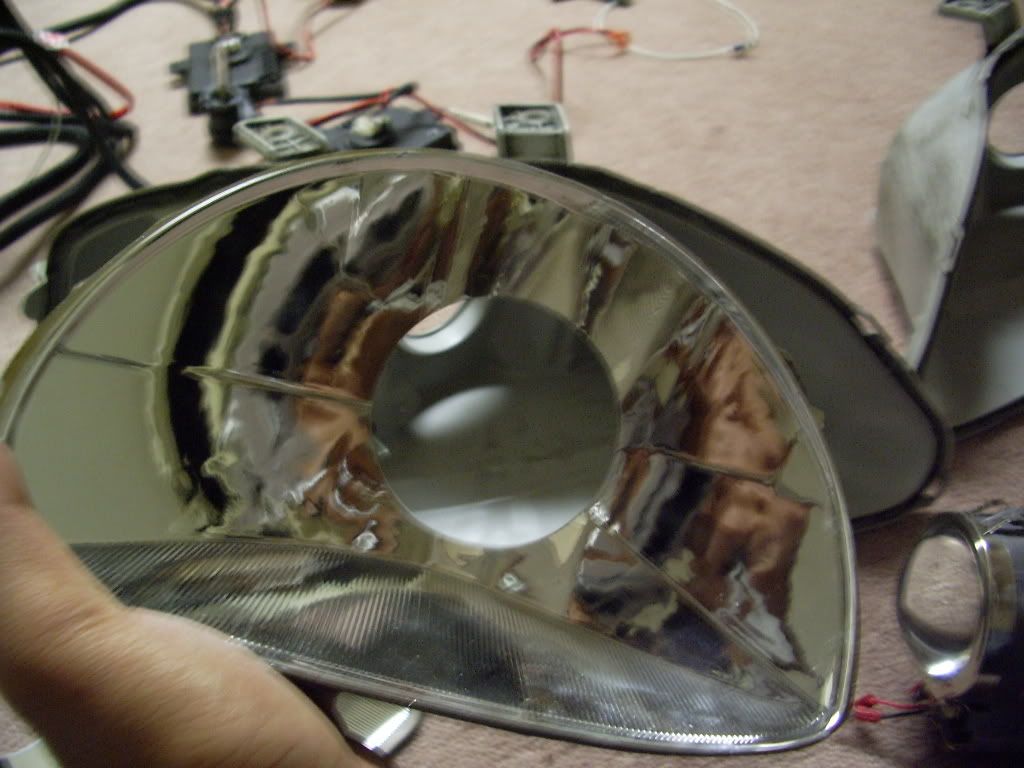
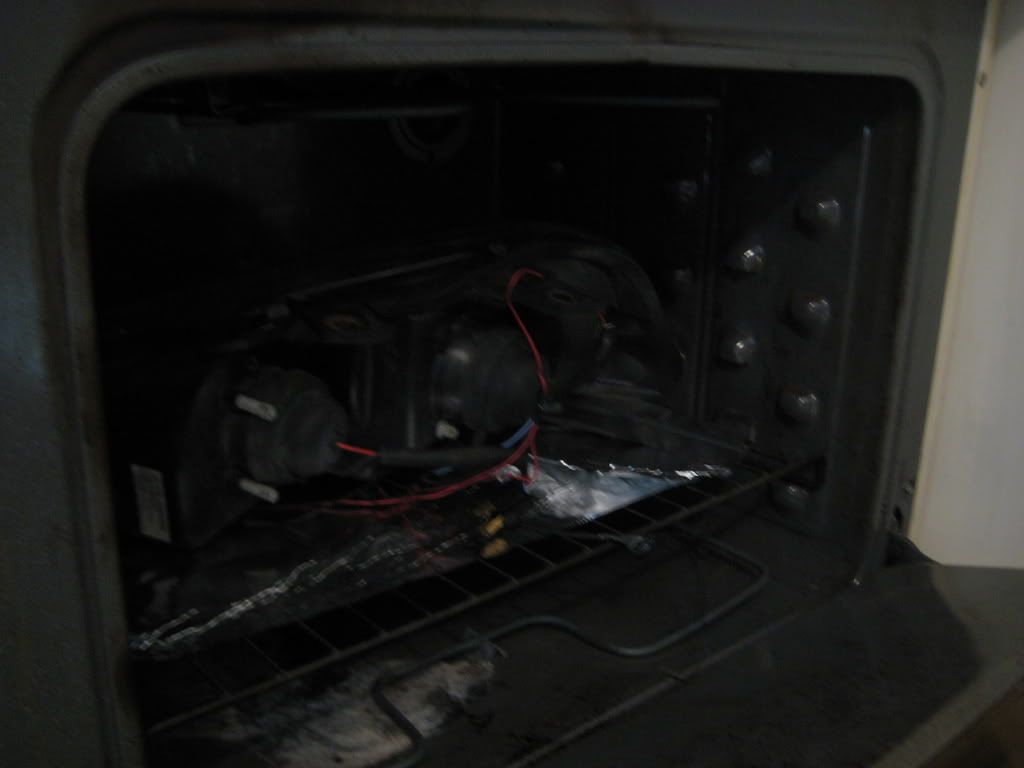
2) I took my stock headlights apart (by putting them in the oven at 375 degrees for 4min each). I had to cut the stock housing to fit the projectors. I used a jigsaw to cut the housing and a drill press to drill a 3.25" hold in the reflector.
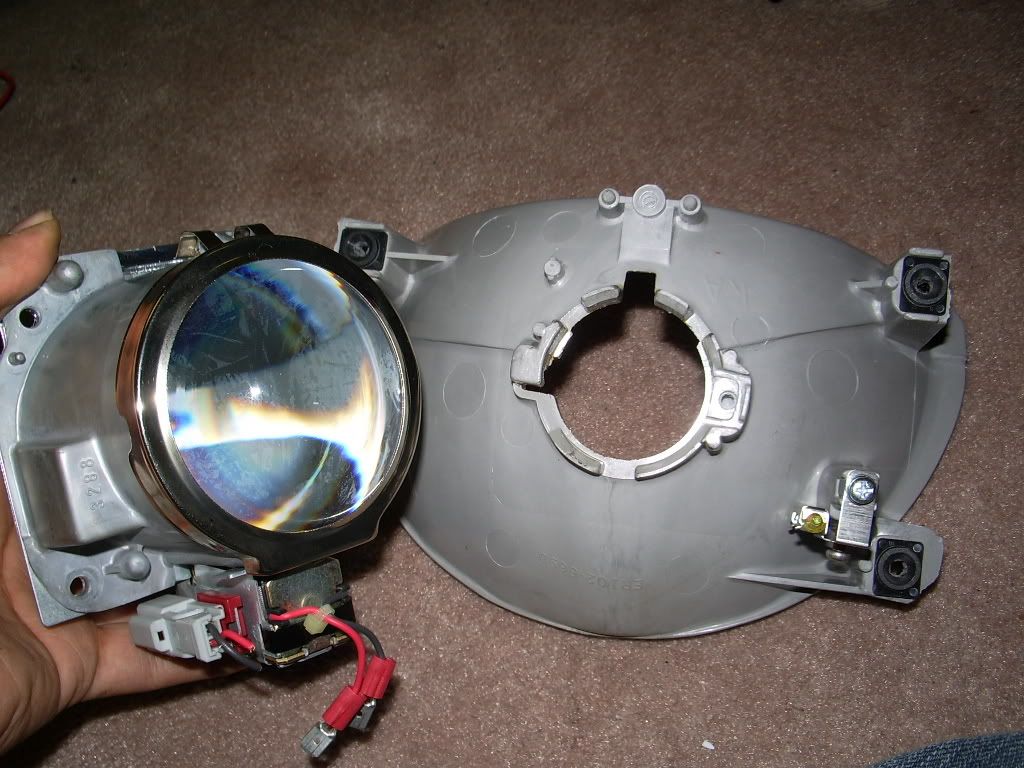
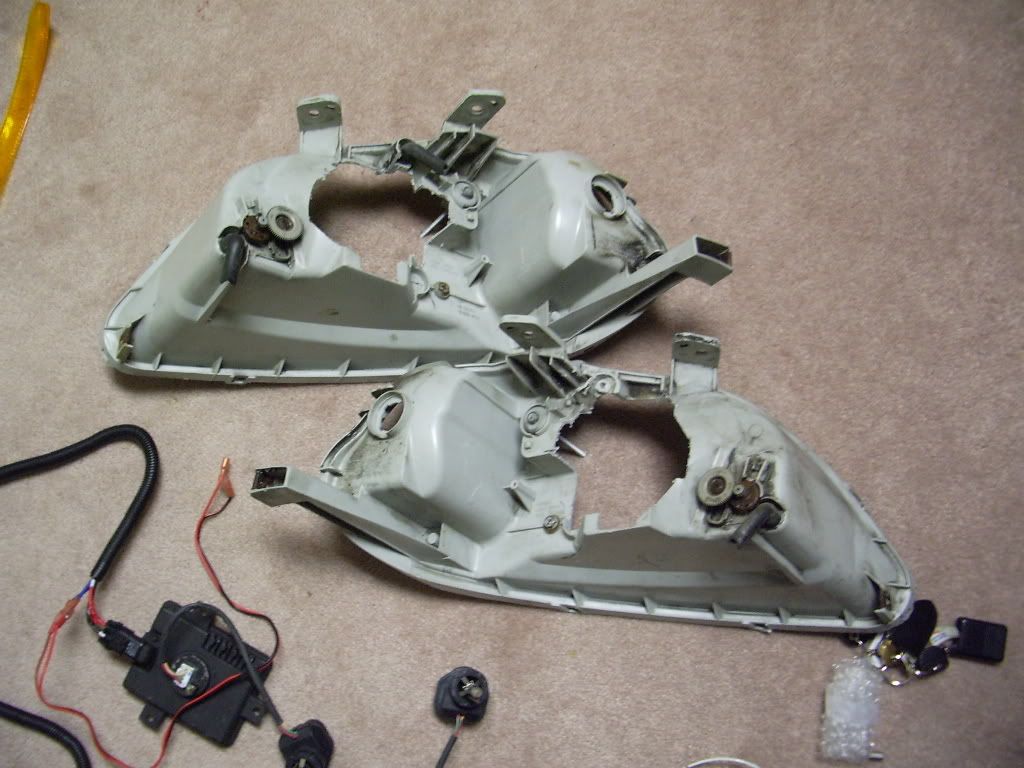

3) Then I tested the projectors in my basement
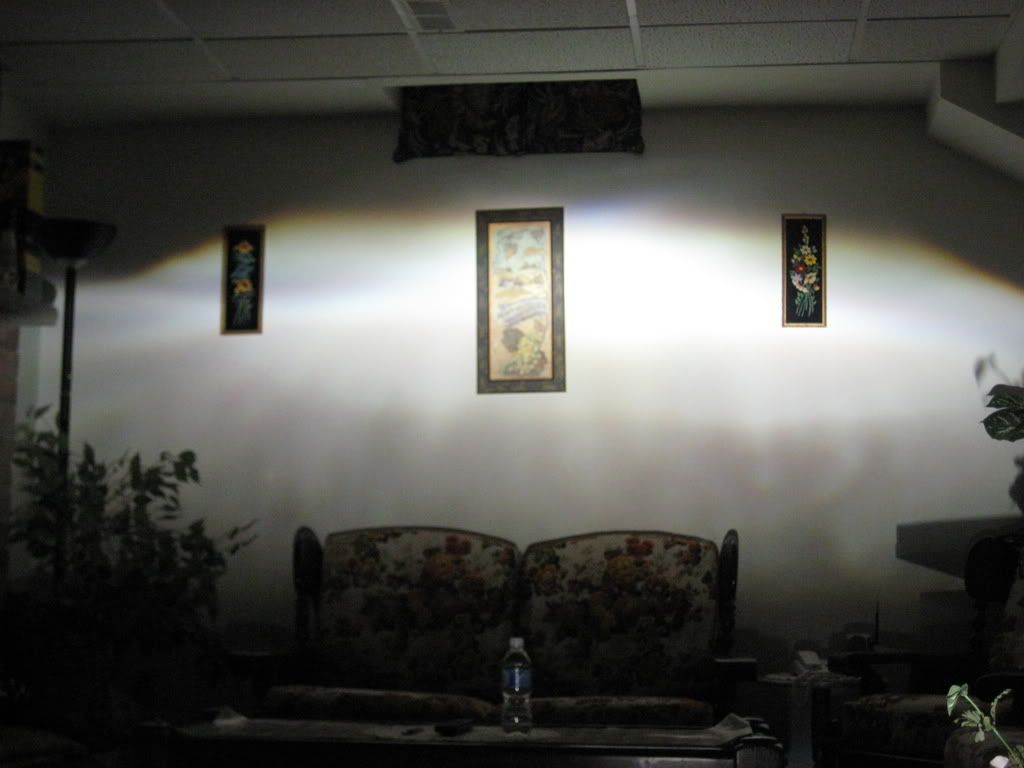
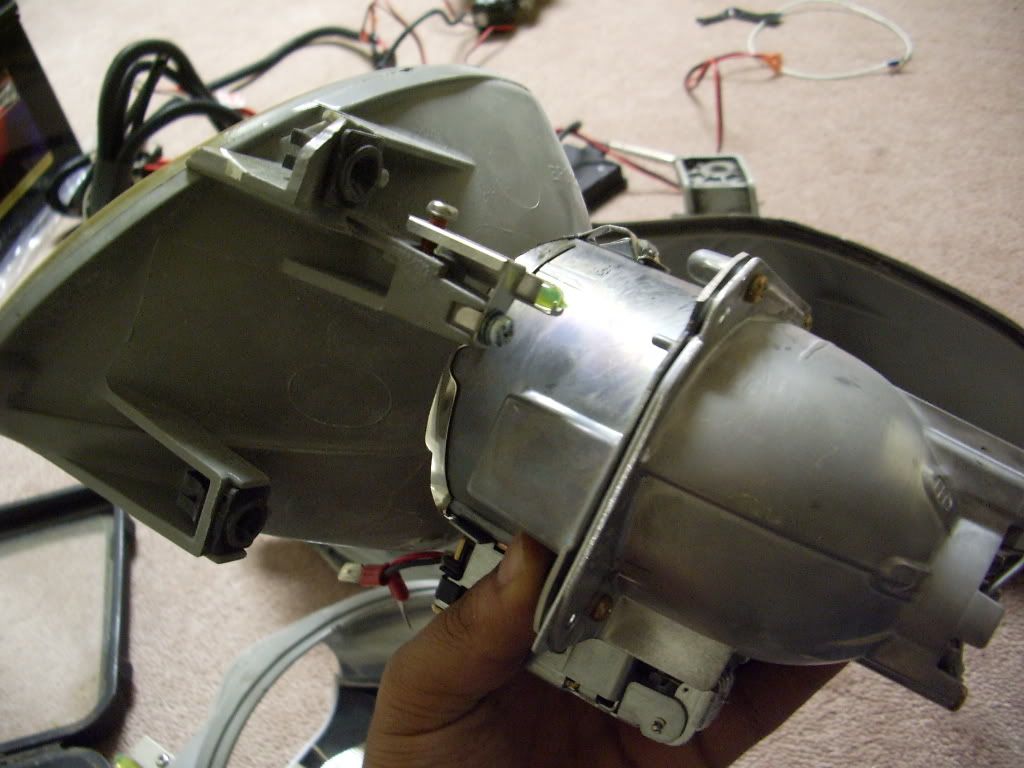
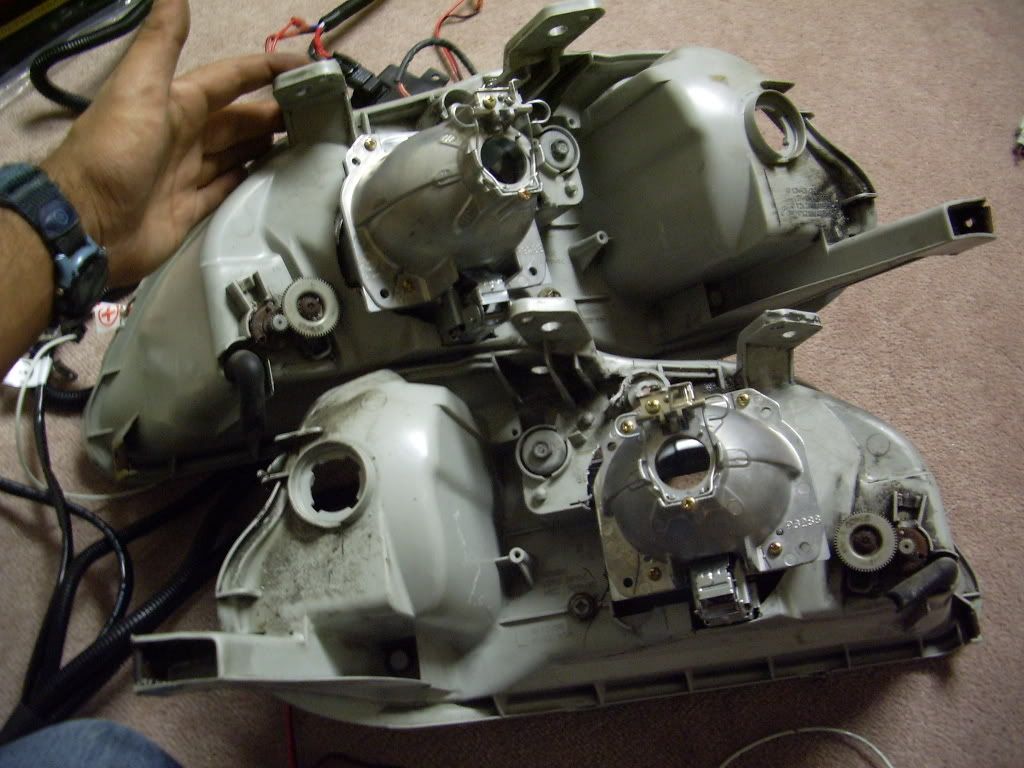
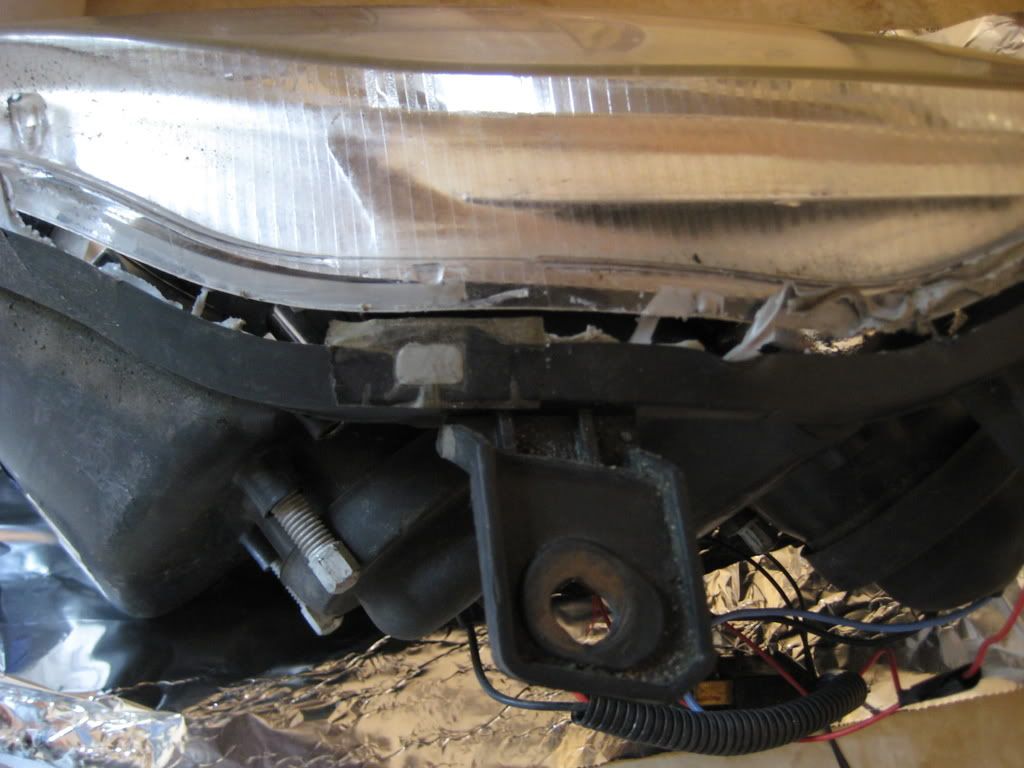
4) As you can see in this pic, the projectors stuck out too much and wouldn't fit into the car.
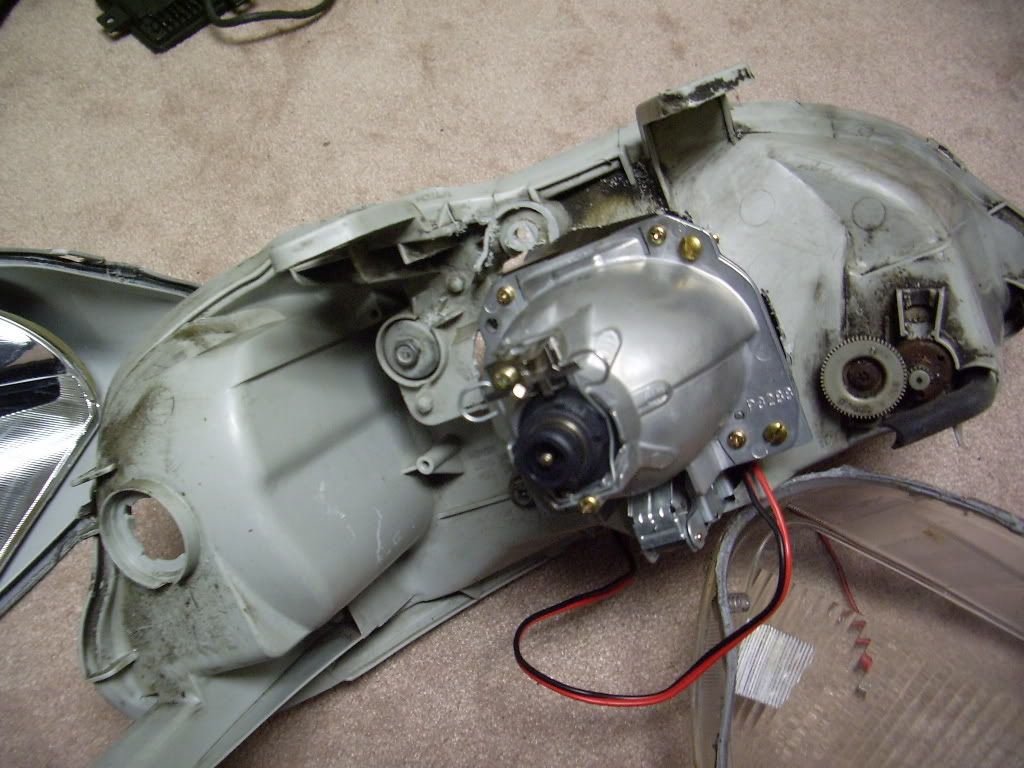
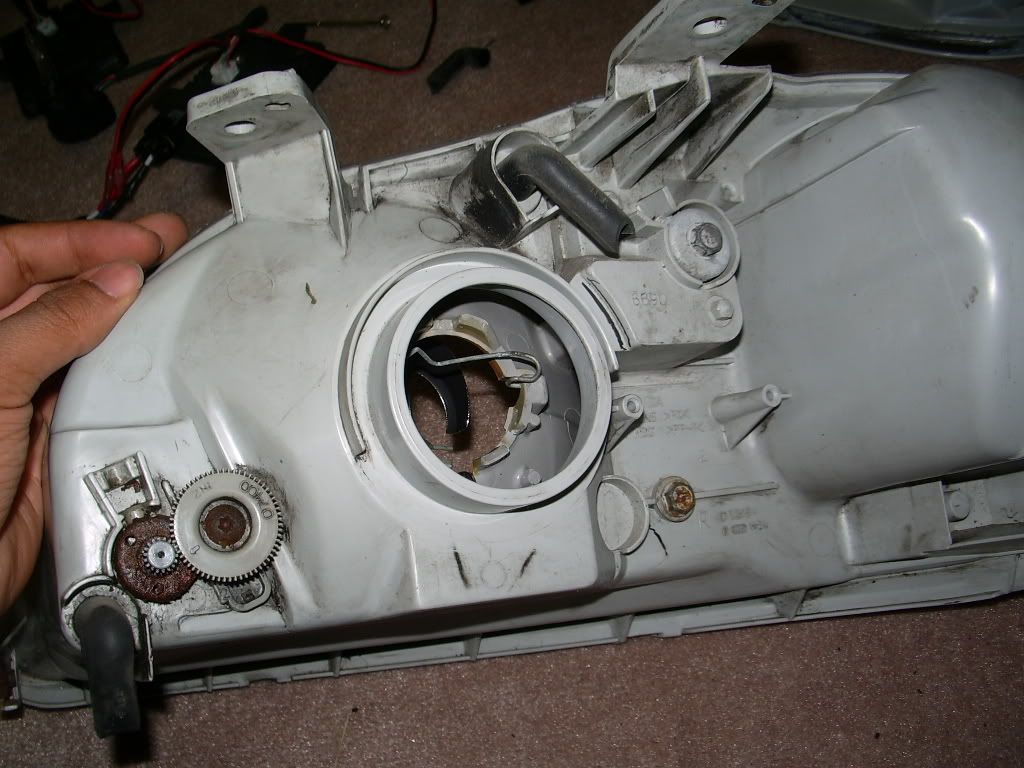
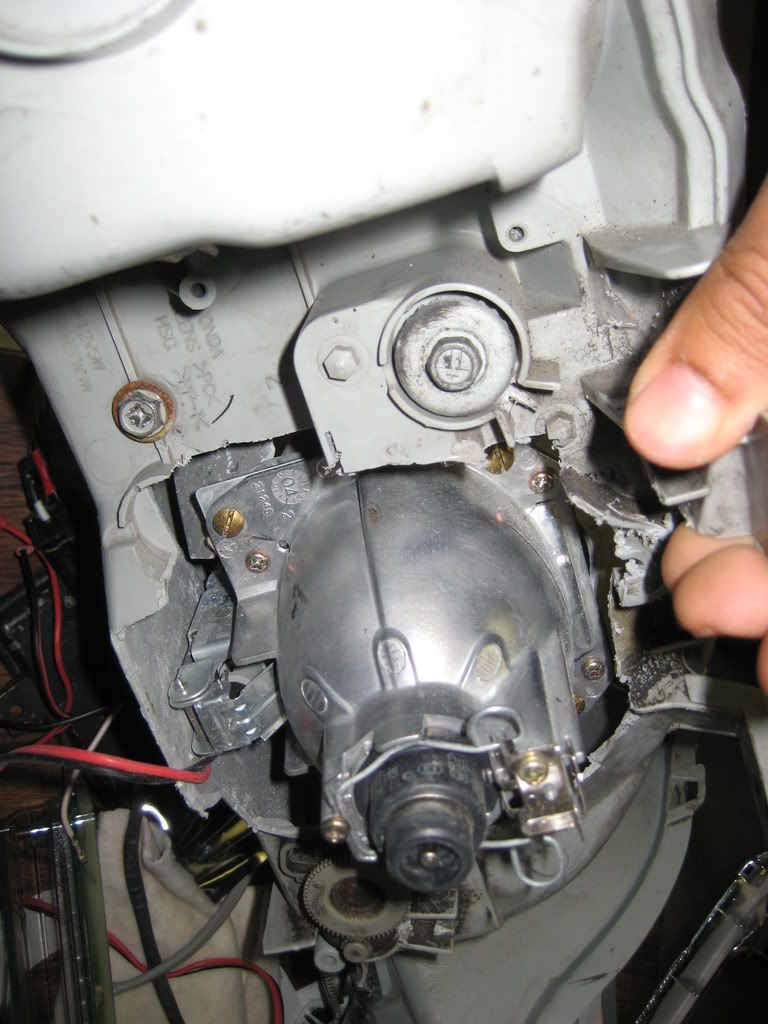
5) To fix this, I had to cut into the reflector more which kinda sucked because I didn't want to make a shroud. No, biggie though. Eventually I got it to fit, then I mounted the reflector back to the headlight housing.
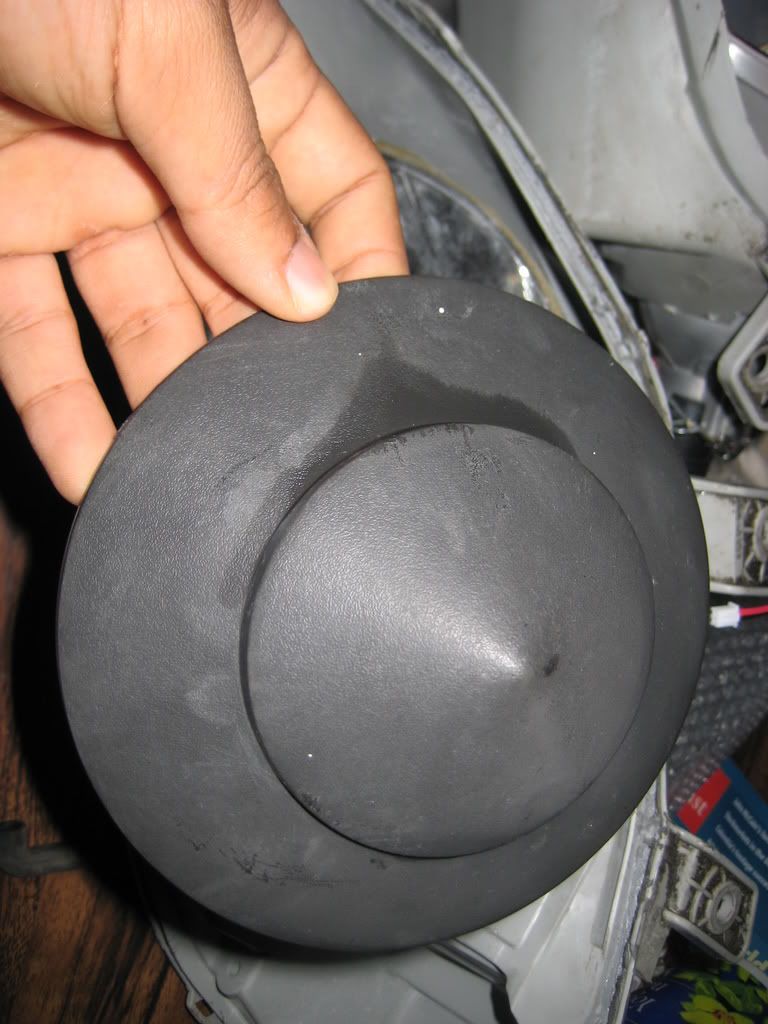
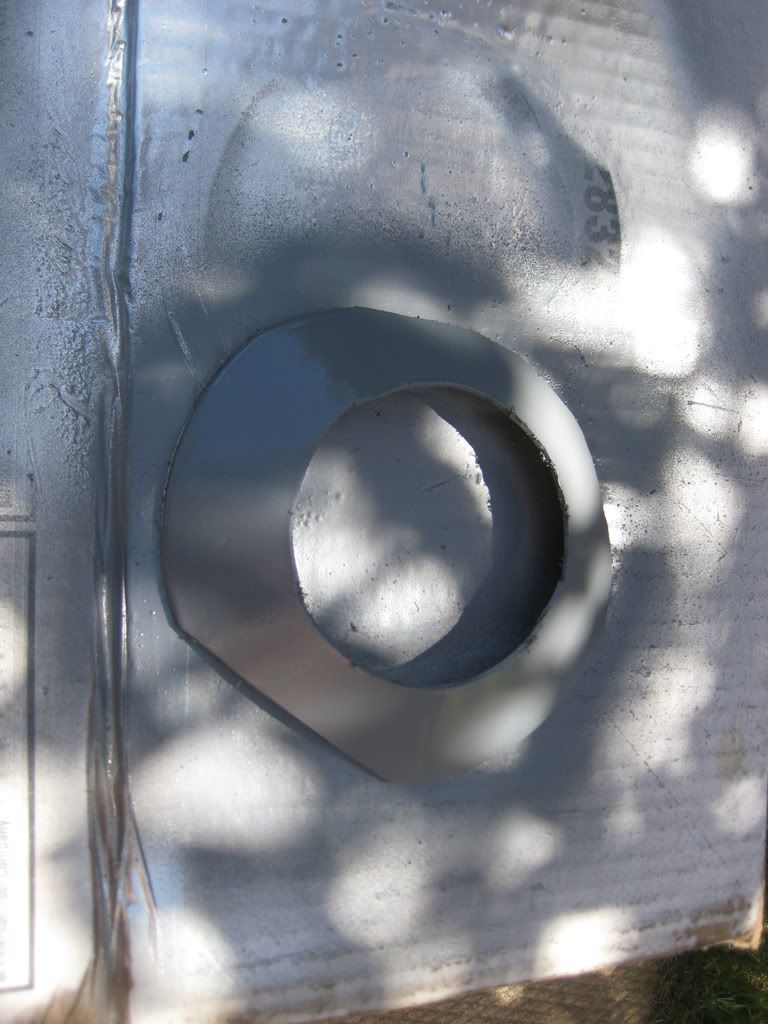
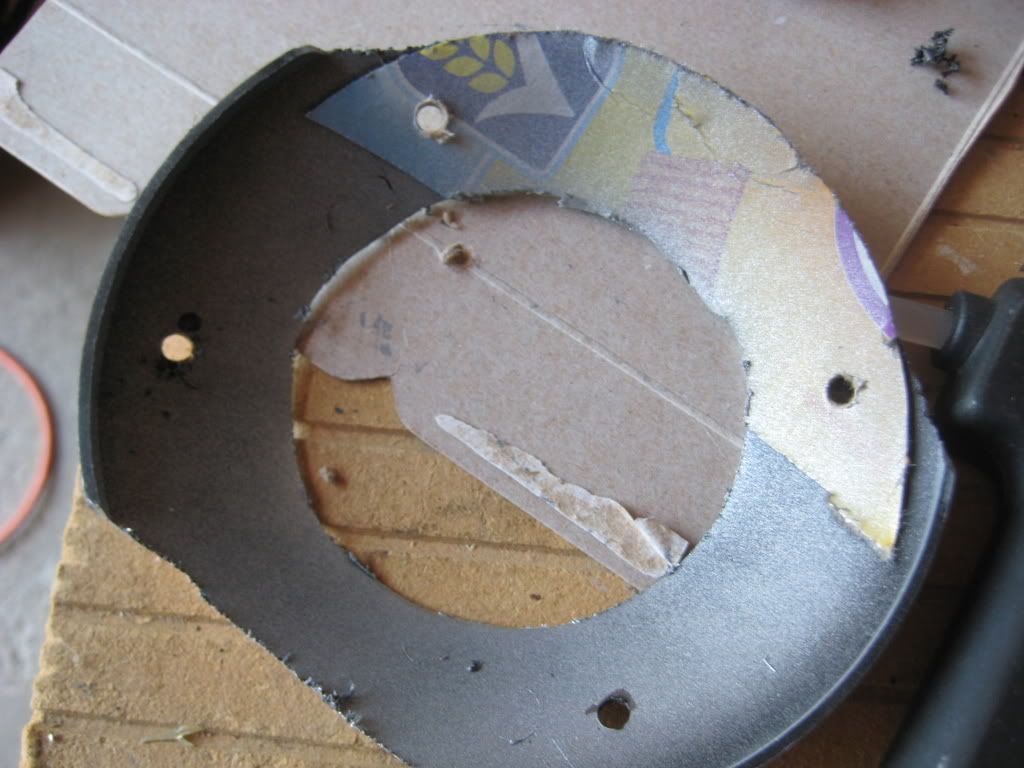
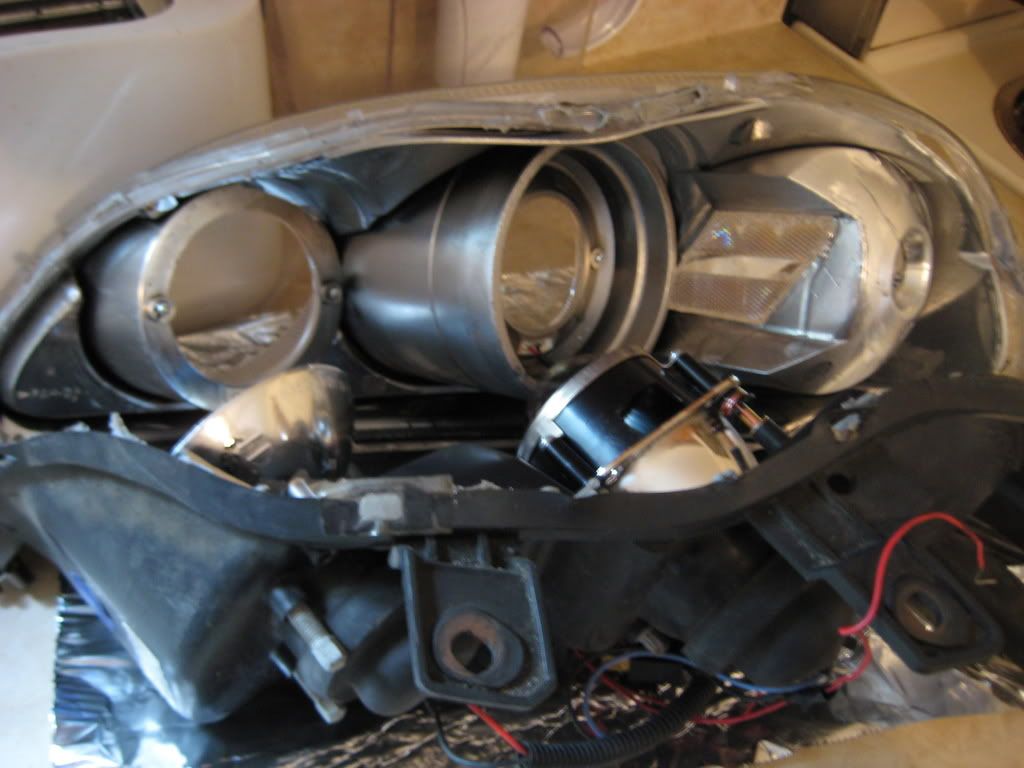
6) Now to cover the projector, I had to make a shroud. I used a top piece from those lawn lamps that you can put infront of your house.
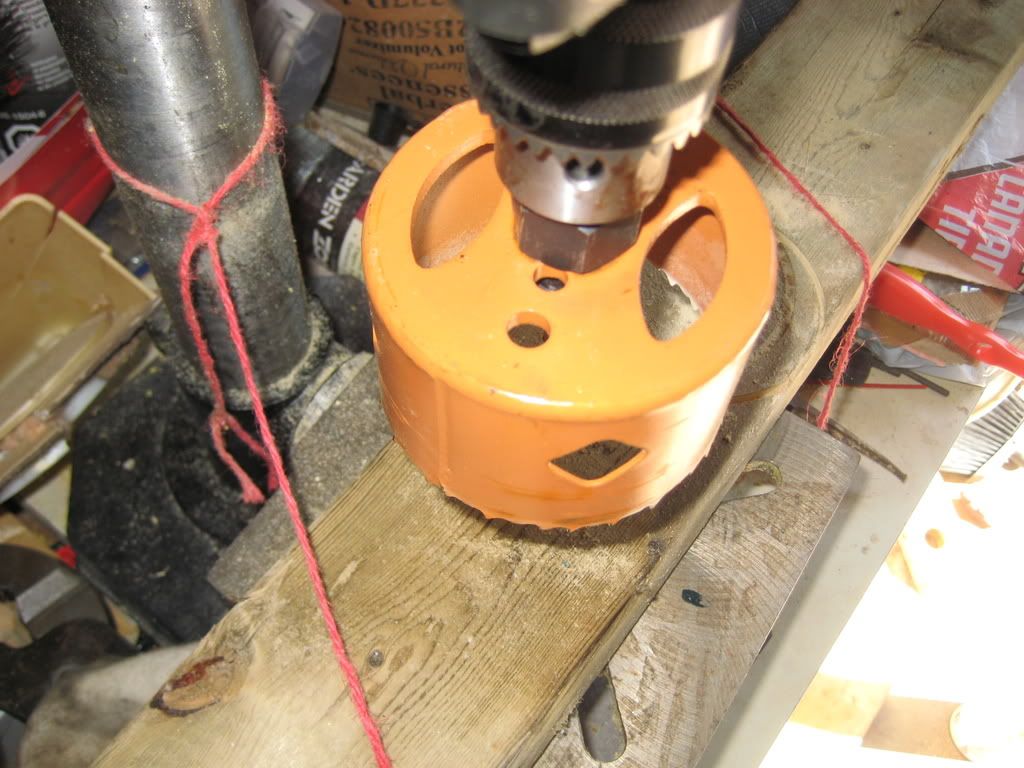
7) I used a drill press to drill a hole into it
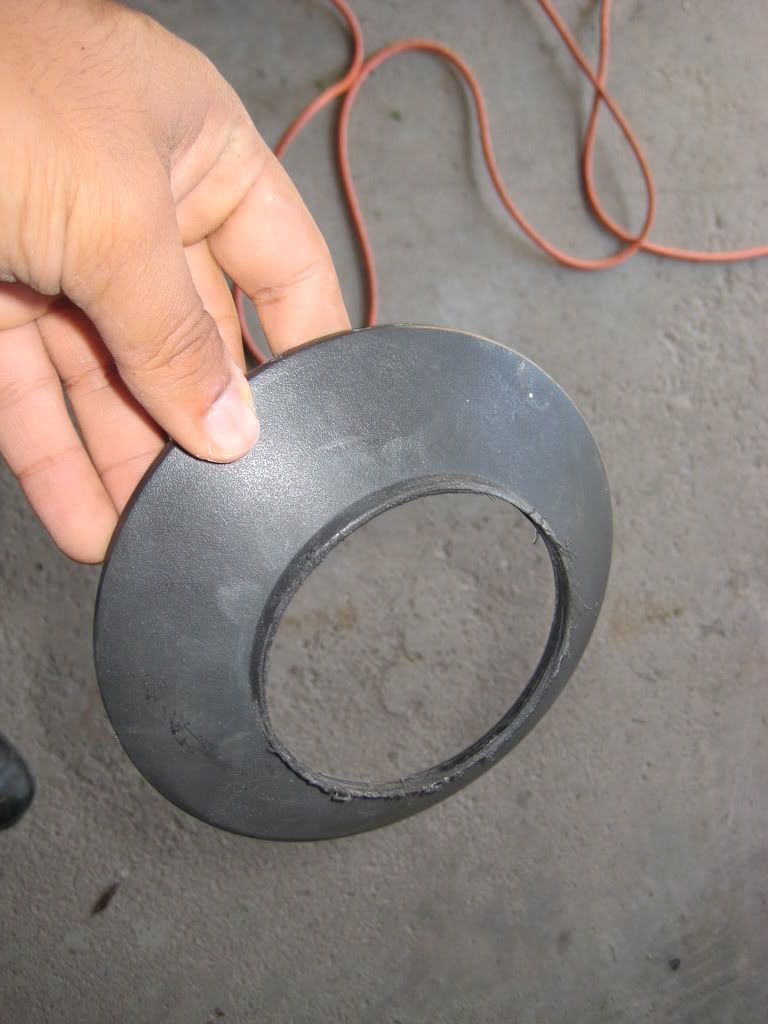
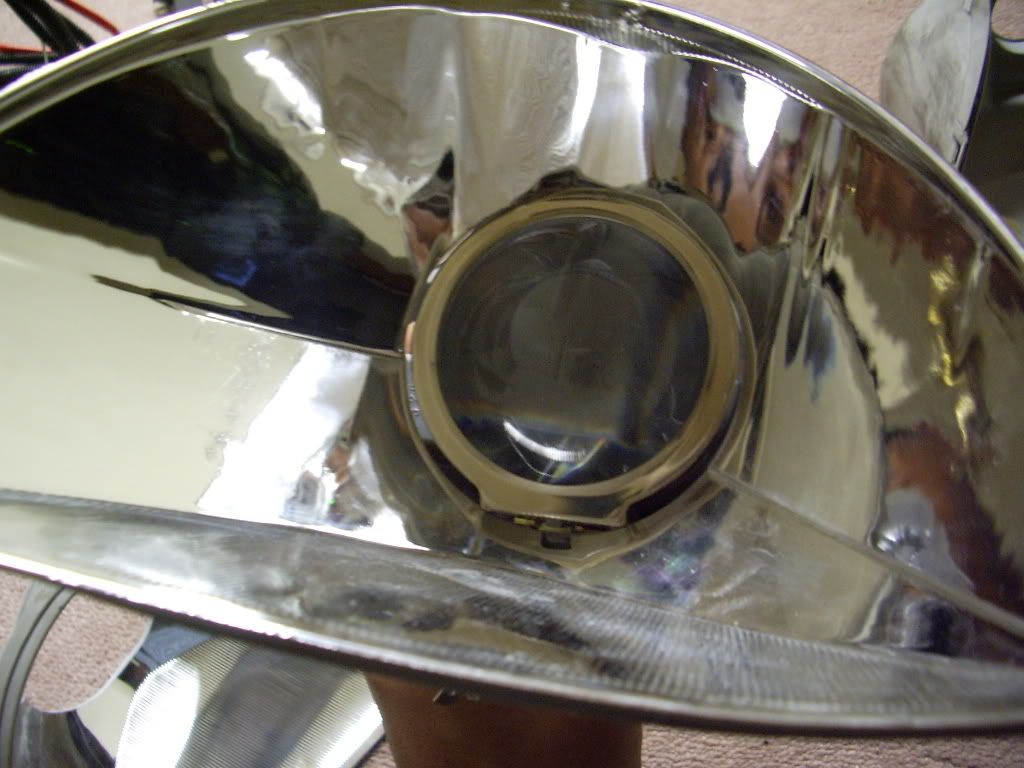
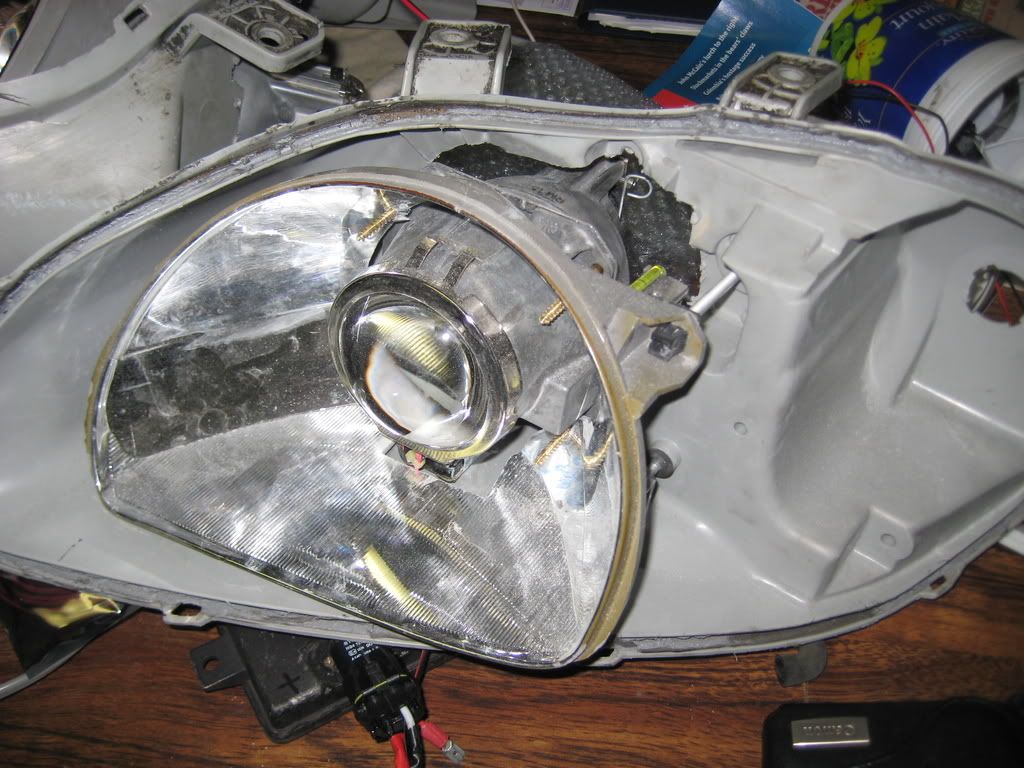
8) After some more cutting, it fit nicely into the reflector
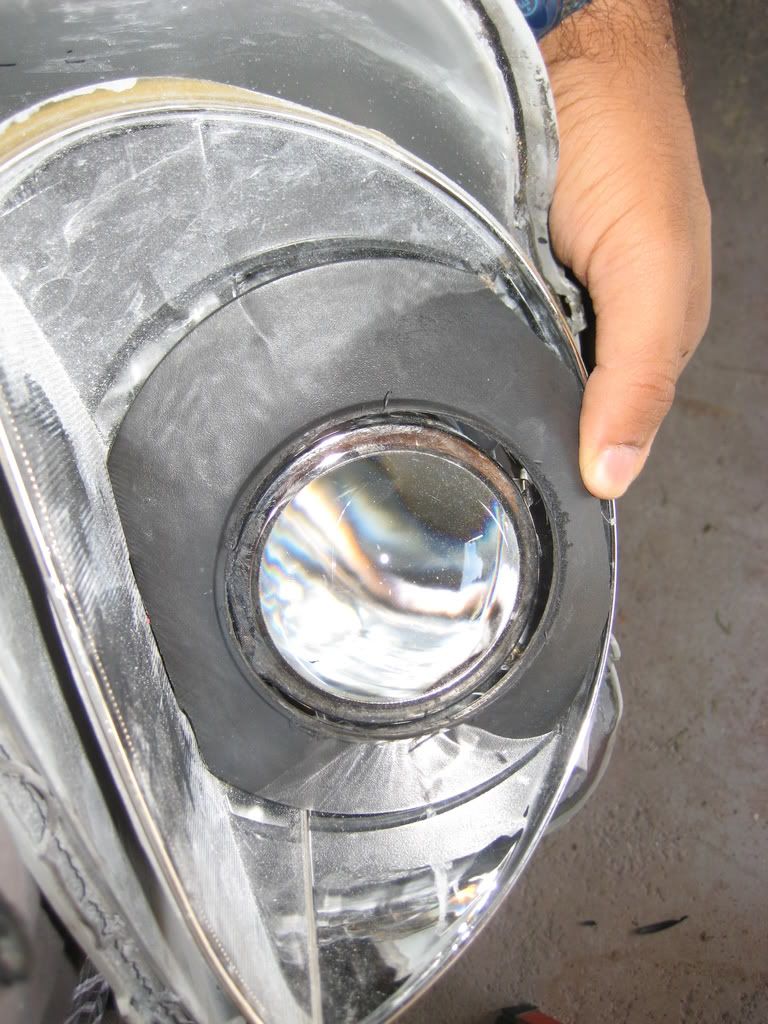
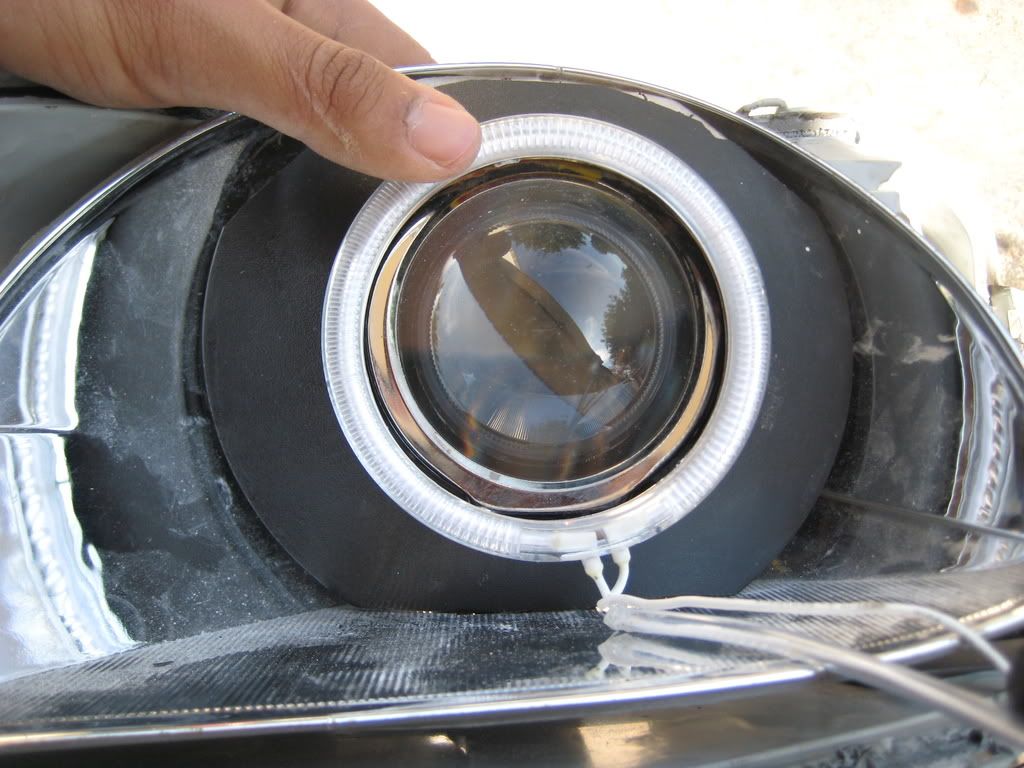
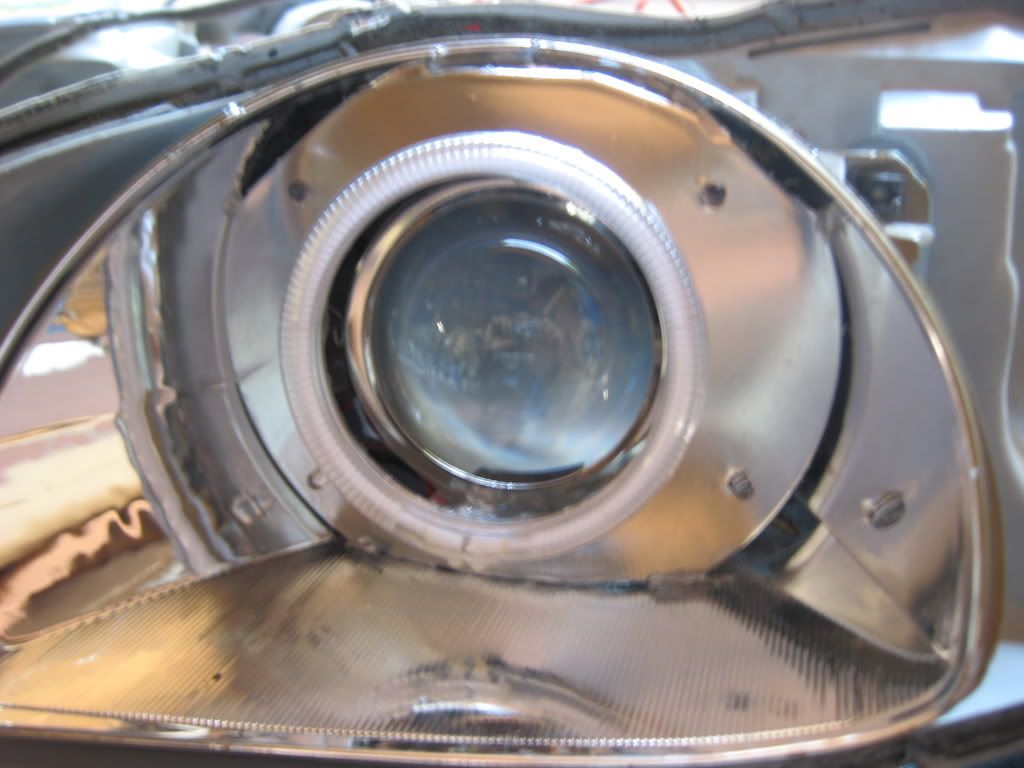
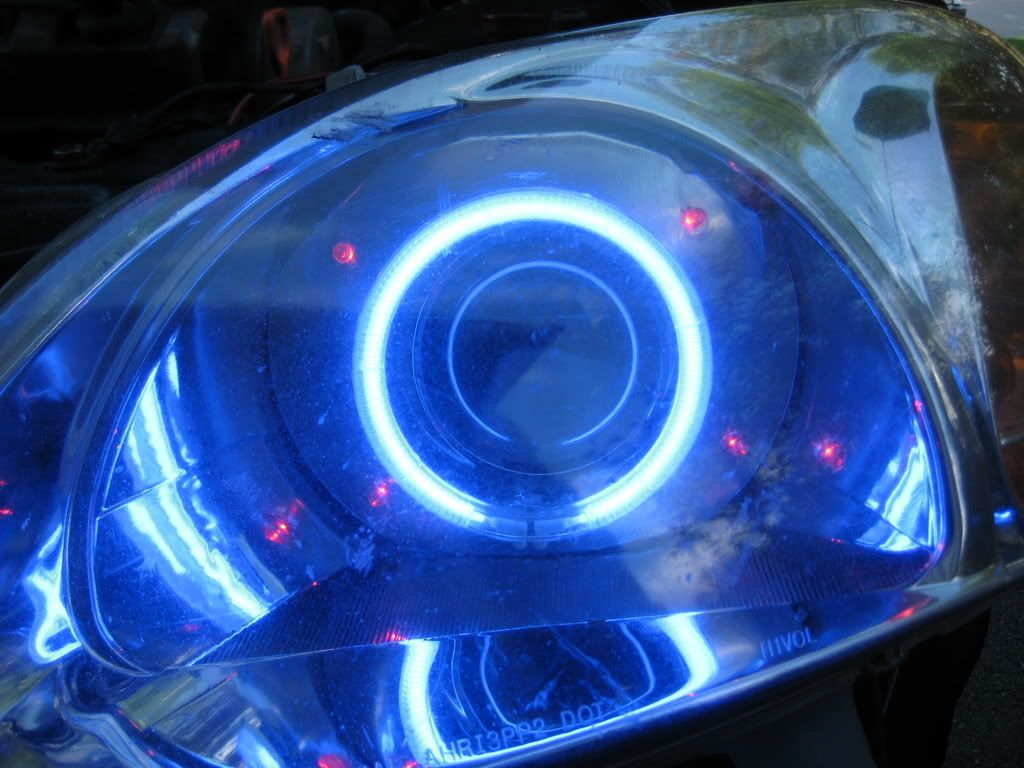
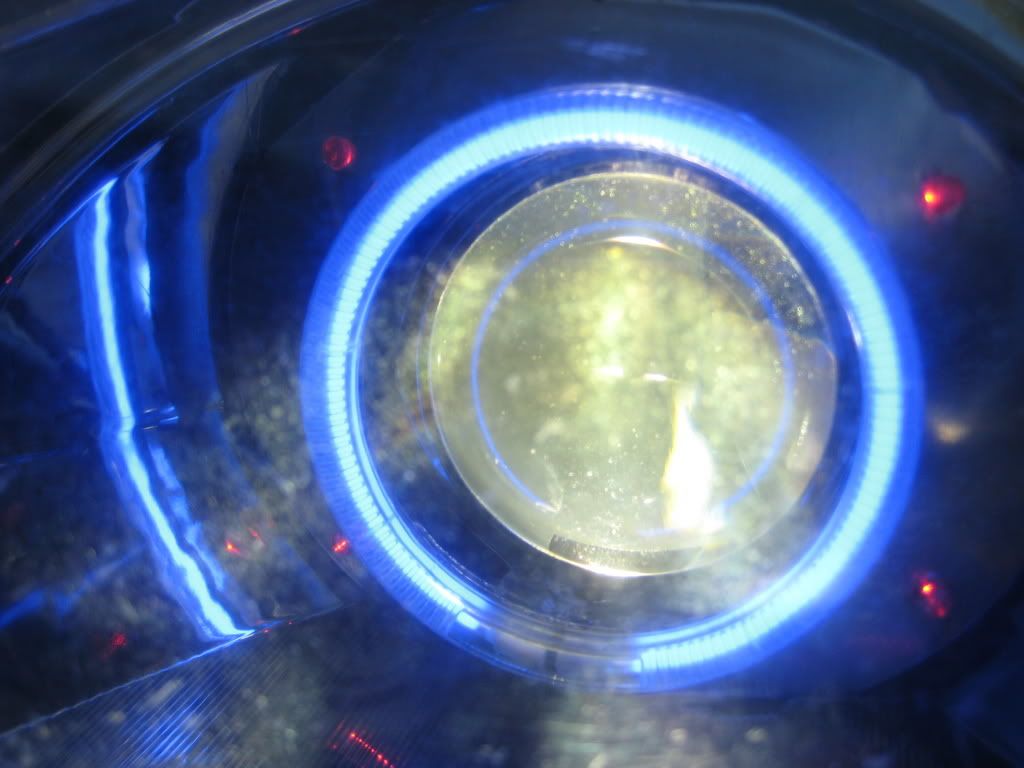
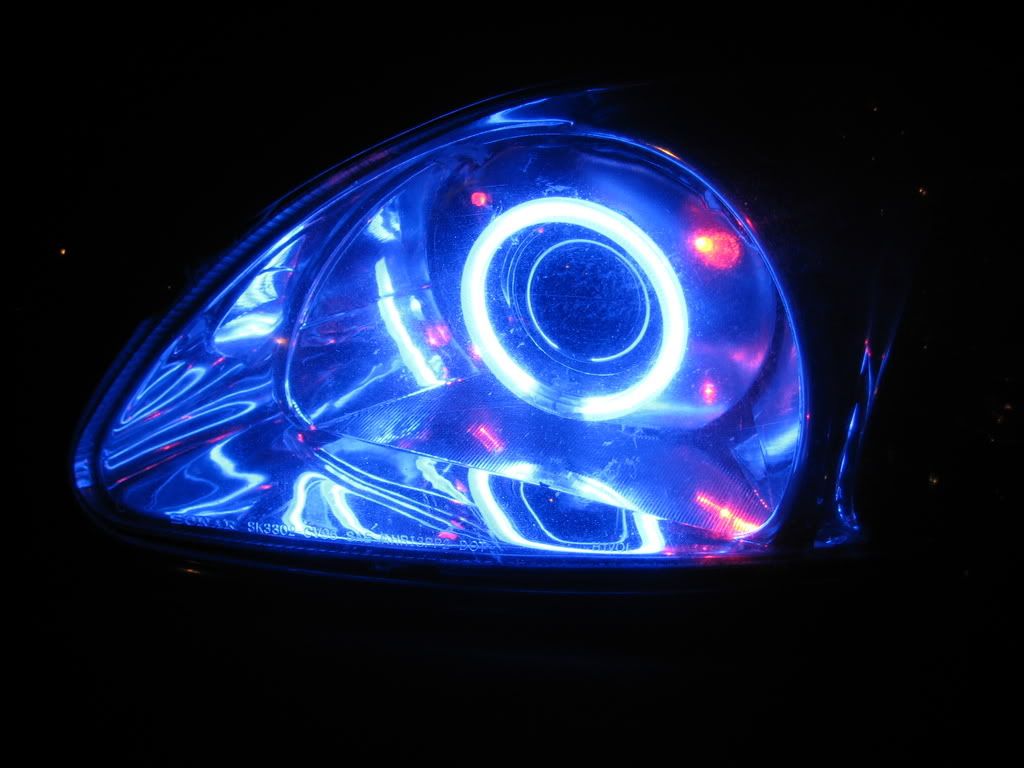
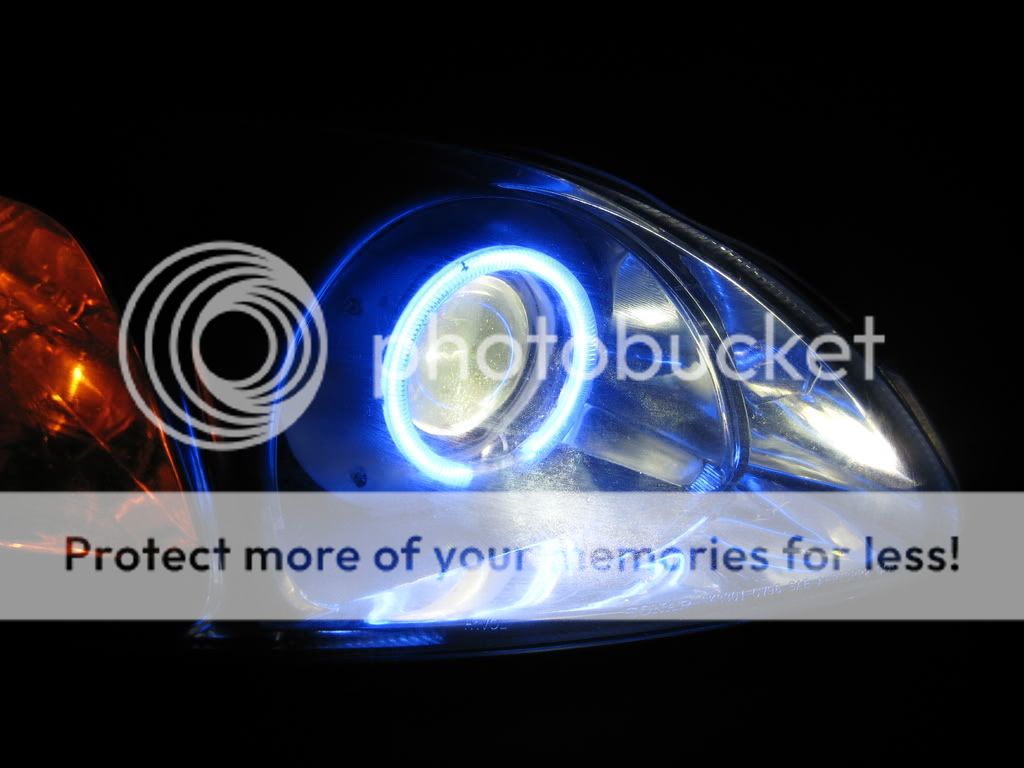
9) Here's what it'll look like with the LED ring around it
I decided to do a HID retrofit because besides the cool look I also do a lot of backroad driving and I hate my ****ty aftermarket headlights. I had bought them because I wanted projectors (stock output blows). The output on those headlights were OK, but the housing was way too flashy. Anyways, hope you guys find this helpful.
What you'll need:
- D2S bulbs
- D2S projectors (I used a pair from a TL)
- Wiring harness
- Shrouds (or you can make your own)
- Ballasts (I used a pair from a TL)
- LED rings (optional)
- Flat head and philips screwdrivers and 10mm socket wrench
- Primer and paint (optional)
- Adhesive/glue
- About 7 hours
1) I had to start off with some splicing so my TL projectors can plug into the ballasts without any trouble.
2) I took my stock headlights apart (by putting them in the oven at 375 degrees for 4min each). I had to cut the stock housing to fit the projectors. I used a jigsaw to cut the housing and a drill press to drill a 3.25" hold in the reflector.
3) Then I tested the projectors in my basement
4) As you can see in this pic, the projectors stuck out too much and wouldn't fit into the car.
5) To fix this, I had to cut into the reflector more which kinda sucked because I didn't want to make a shroud. No, biggie though. Eventually I got it to fit, then I mounted the reflector back to the headlight housing.
6) Now to cover the projector, I had to make a shroud. I used a top piece from those lawn lamps that you can put infront of your house.
7) I used a drill press to drill a hole into it
8) After some more cutting, it fit nicely into the reflector
9) Here's what it'll look like with the LED ring around it
 22-Aug-2008, 08:52 AM
#2
Senior Member
Thread Starter
Join Date: Oct 2007
Location: Toronto
Posts: 131
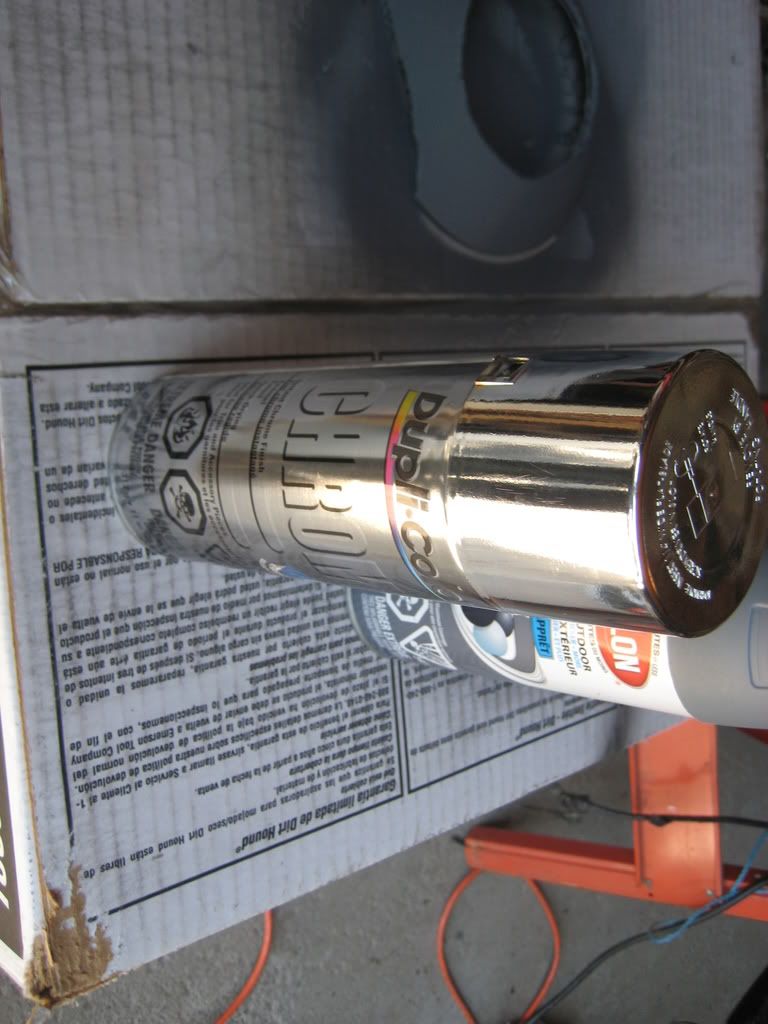
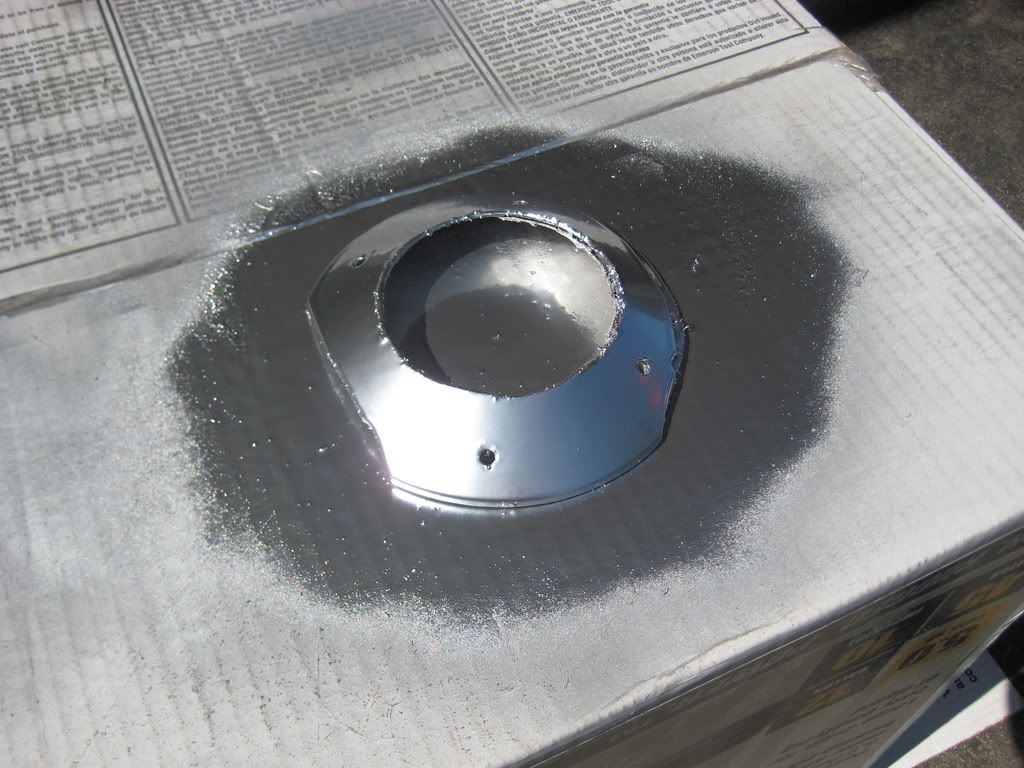
10) I primed the shroud and painted it with chrome spray paint to match with the reflector

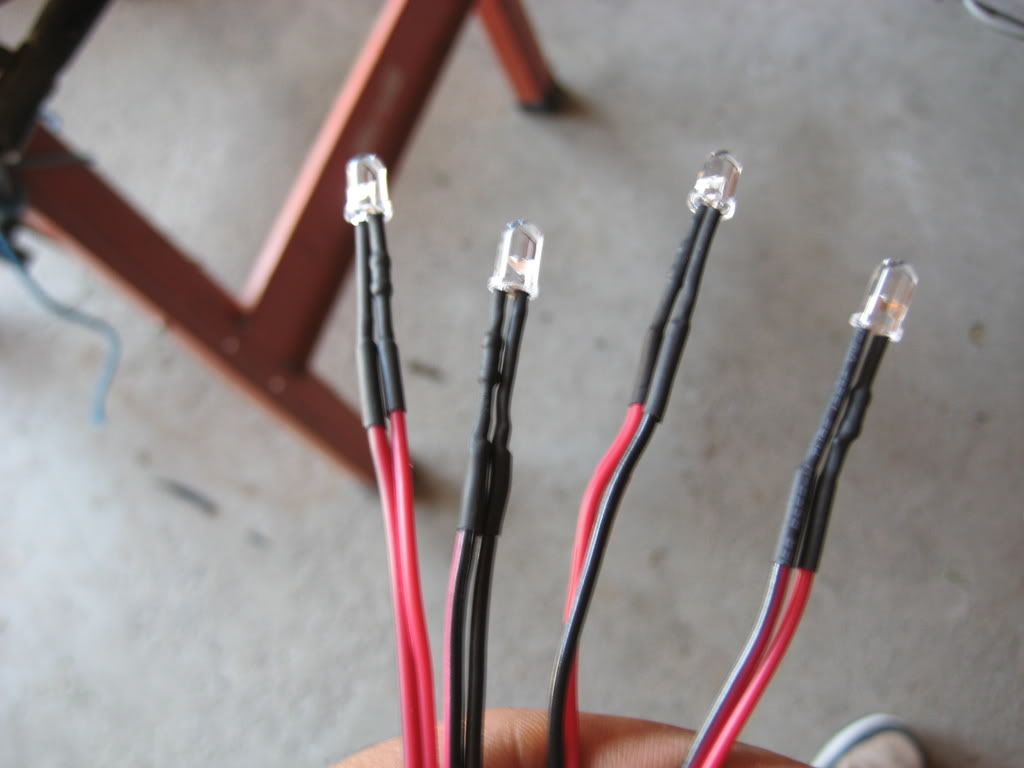
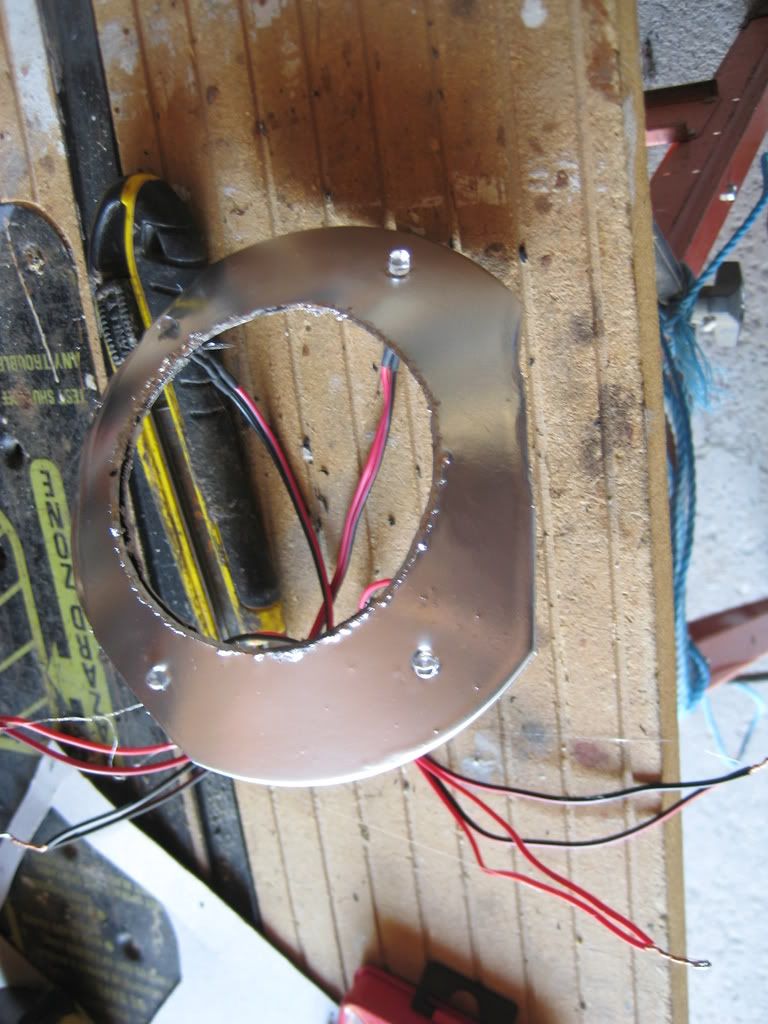
11) For fun, I also decided to mount these red LED's into the shroud. I quickly drilled some holes into the shorud and mounted them. I ended up applying another layer of paint after I drilled the holes.
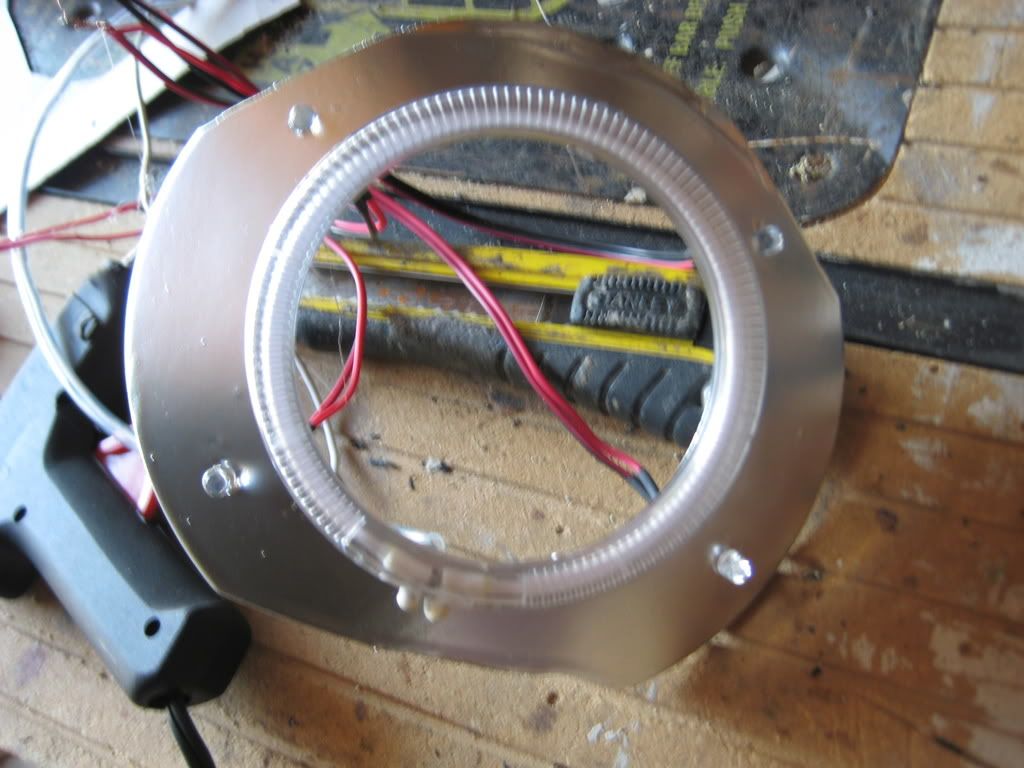
12) Next I mounted the LED ring to the shroud
13) Then I mounted the shourd to the headlight reflector
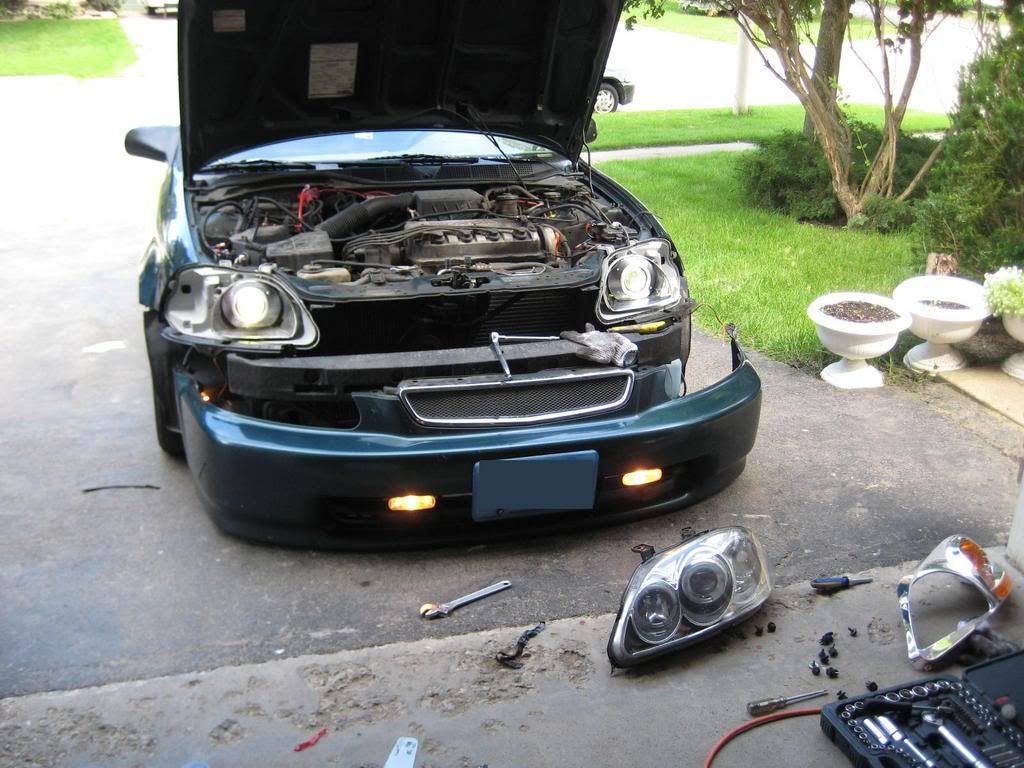
14) Next you have to disassemble your front bumper. There is a screw in each wheel well, 7 plastic screws around the grill and 2 bolts under the bumper.
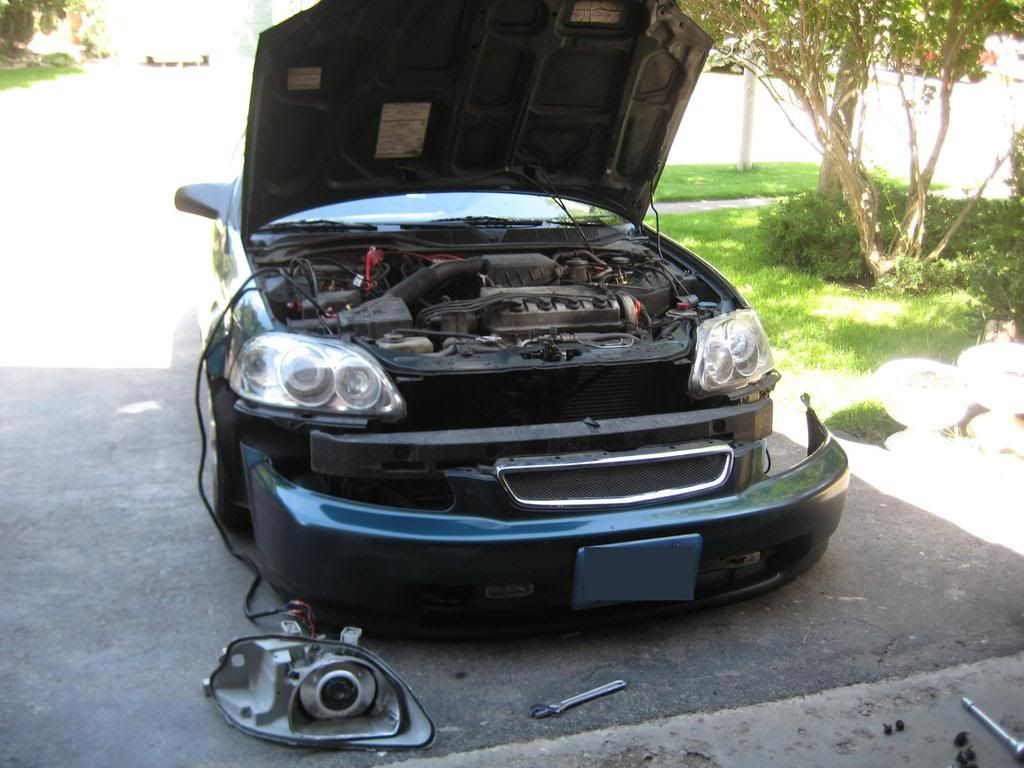
15) Remove the headlights. Each headlight has 4 bolts holding it.
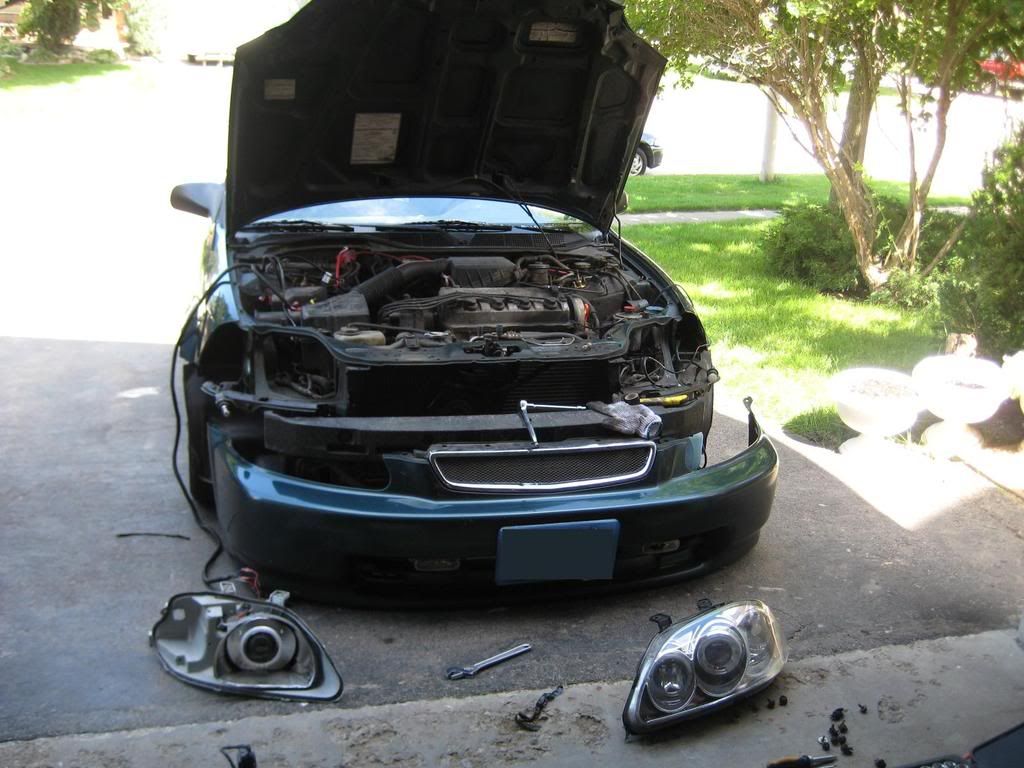
16) I mounted the HID's to make sure they fit okay (and they did)
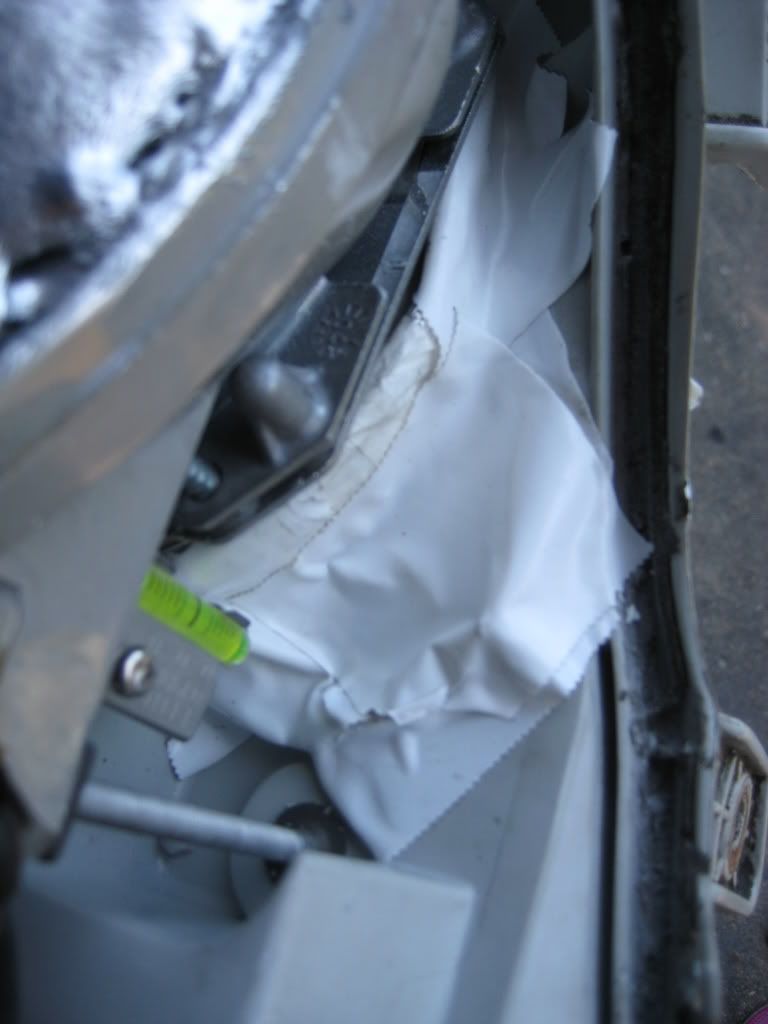
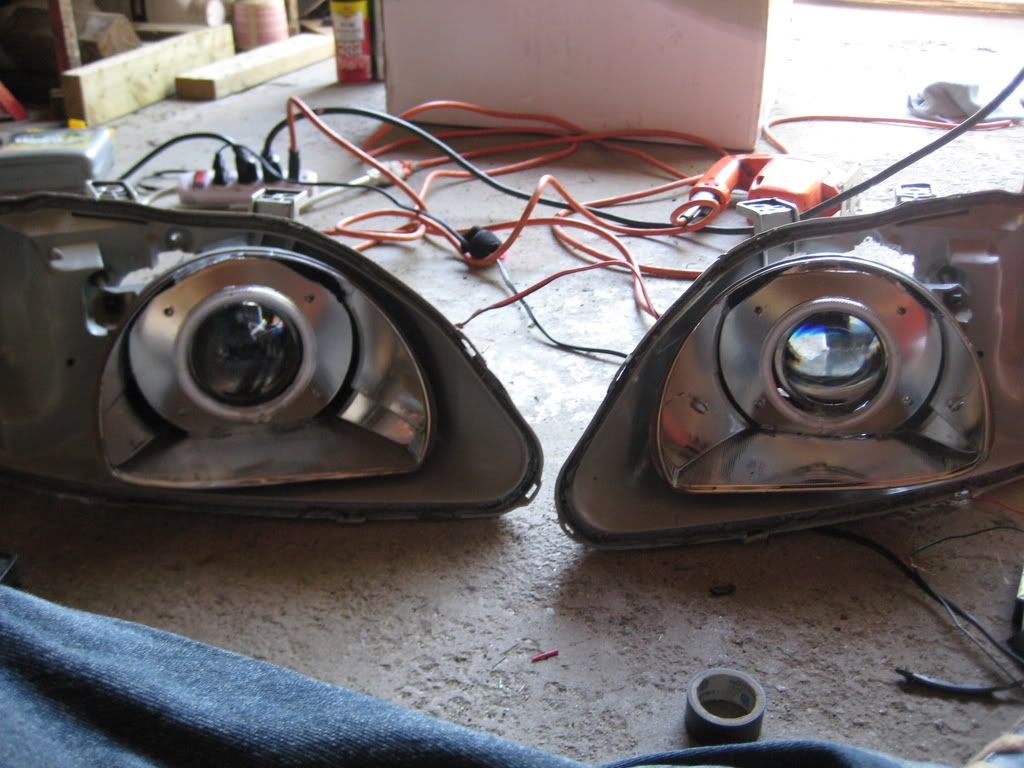
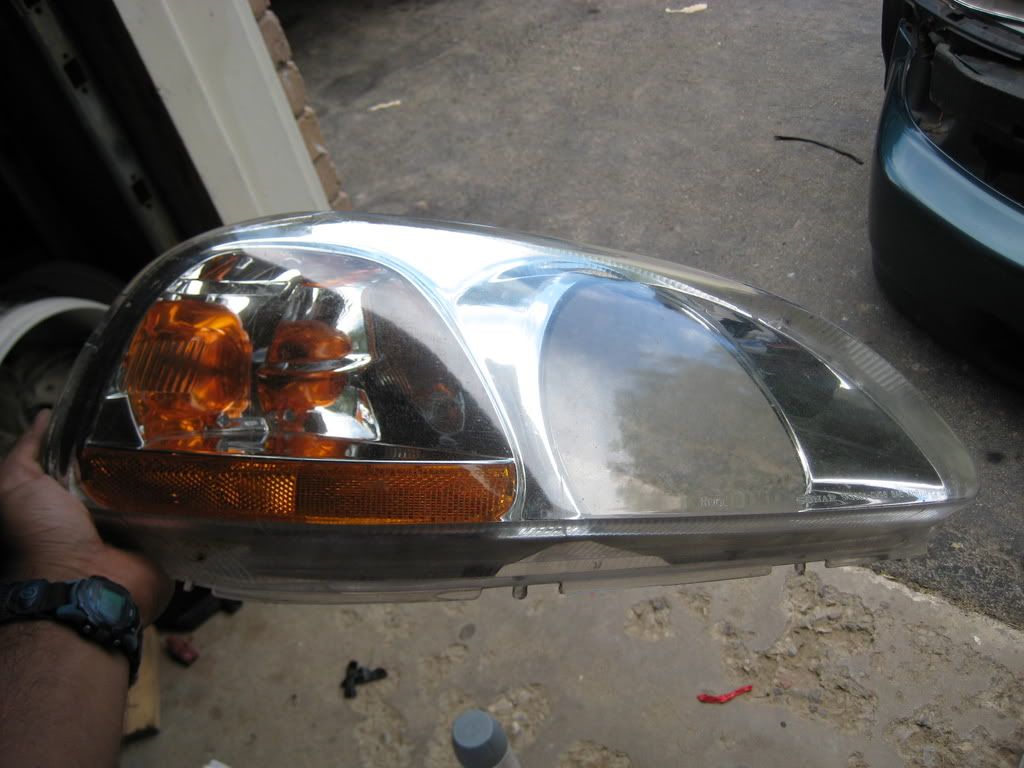
17) Then I took my aftermarket headlights apart by putting them in the oven for 375 degrees for 4 min. My reason for doing so was because I wanted to use their cover since it was cleaner and more clear than my stock ones. So I just swapped them from the aftermarket headlights to my stock headlights.
18) Here you can see the difference between both covers.
11) For fun, I also decided to mount these red LED's into the shroud. I quickly drilled some holes into the shorud and mounted them. I ended up applying another layer of paint after I drilled the holes.
12) Next I mounted the LED ring to the shroud
13) Then I mounted the shourd to the headlight reflector
14) Next you have to disassemble your front bumper. There is a screw in each wheel well, 7 plastic screws around the grill and 2 bolts under the bumper.
15) Remove the headlights. Each headlight has 4 bolts holding it.
16) I mounted the HID's to make sure they fit okay (and they did)
17) Then I took my aftermarket headlights apart by putting them in the oven for 375 degrees for 4 min. My reason for doing so was because I wanted to use their cover since it was cleaner and more clear than my stock ones. So I just swapped them from the aftermarket headlights to my stock headlights.
18) Here you can see the difference between both covers.
22-Aug-2008, 08:52 AM
#3
Senior Member
Thread Starter
Join Date: Oct 2007
Location: Toronto
Posts: 131
19) Mounting it is easy, there's only 1 secrew required for the aftermarket cover
20) Then I mounted it on to the headlights. Use any strong adhesive/glue to do this.
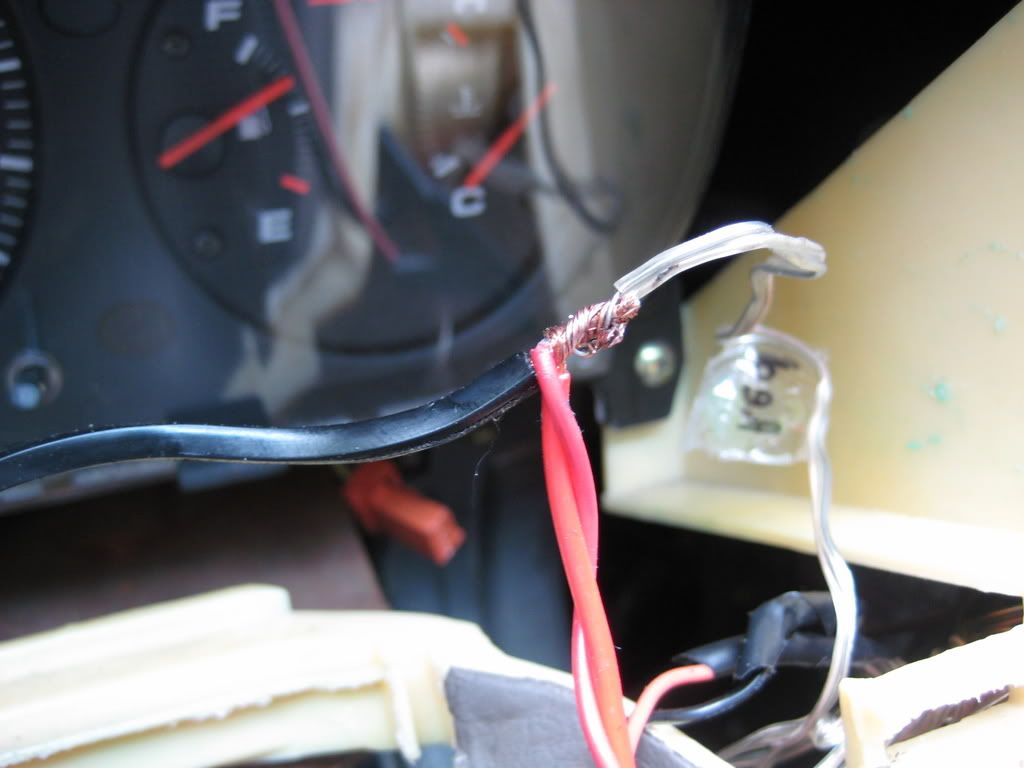
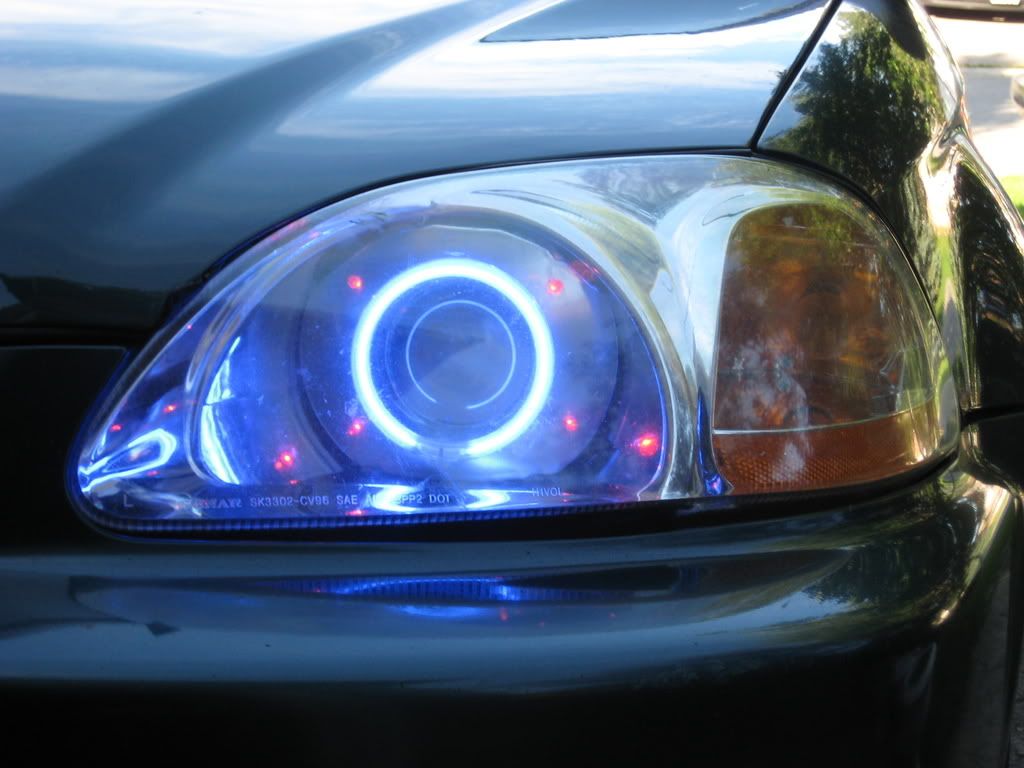
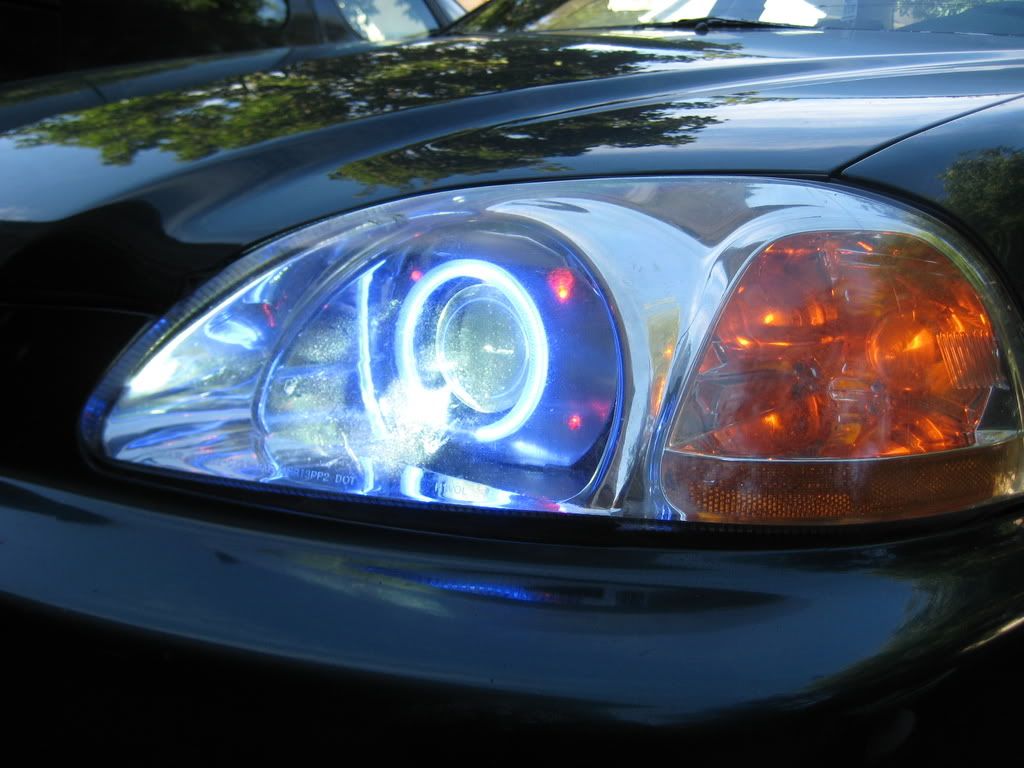
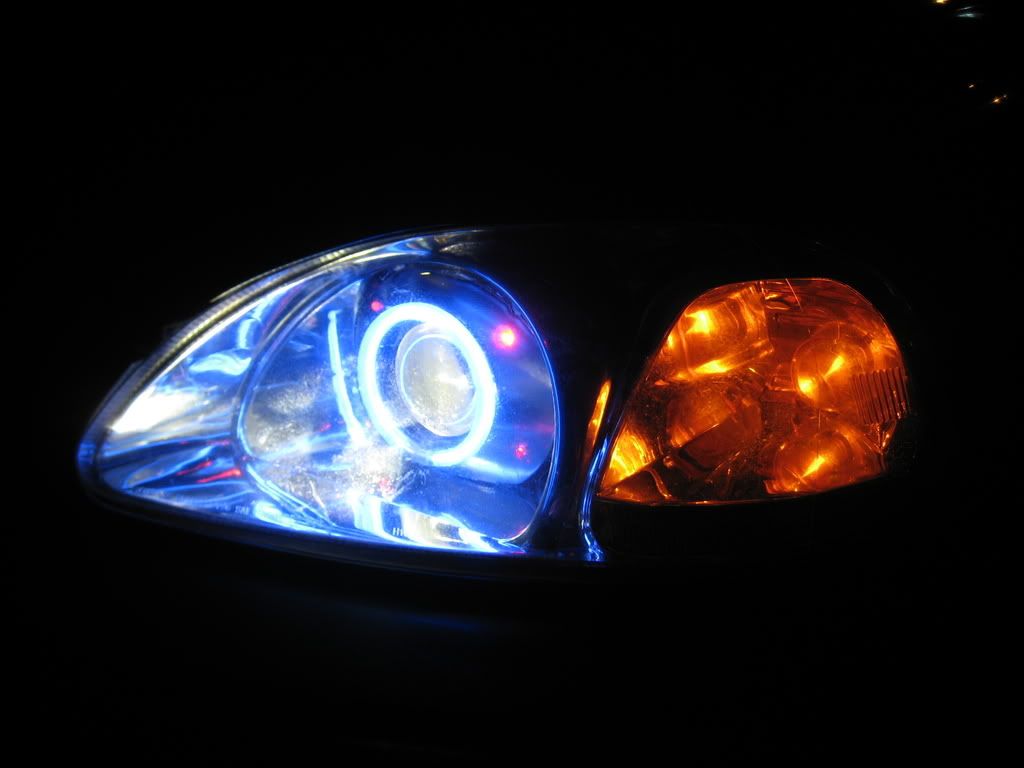
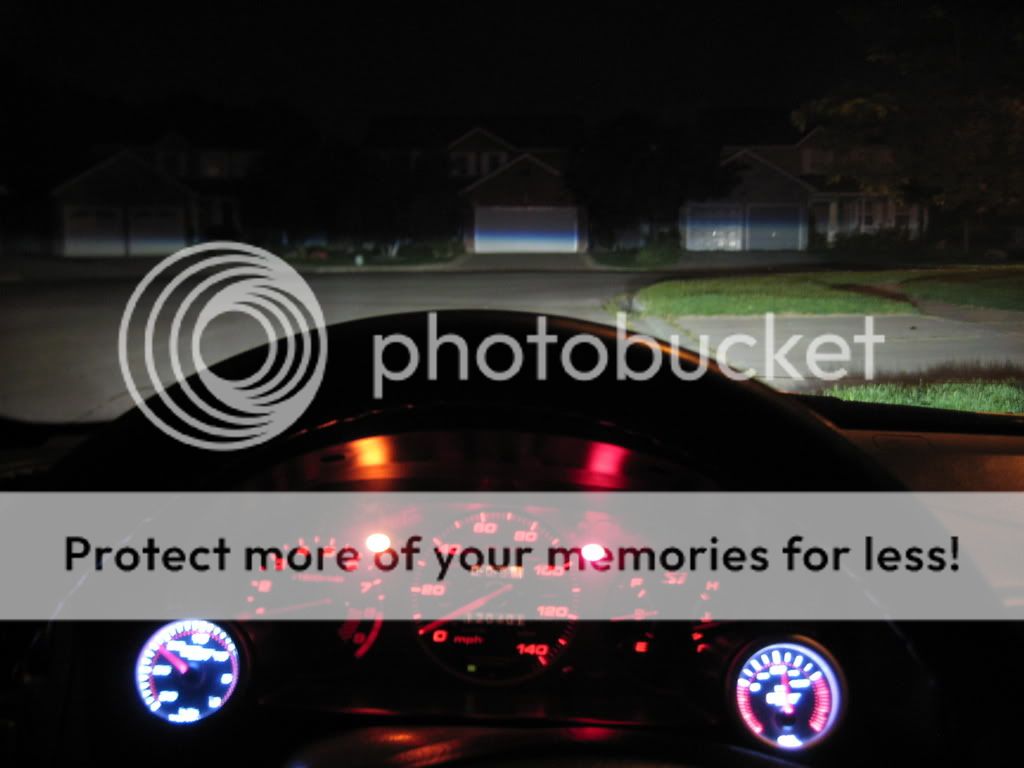
21) After I mounted the retrofitted headlights I had to do all the wiring which took a bit of time. I wired the red LEDs and the LED rings to the ignition wire that way they light up as soon as I start the car instead of the day time running lights (which are required in Canada)
22) Put the bumper back on and then you're all done! This DIY might make this project seem easy, but its quite time consuming. It took me a little over 6 hours.

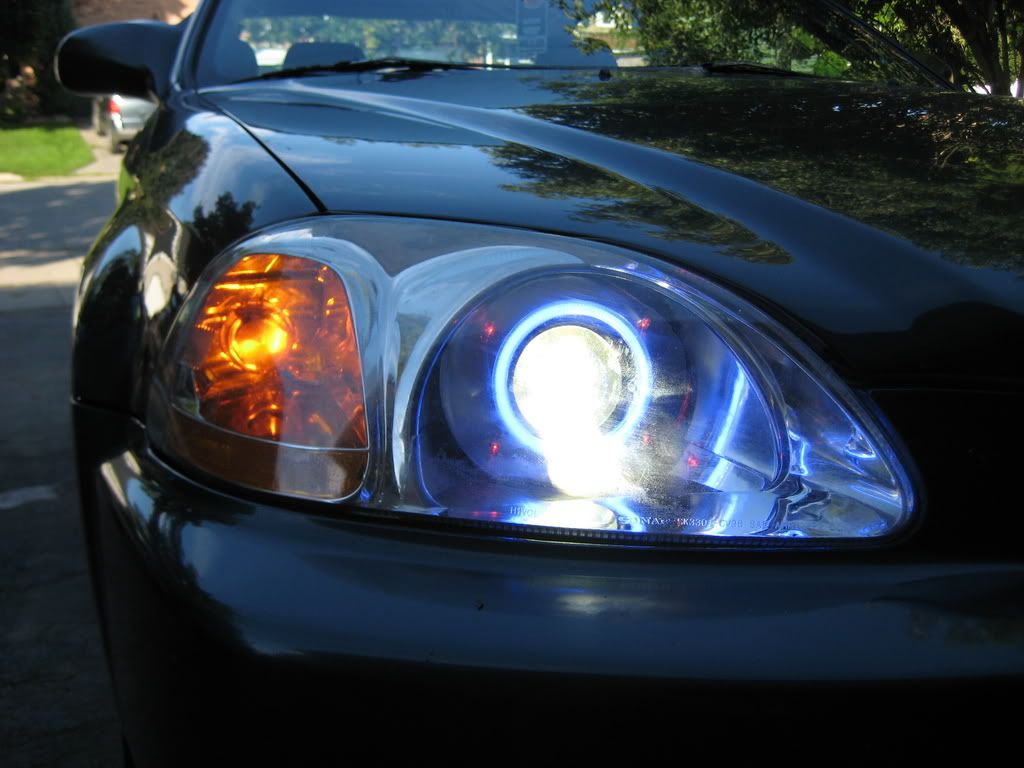
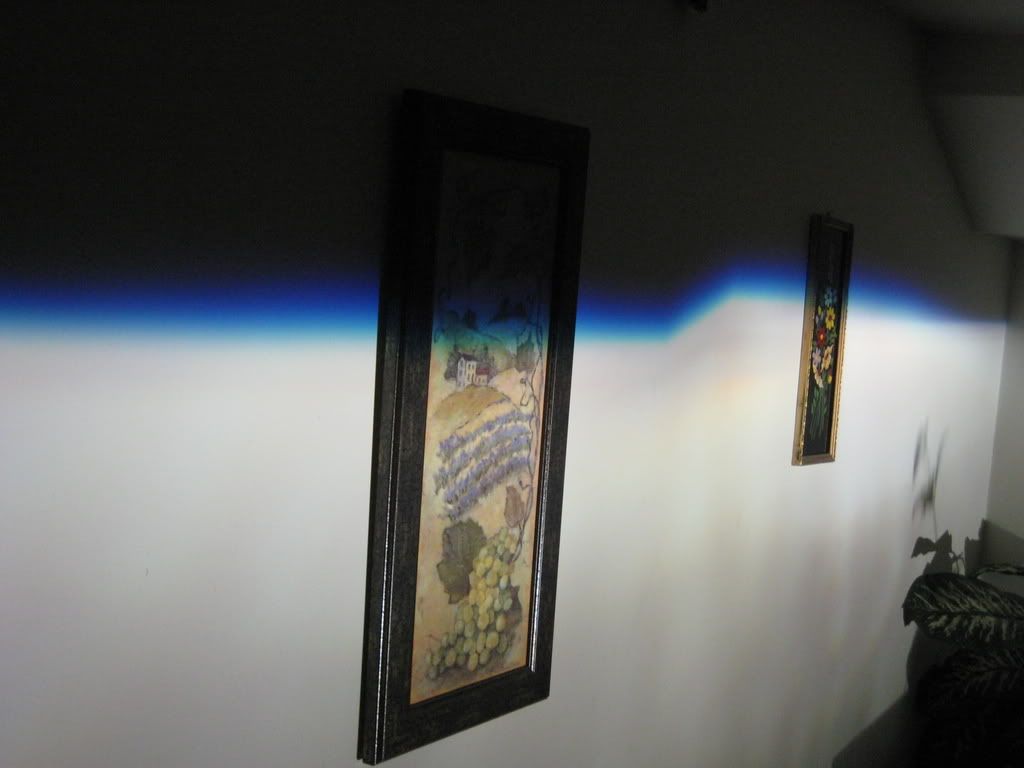
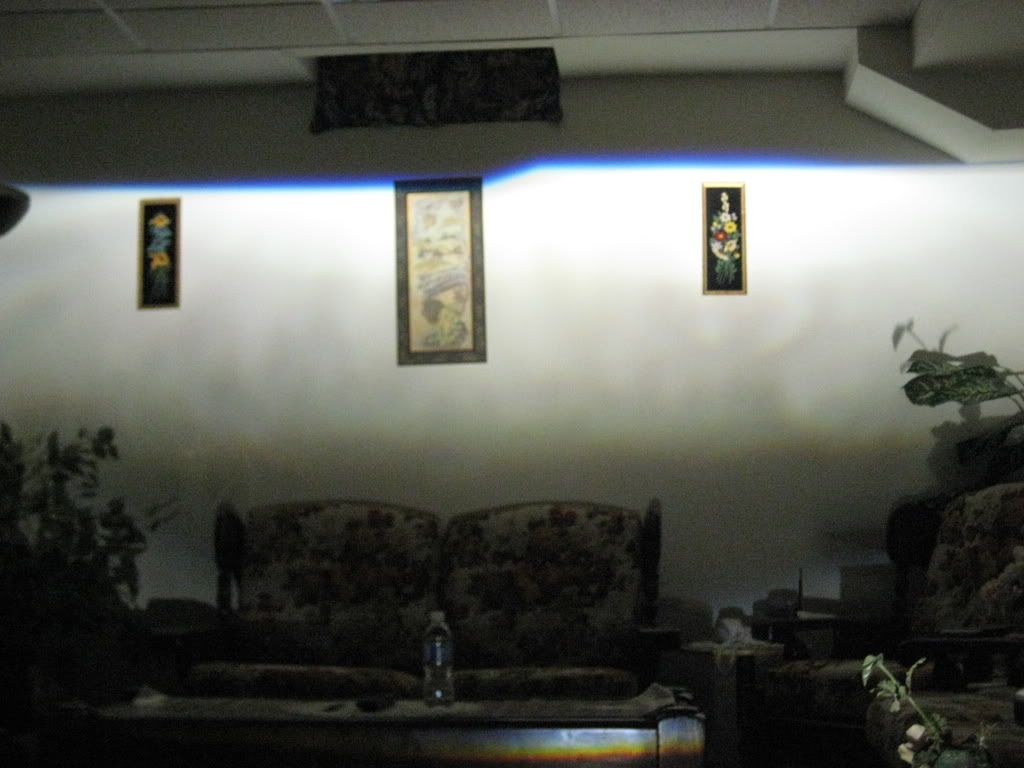
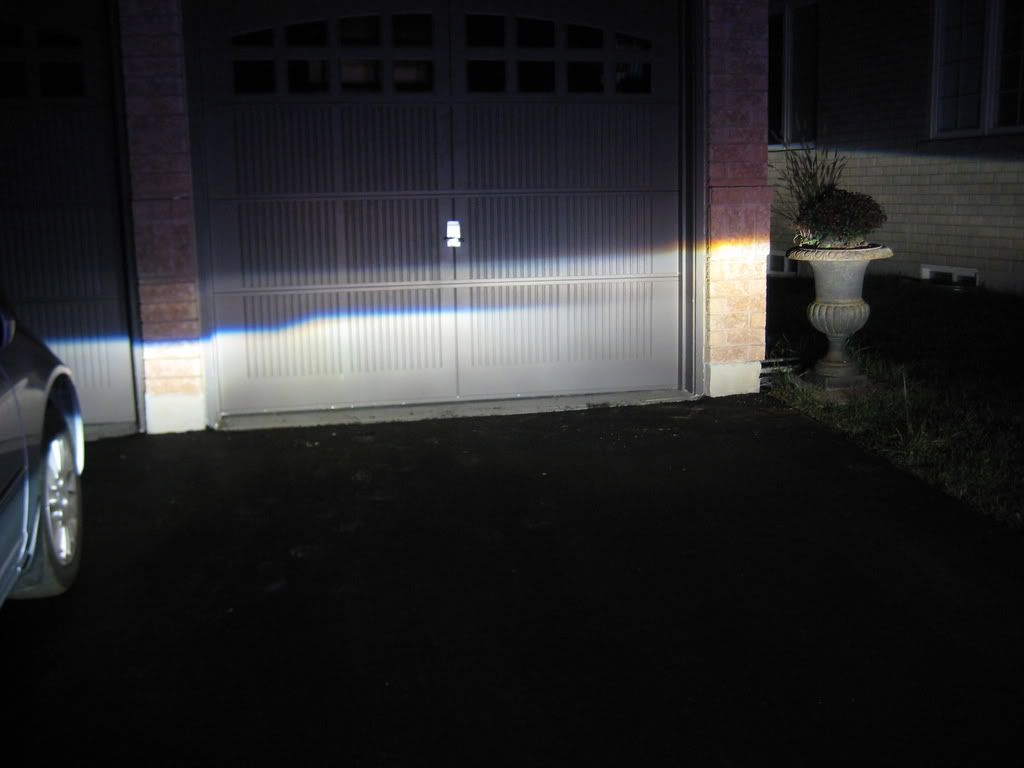
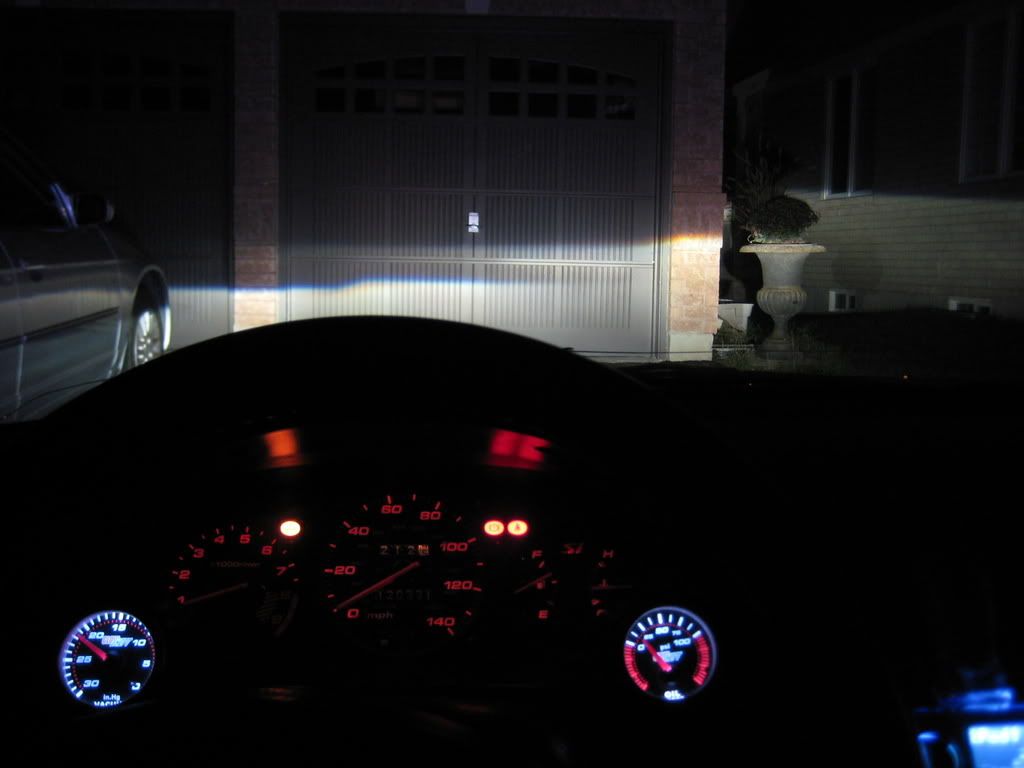
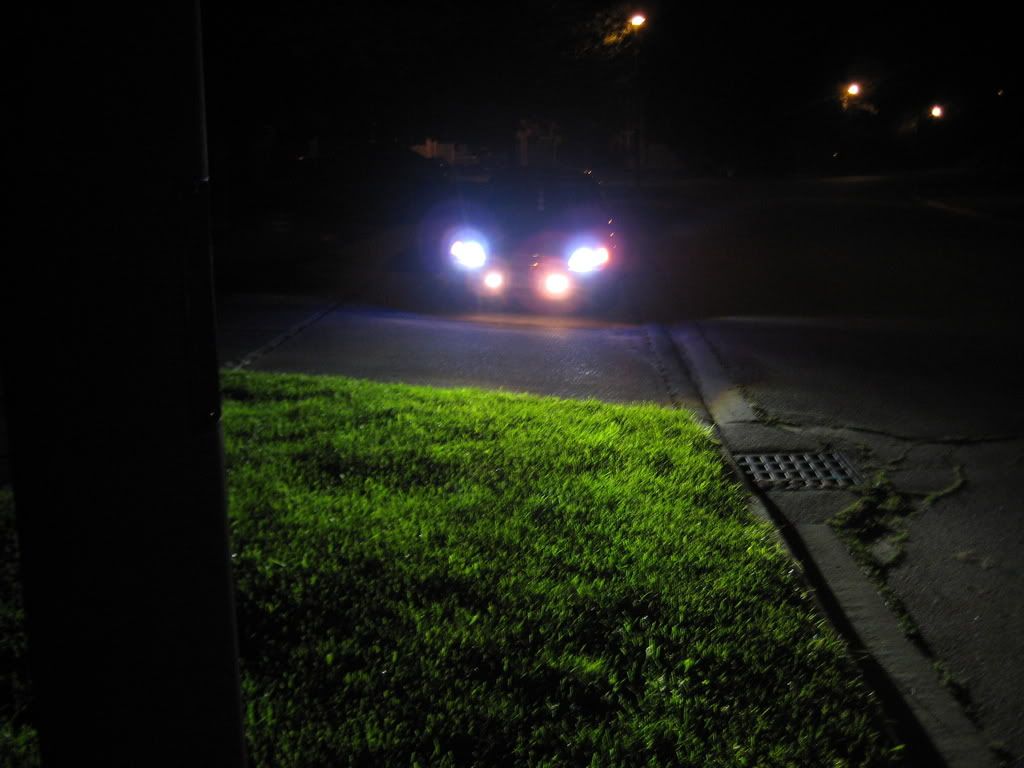
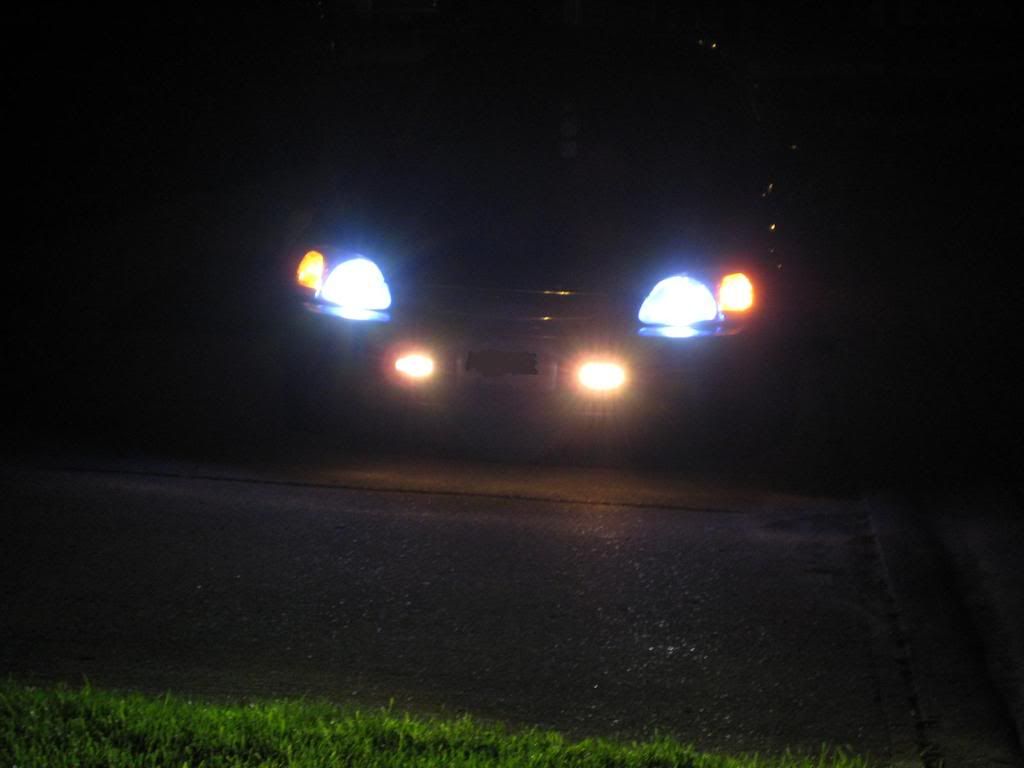
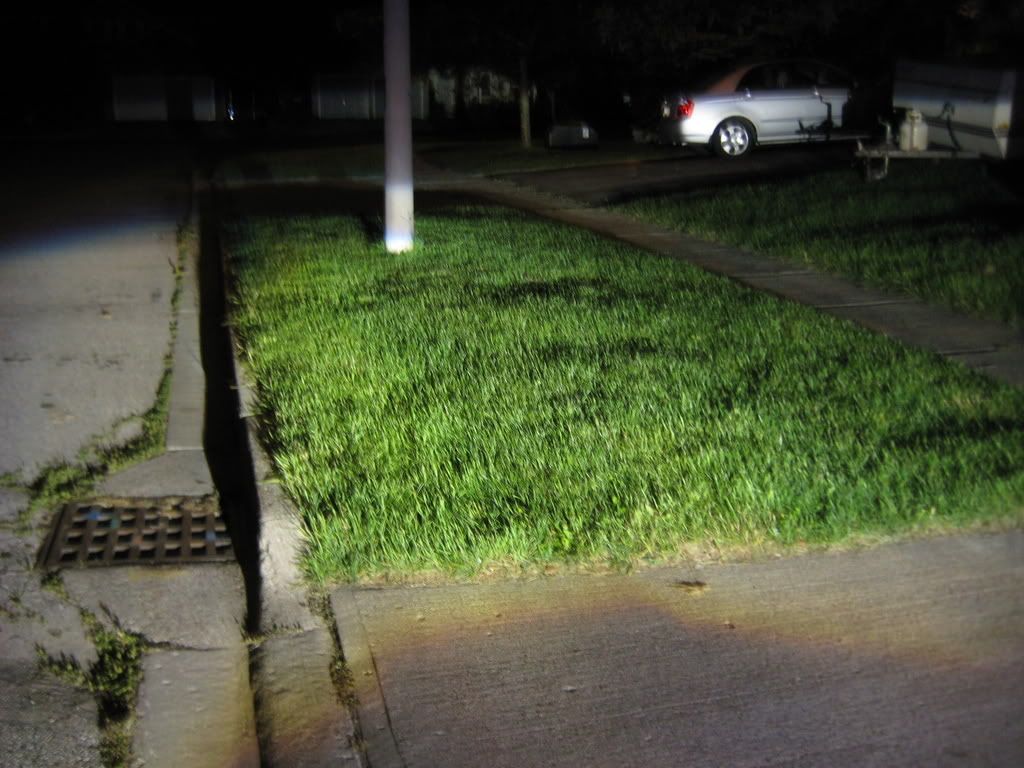
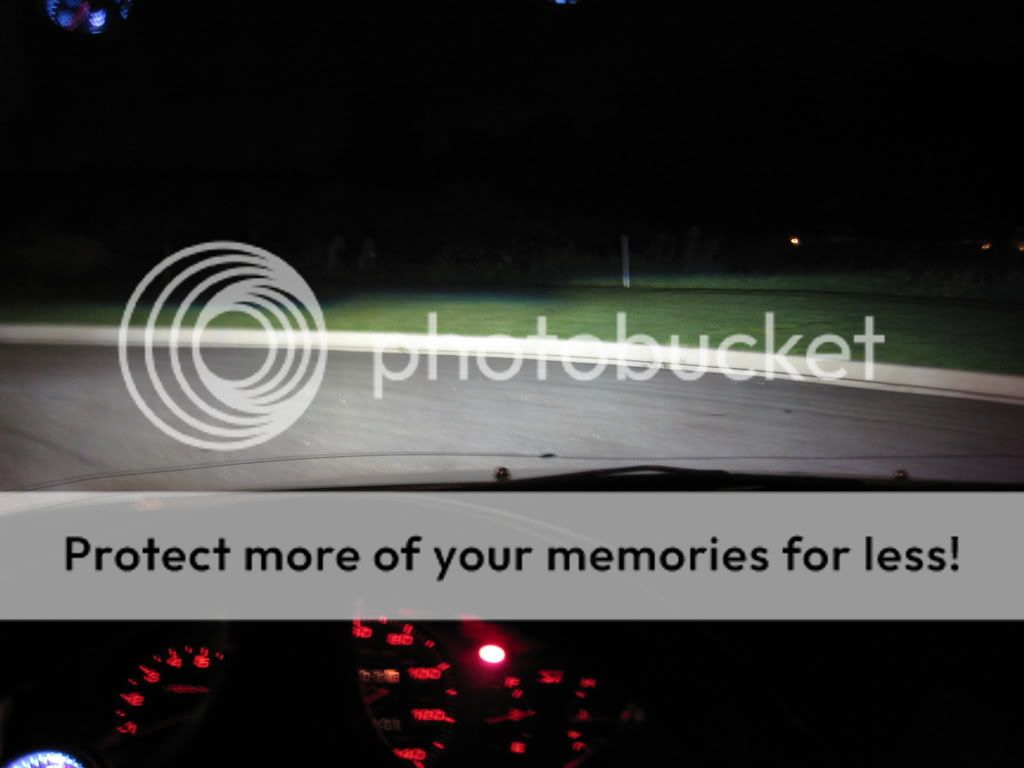
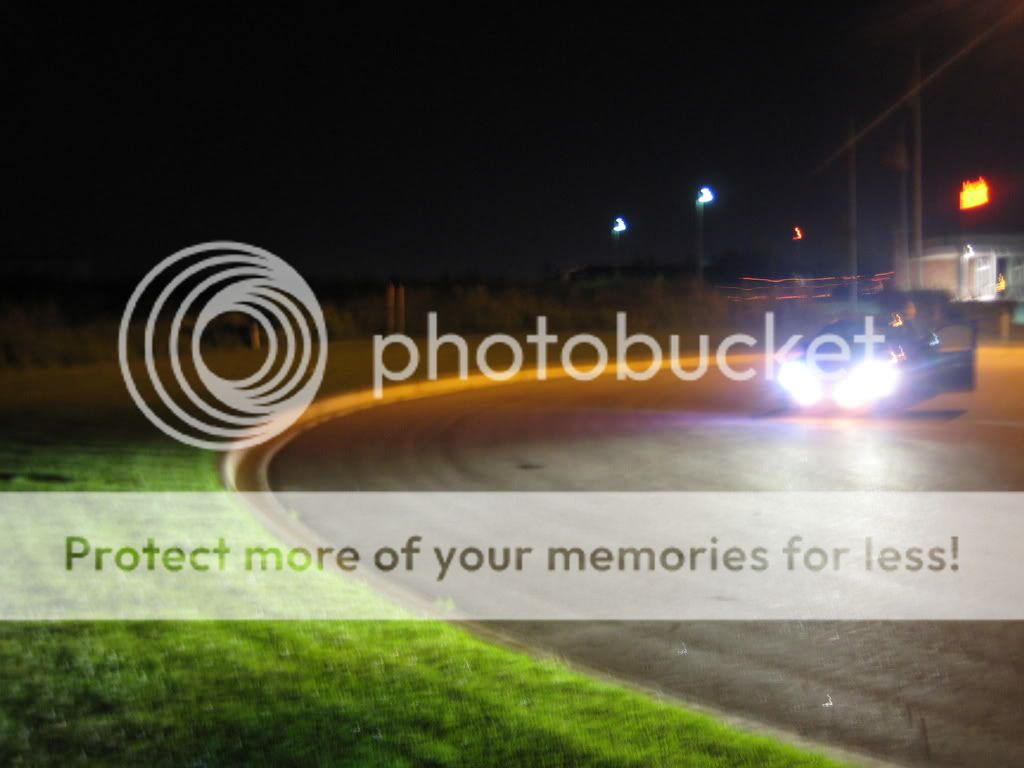
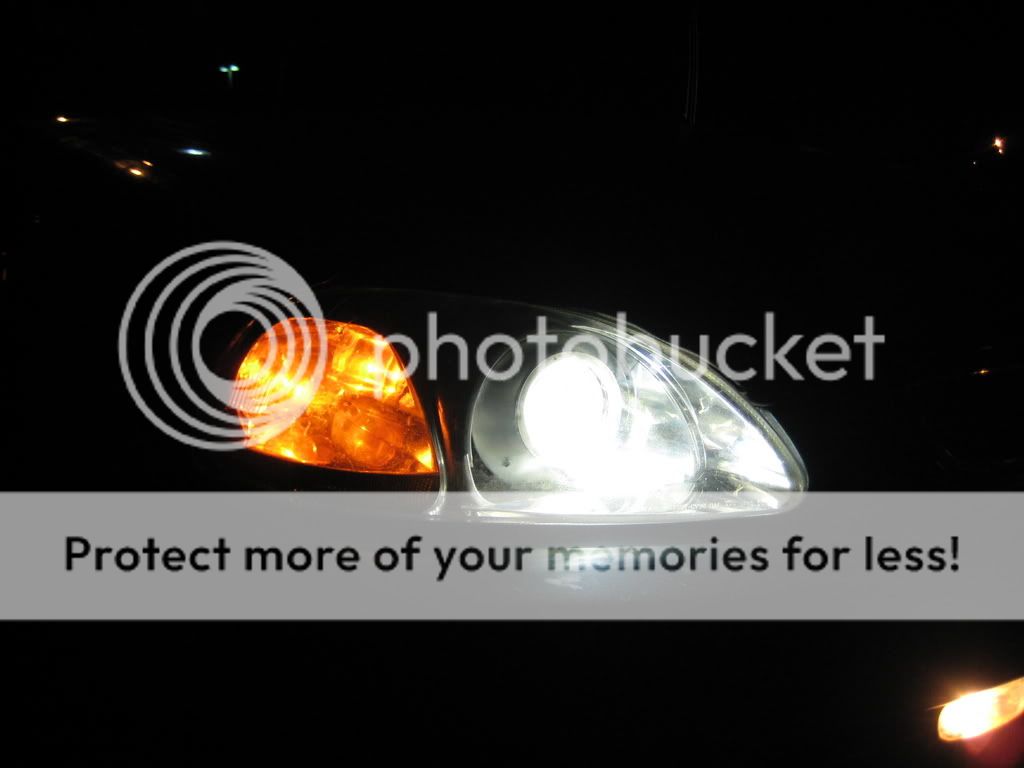
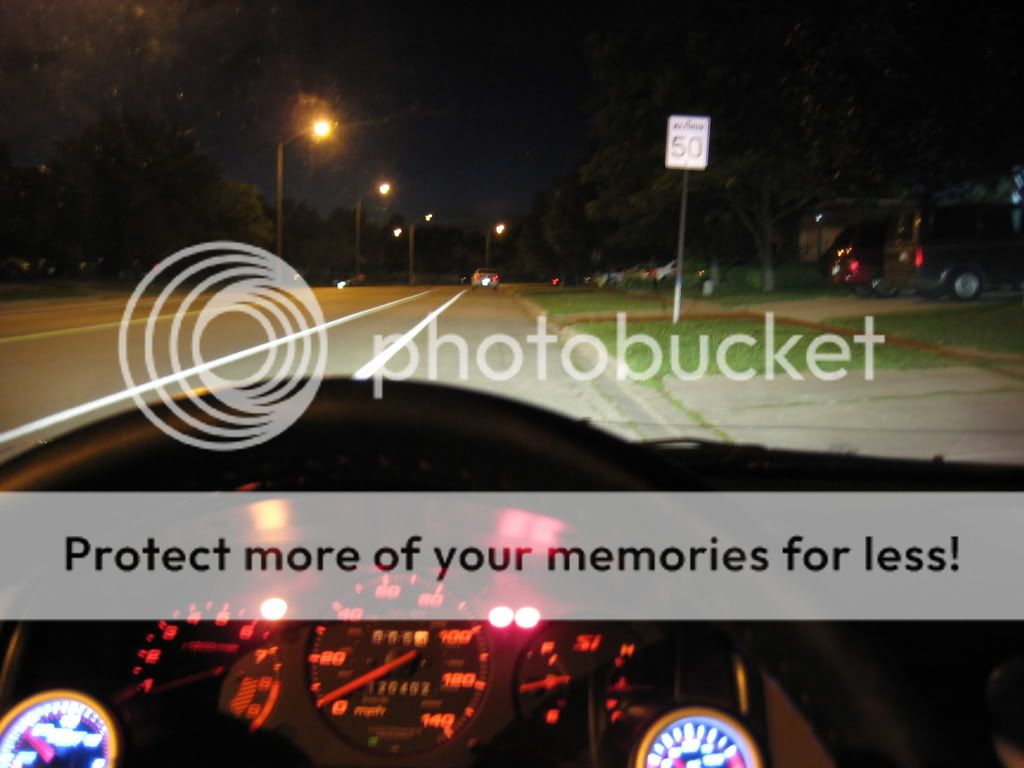
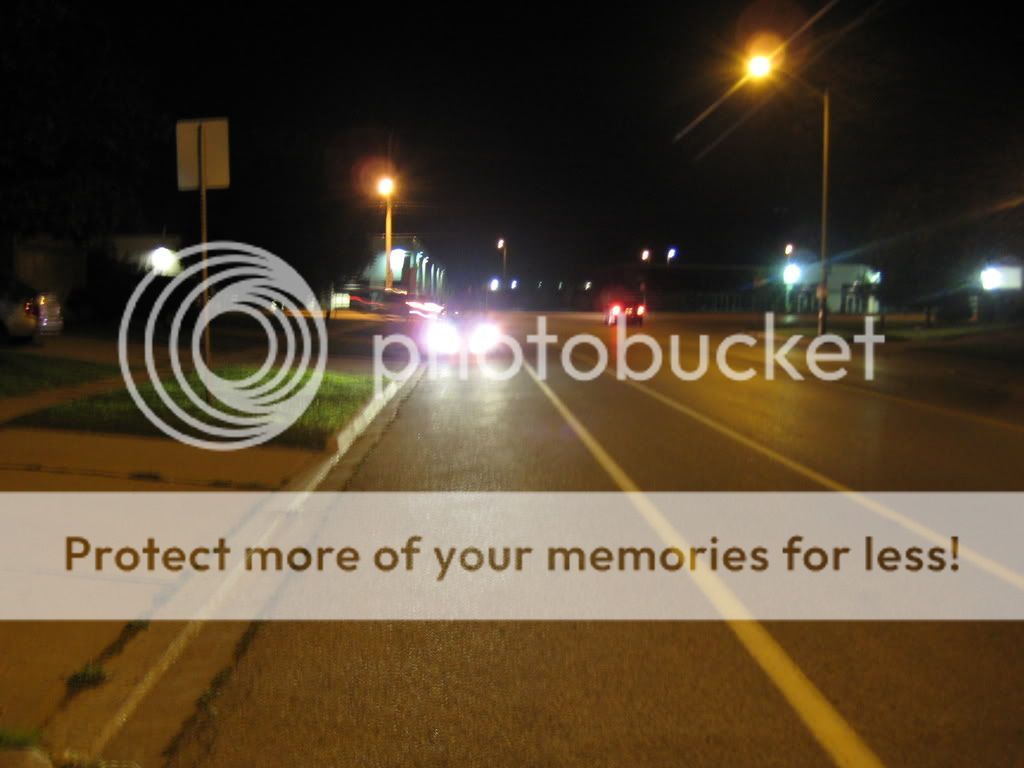
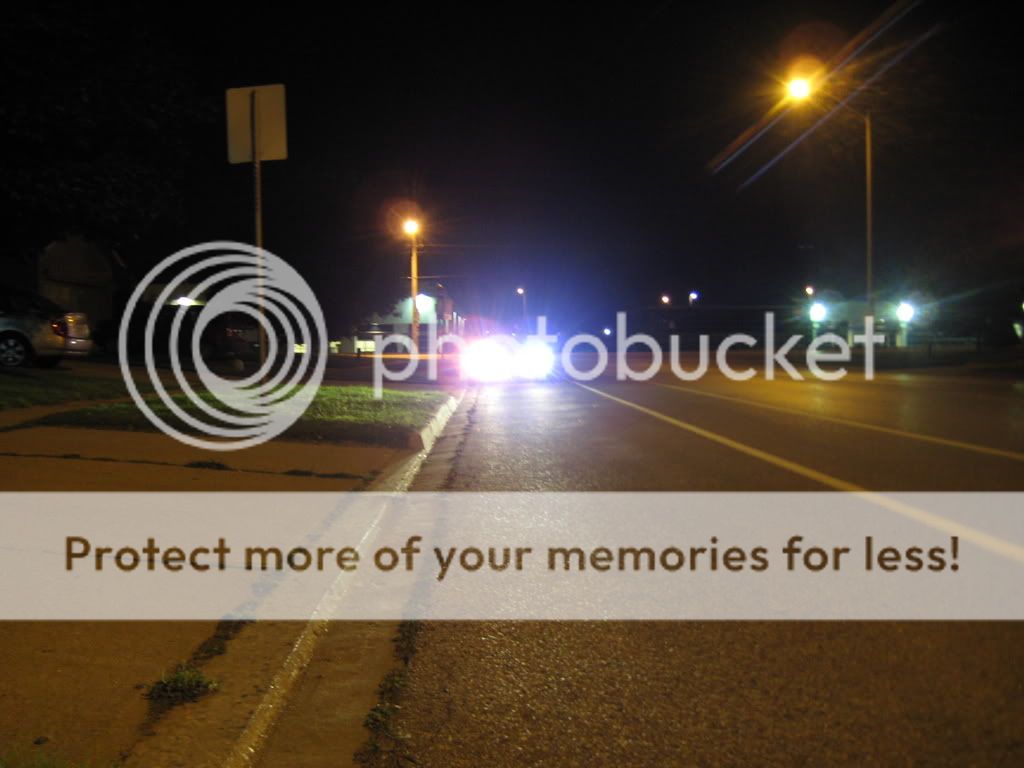
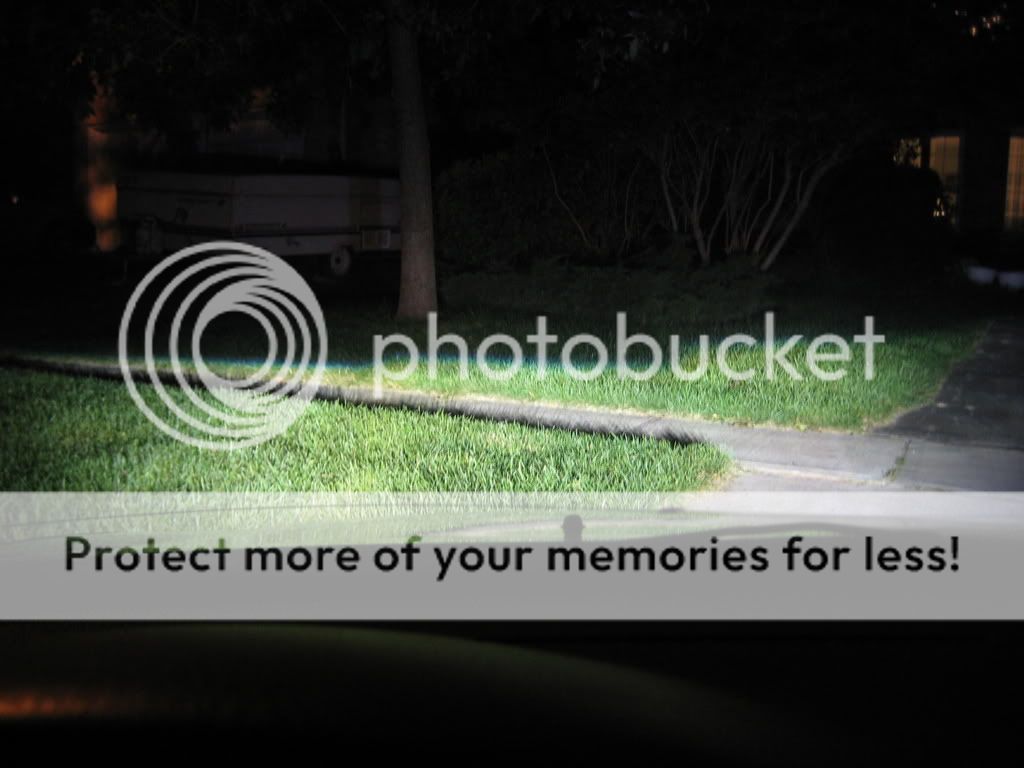
I dont have any pics of output yet... I still need to do some alignment when it gets dark. It was way too hard to do during the day. I'll post pics up when I'm done, though.
Hope you guys enjoyed this! I really like the way it turned out becuase the stock headlights are so much nice than the POS ones I had on.
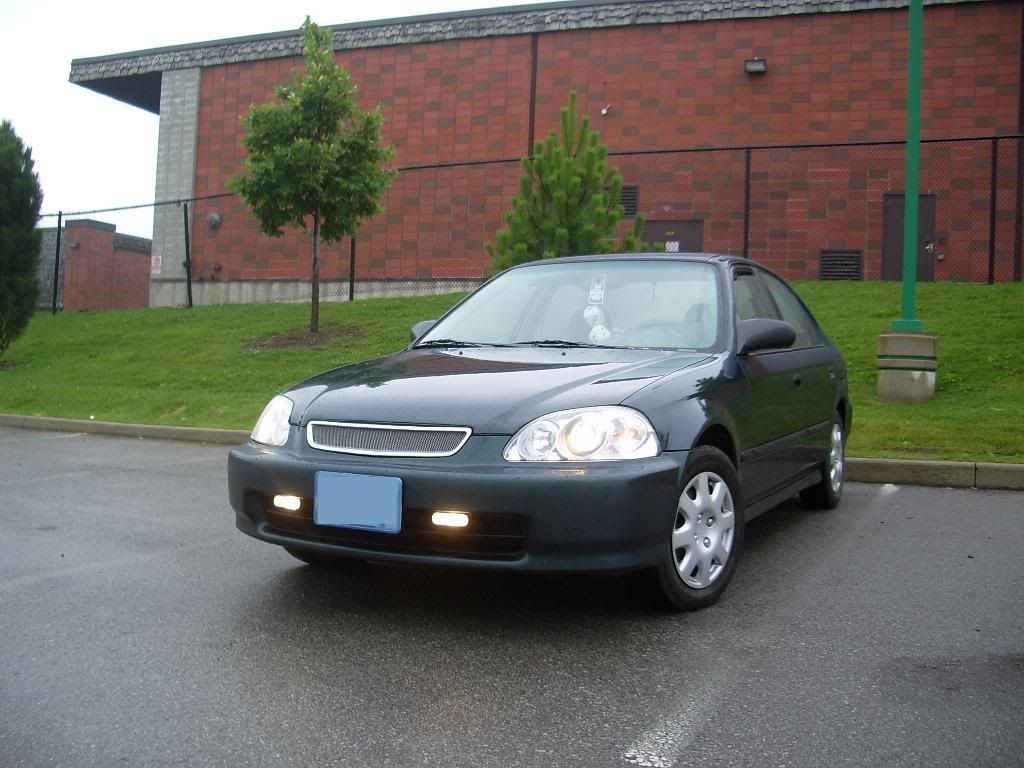
Before:
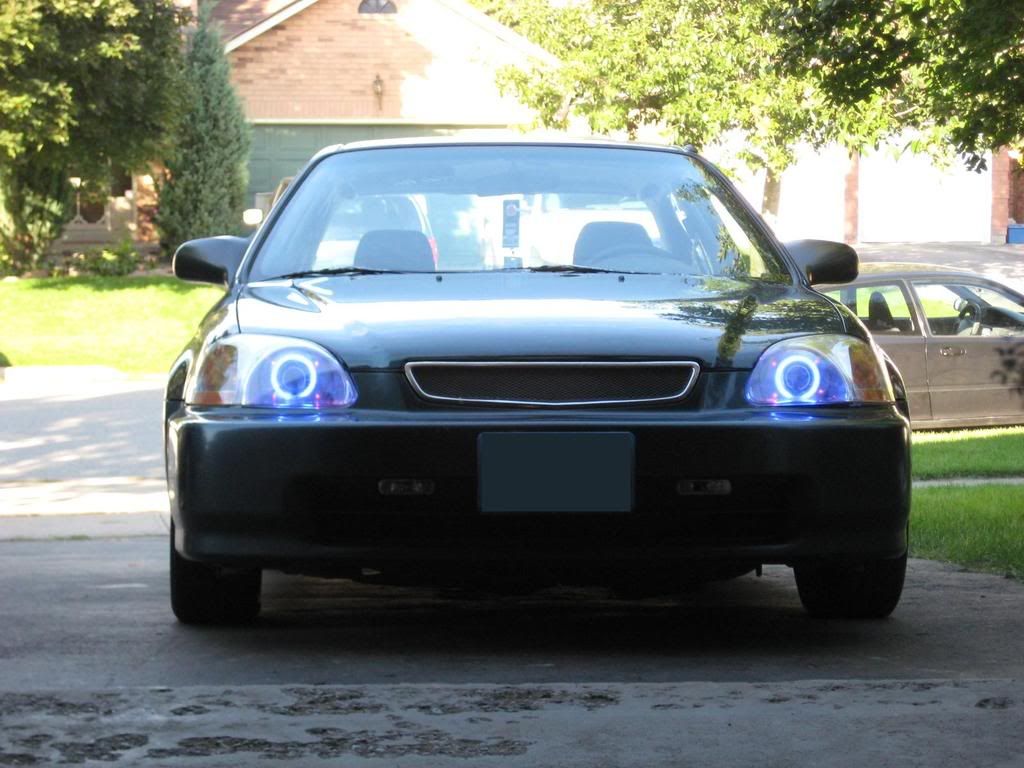
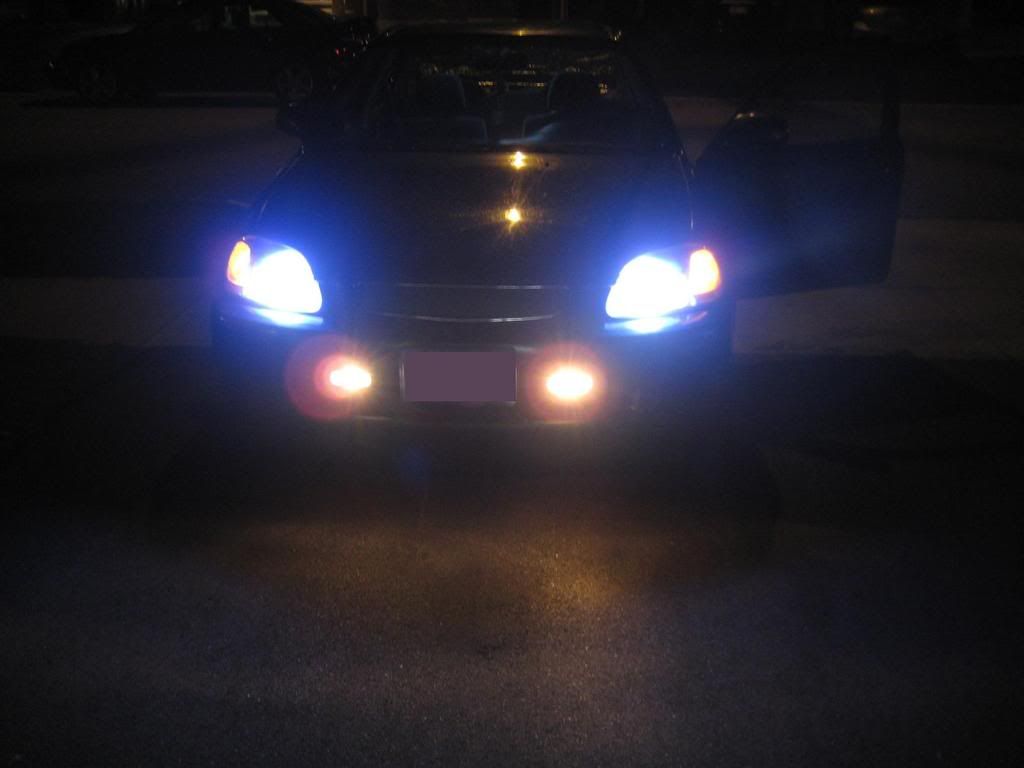
After:
20) Then I mounted it on to the headlights. Use any strong adhesive/glue to do this.
21) After I mounted the retrofitted headlights I had to do all the wiring which took a bit of time. I wired the red LEDs and the LED rings to the ignition wire that way they light up as soon as I start the car instead of the day time running lights (which are required in Canada)
22) Put the bumper back on and then you're all done! This DIY might make this project seem easy, but its quite time consuming. It took me a little over 6 hours.
I dont have any pics of output yet... I still need to do some alignment when it gets dark. It was way too hard to do during the day. I'll post pics up when I'm done, though.
Hope you guys enjoyed this! I really like the way it turned out becuase the stock headlights are so much nice than the POS ones I had on.
Before:
After:

 22-Aug-2008, 02:42 PM
#7
Senior Member
Join Date: Aug 2005
Posts: 612
23-Aug-2008, 08:57 AM
#9
Senior Member
Thread Starter
Join Date: Oct 2007
Location: Toronto
Posts: 131
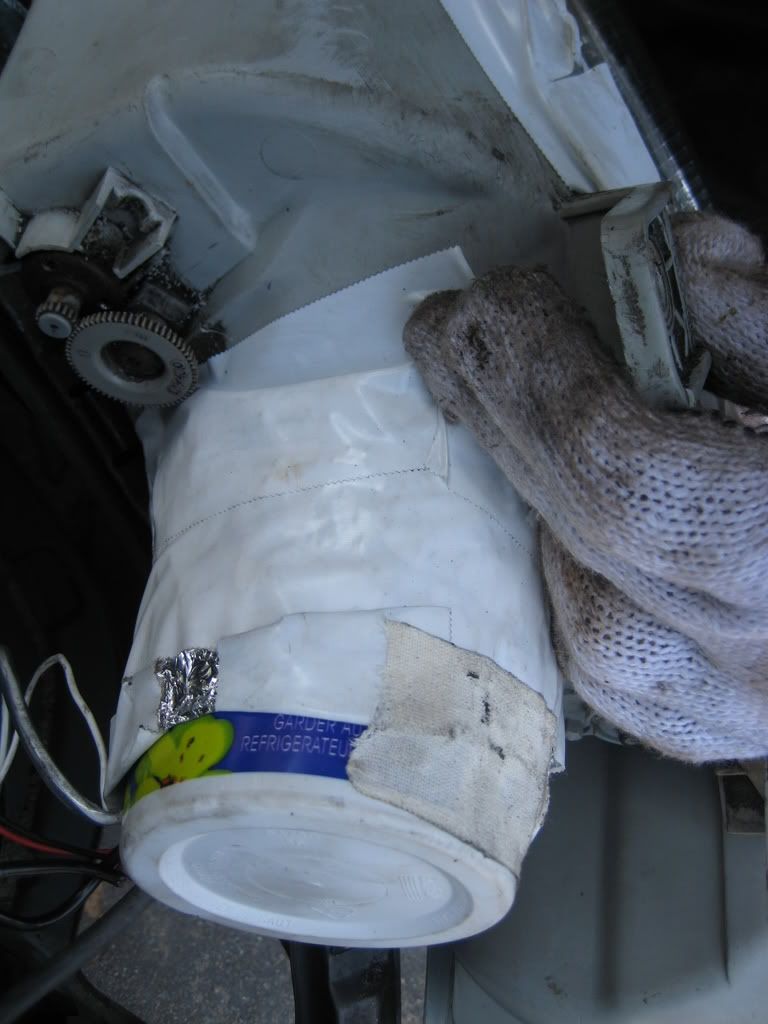
Actually, I sealed them up. I forgot to post pics of that. I'll try and get a pic up soon. I used a cottage cheese container, aluminum foil (the projectors heat up a lot) and a lot of tape!
23-Aug-2008, 11:26 AM
#10
unless the projectors themselves are sealed on their own, then the bulb will still get contaminated. i dunno about these projectors but my E46 BMW bosch bixenon were anything but sealed. in fact they were wide open between the lense and the housing. and the vapour that would fog up the headlights would also contaminate the bulb. but that's a moot point since he's sealed up the back of his headlights.
25-Aug-2008, 01:46 AM
#11
Senior Member
Thread Starter
Join Date: Oct 2007
Location: Toronto
Posts: 131
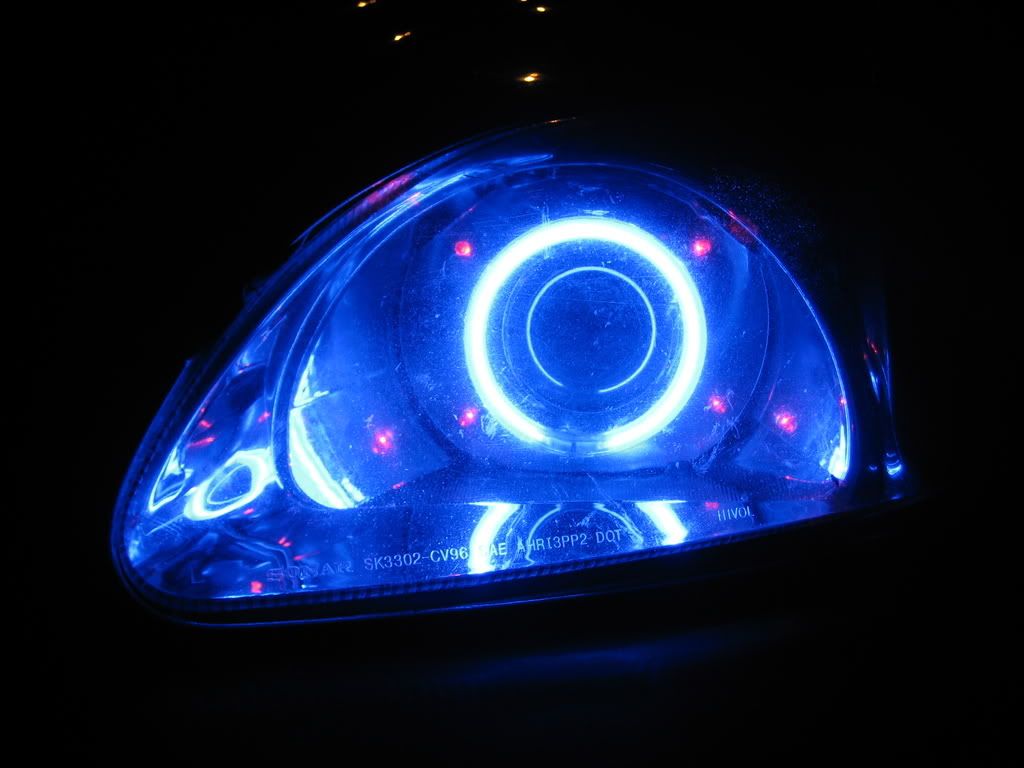
I spend a **** load of time Sunday night aligning them. I also unplugged the red LED's but and left just the rings on. With the red, it looked like too much was going on... plus I'm pretty sure that was illegal anyways. I took pics but I don't know where the hell I put my camera 
I'll post a pic when I find it.
I'll post a pic when I find it.

 26-Aug-2008, 01:46 AM
#13
Guest

Join Date: Oct 2007
Posts: 4
great write-up and great work, I'm glad that you decided to do without the LEDs 
I retrofitted rx330 projectors into my camry, and I'll probably end up retrofitting my gf's EK stock lights too, now that I see how similar it is, thanks
I retrofitted rx330 projectors into my camry, and I'll probably end up retrofitting my gf's EK stock lights too, now that I see how similar it is, thanks
26-Aug-2008, 10:04 AM
#14
Senior Member
Thread Starter
Join Date: Oct 2007
Location: Toronto
Posts: 131