Objective:
Install an OE SiR Sway Bar on any 6th Generation Civic
About
the mod:
Except the SiR model, all 6th Generation Civics have no Rear Sway bar
(Rear Stabilizer bar, Rear Anti-roll bar, Rear anti-sway bar), whatever
way you call it.
However, all 6th generation civics can install the OE SiR Rear Sway
Bar easily since all 6G civics come with mounting holes that needed to
complete this mod.
All parts can be ordered from any honda dealer, it costed me about
$250 for everything.
Difficulit
level: Relatively Easy
Tools
Needed:
Jack,
Jack Stands
Socket
wrench with assorted sockets
Open-end
wrench
Torque
wrench (optional)
Time
Needed: 1 hr or less
DISCLAIMER:
This is only a installation that performed by me, not by professional.
Therefore, I am not responsible for: (A) Wrong procedure. (B) The results
of installation. (C) Any damage (car , your life or anything) during or
after the installation (D) any other reponsiblilities
Parts
List:
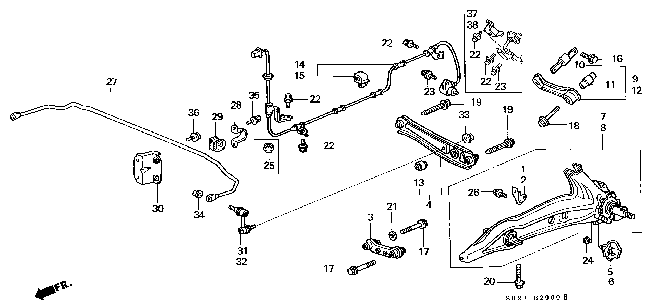
1x 27. 52300-S52-A01 SPRING,
RR. STABILIZER (13MM)
2x 28. 52308-S04-000 HOLDER,
RR. STABILIZER
2x 29. 52315-S52-A00 BUSH,
RR. STABILIZER (13MM)
2x 30. 52317-S04-000 BRACKET,
RR. STABILIZER
1x 31. 52320-S04-003 LINK ASSY.,
R. RR. STABILIZER
1x 32. 52321-S04-003 LINK ASSY.,
L. RR. STABILIZER
2x 33. 90002-S10-000 NUT, FLANGE
(10MM)
2x 34. 90212-671-005 NUT, SELF-LOCK
(10MM)
4x 35. 83403-0802008 BOLT-WASHER
(8X20)
4x 36. 95701-0801808 BOLT,
FLANGE (8X18)
Extra: 4x Self locking nuts
and 4x washers
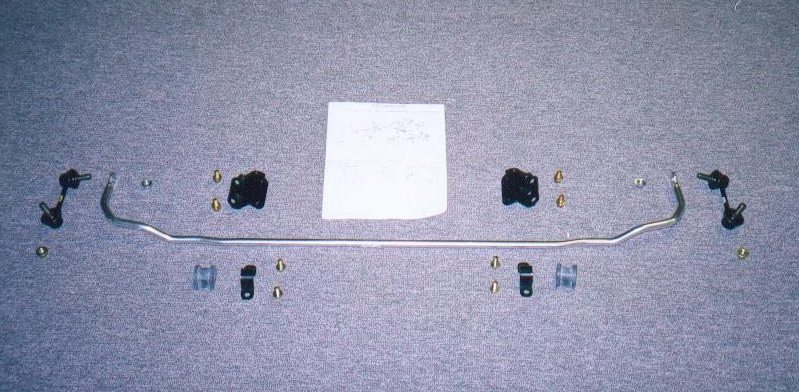
Click pics to enlarge
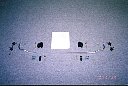
Fig 1: everything is here except the 4 self locking nuts and washers
STEP 1: Double Checking and make sure everything is here.
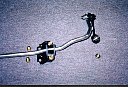
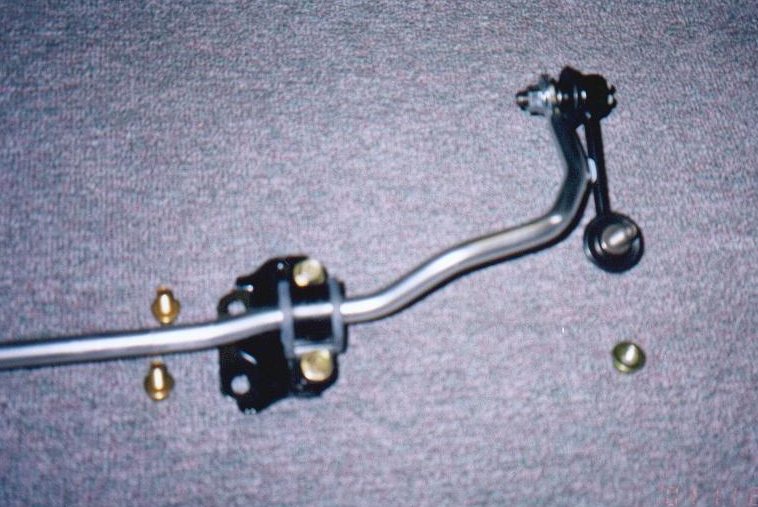
Fig 2: Bushing, bracket and endlink attached to the sway bar
STEP 2: Practice makes perfect, see how everything need to be put
together
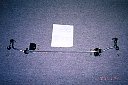
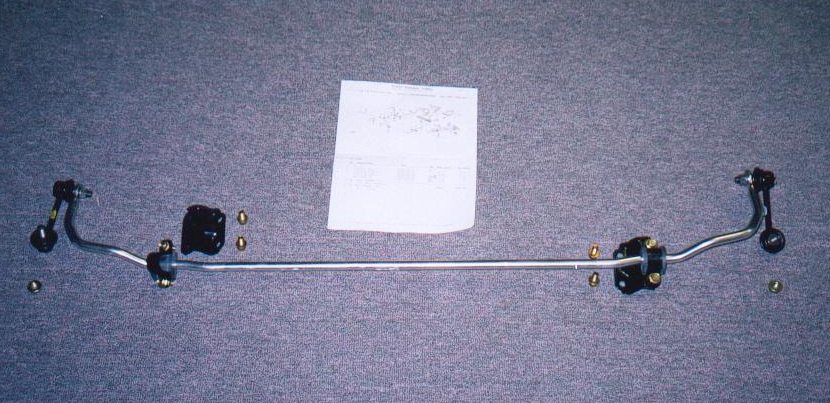
Fig 3: Everything fits perfectly
STEP 3: If everything is ready, head to the garage
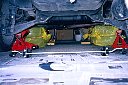
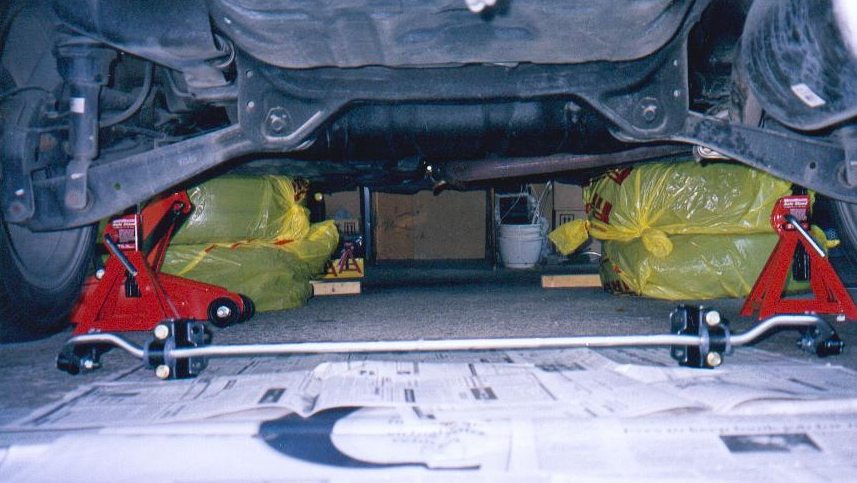
Fig 4: Jack up the car, remember, SAFETY
FIRST.
STEP 4: Jack up the car, jack stand alone is not safe. I use my some
rims to support and make sure I don't get killed when I work under
my car.
(note: removal of the rear wheels is not necessary)
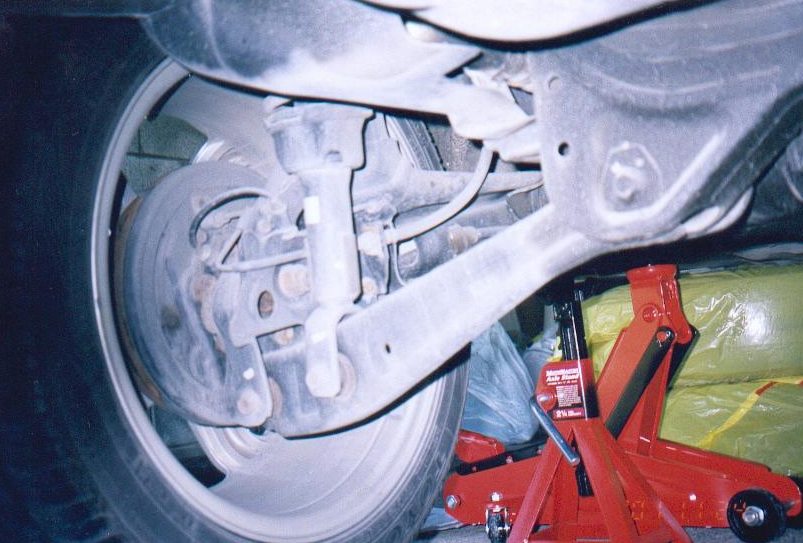
Fig 5: See the 3 holes, the hole at the lower control arm is for the
endlink, and the other 2 holes are for the bracket
STEP 5: Locate the factory mounting points ,clean up if necessary

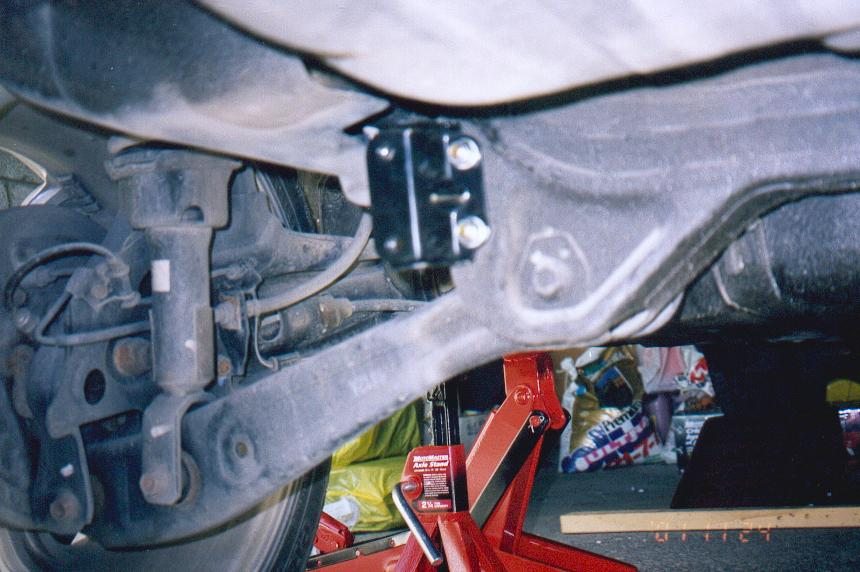
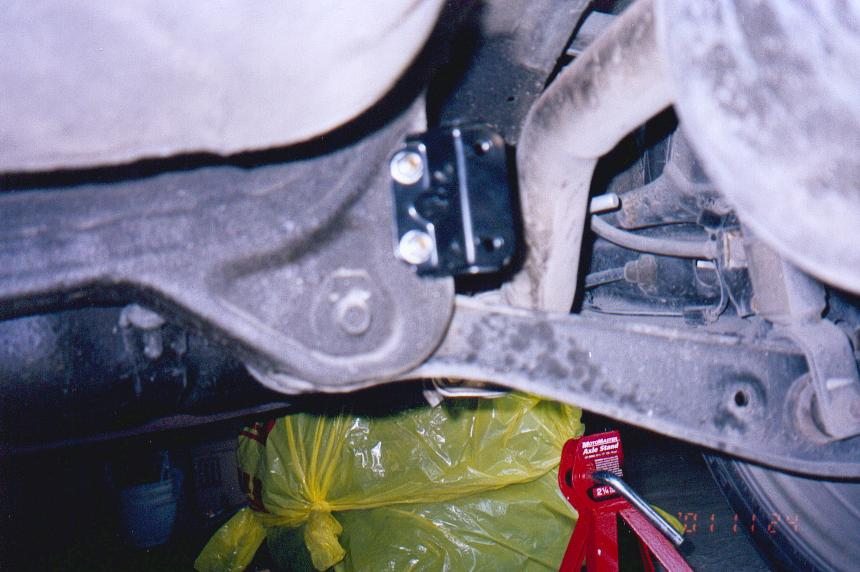
Fig 6: Put the bracket on first, use the 2 BOLT-WASHER
(8X20), 2 self locking nuts and 2 washers
STEP 6: Put the bracket on first, use the 2 bolt-washer, 2 self locking
nuts and 2 washers. I torque it down to 40 ft-lb by a torque wrench
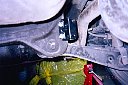
Fig 7: This is the right side
STEP 7: Do the same thing as step 6
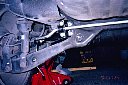
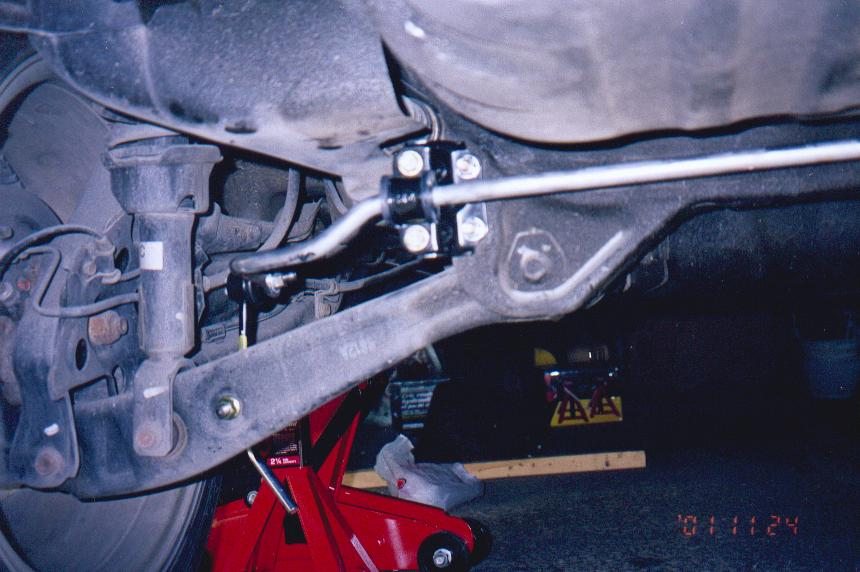
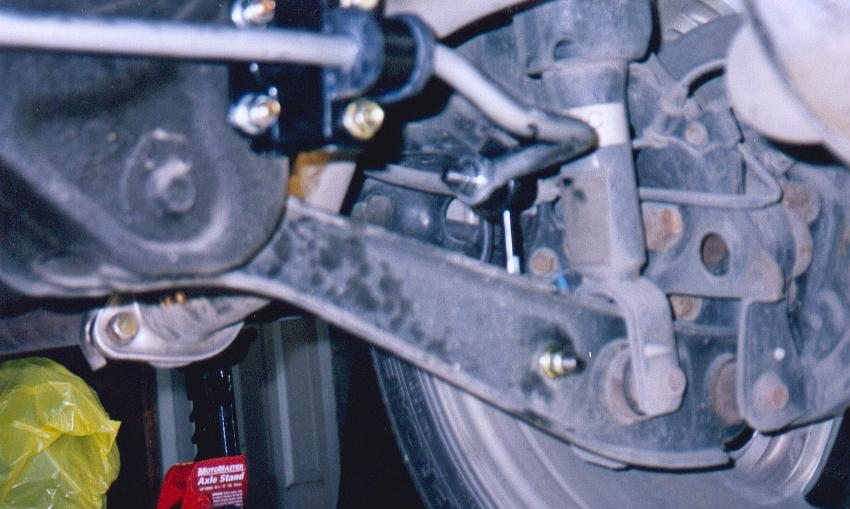
Fig 8: Put everything else on
STEP 8: Lubricate the bushings, mount the Sway bar and put everything
else in place. Tighten up everything
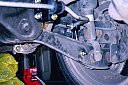
Fig 9: Right side
STEP 9: same as step 8
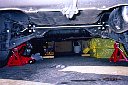
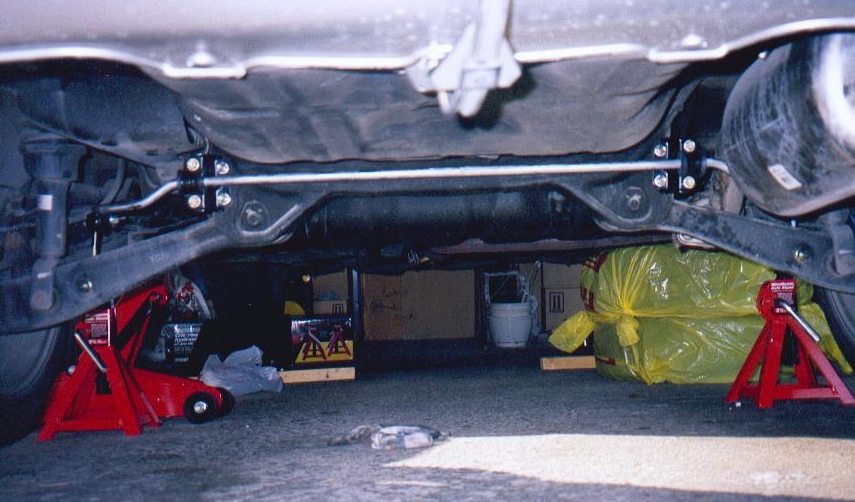
Fig 10: Finished!!
Step 10: Double Check everything, make sure they are all tightened
up. Lower the car.
Discuss this article on our Discussion Forums